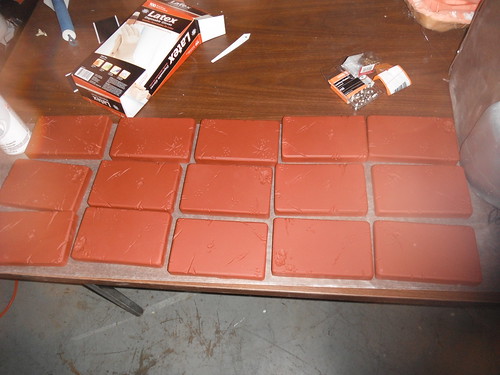
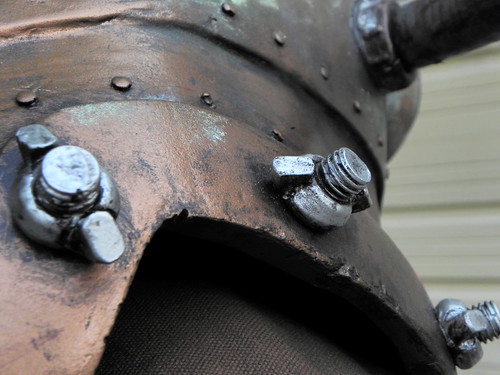
We’ll start with the glove armor. The back hand and knuckle guards were sculpted from balsa and molded so I could use fiberglass pieces. The Delta was made by layering tape and then applying bondo. When the tape was removed I had a perfect engraved symbol.
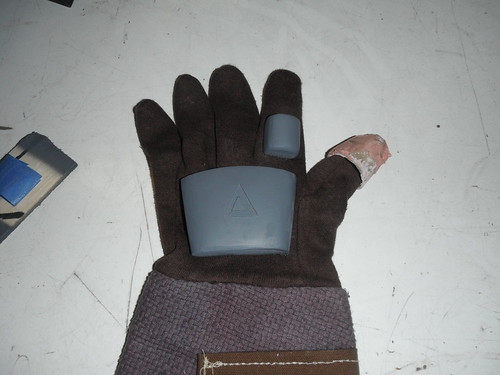
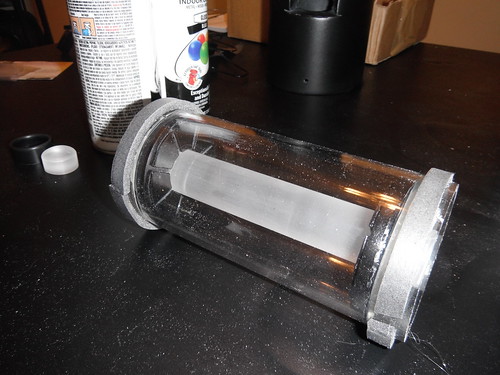
Master Positive for Glove Plates
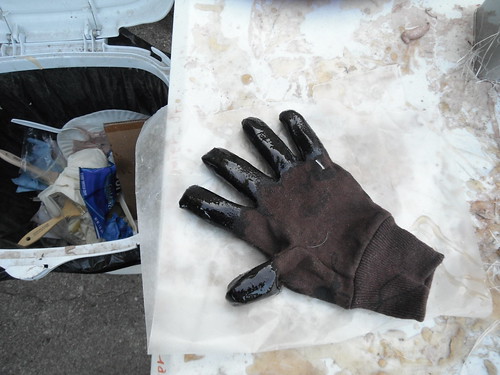
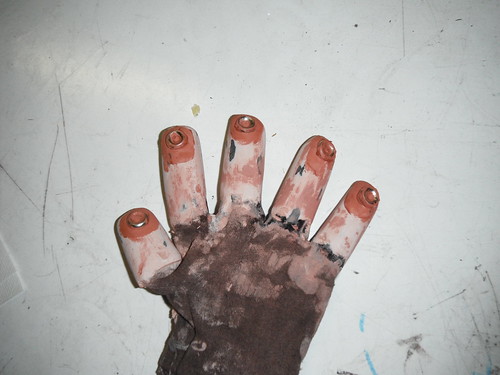
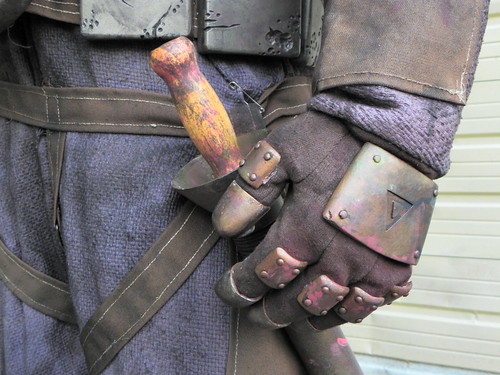
The approach that worked for the finger tips was to stuff an identical glove with masking tape and apply resin directly to the glove, thus making the fabric part of the composite material. Bondo was then added to smooth the surface out and washers added to the tips. The fingers were cut off and tape removed, which gave me fingers that fit perfectly on my gloved hand!
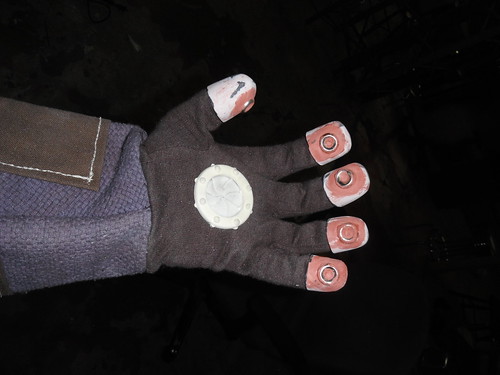
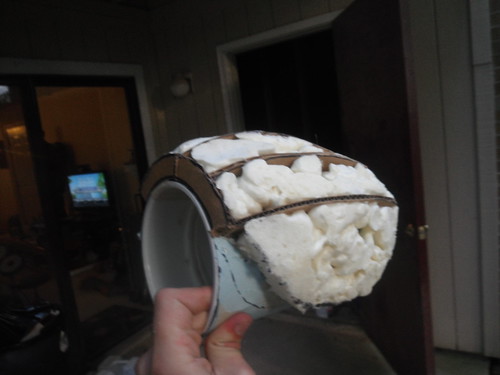
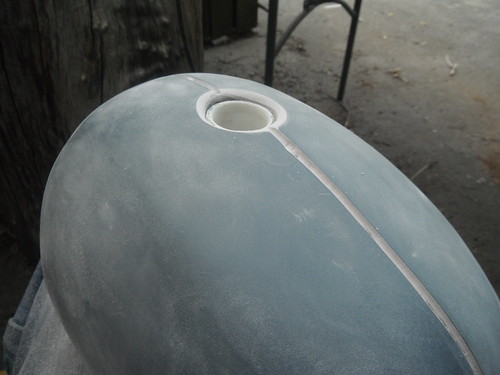
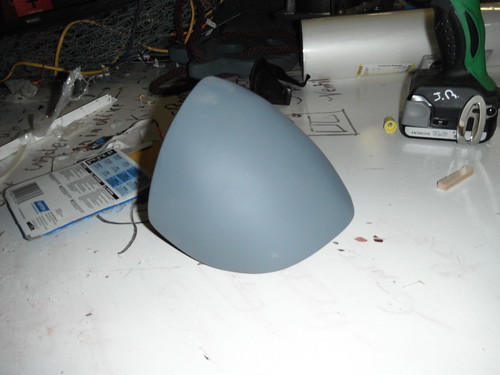
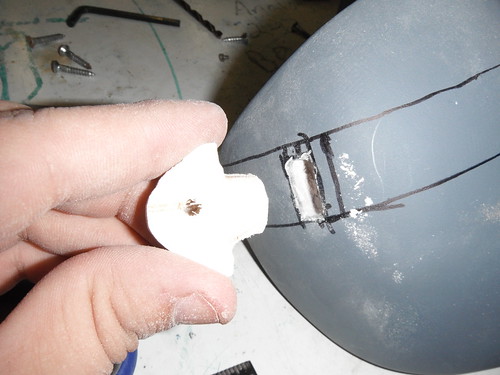
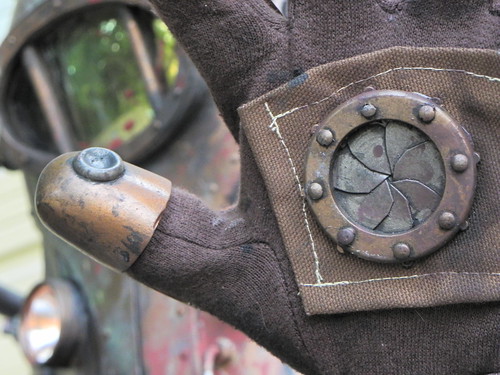
The plasmid irises were made using layers of cardboard cut into small circle and arranged inside a PVC fitting. Again, molds were made so I am actually wearing resin copies.
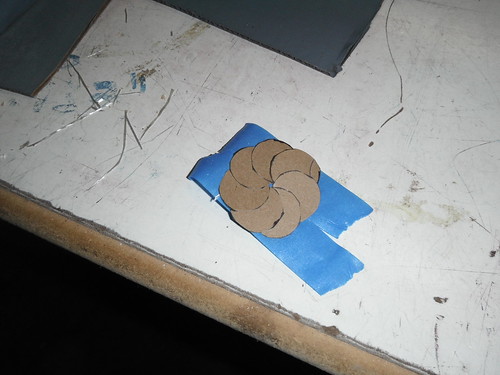
Formation of the Iris
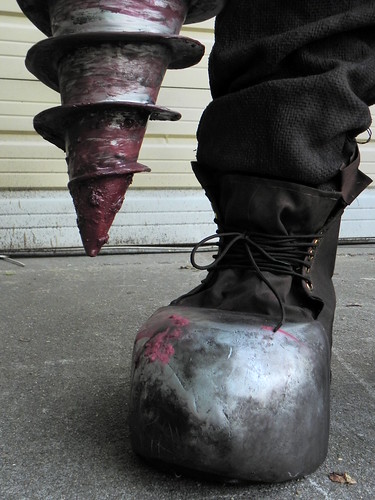
The boots were the piece I was dreading the most, as if they were crappily made I would have a hard time walking. I started by getting a pair of boots that actually fit and built up a foam structure around them. The boots are zip tied to a piece of plywood sandwiched between the foam to keep them on my feet. The foam was paper mached to help hold everything together. The outer cover was made using poster board and duck cloth as well as grommets for the shoe laces. Fiber glass caps were made for the toe guards. The soles of the shoes are cut up car floor mats glued to the bottom with goop.
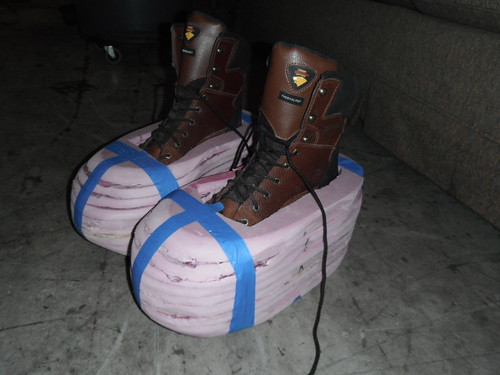
Foam Build Up of Boots
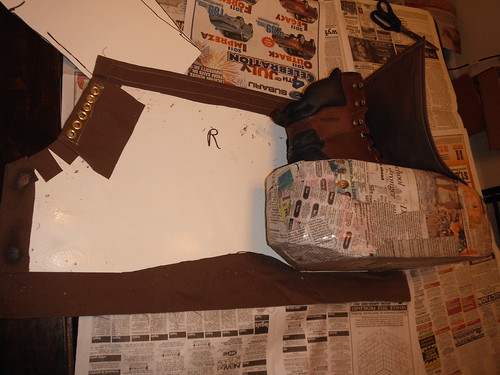
Wrapping Fabric Around Boot
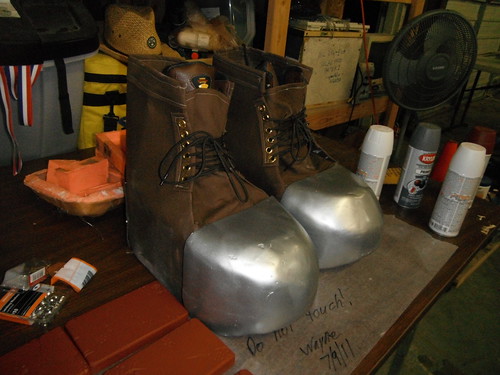
Full Boots
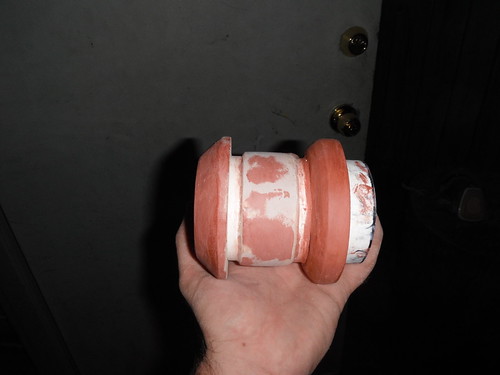
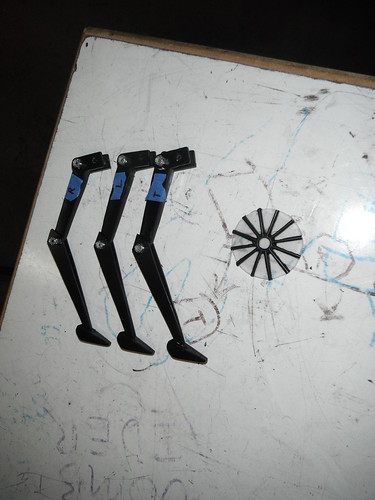
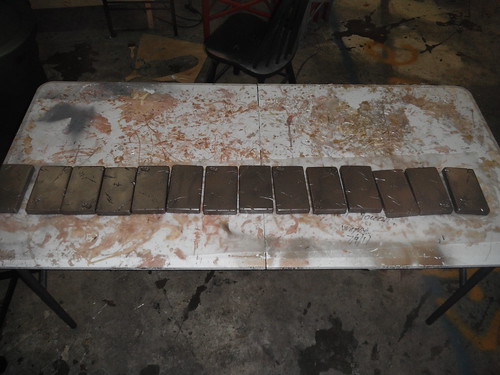
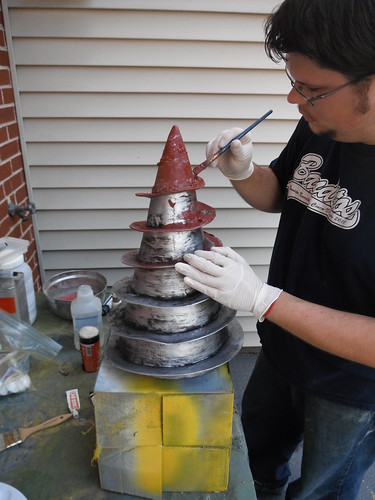
The belt weights were made by carving 3 blocks with different types of damage and making molds. 15 copies were cast and weathered, and attach to the main belt with zip ties.
Casted Weights
Painted Weights
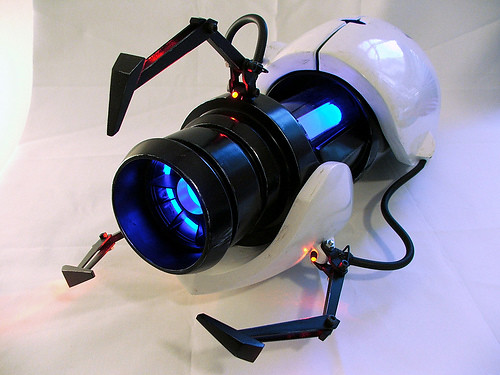
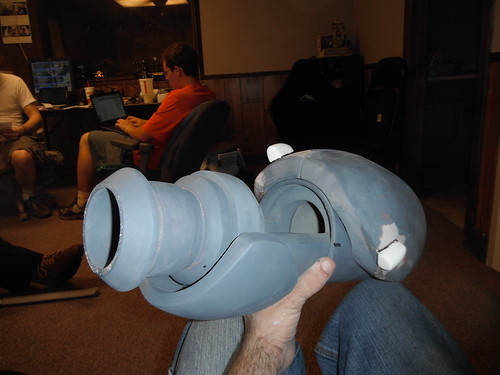
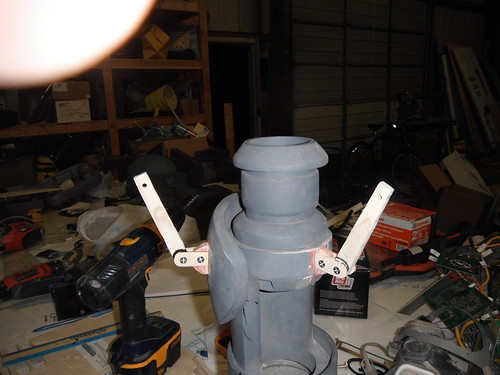
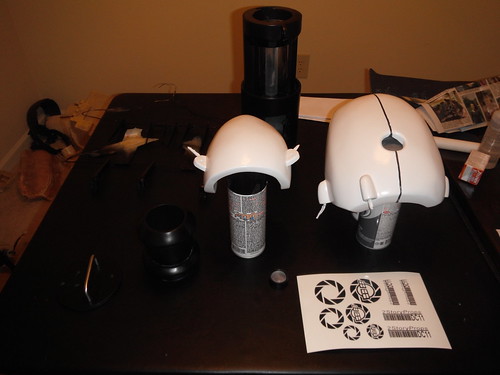
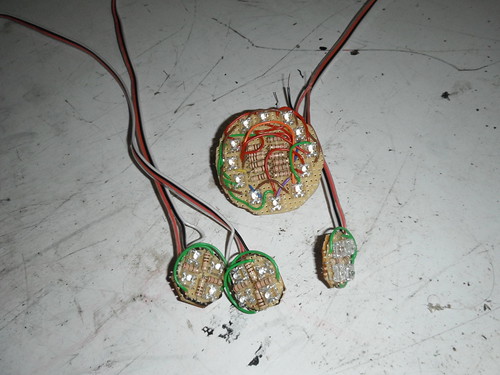
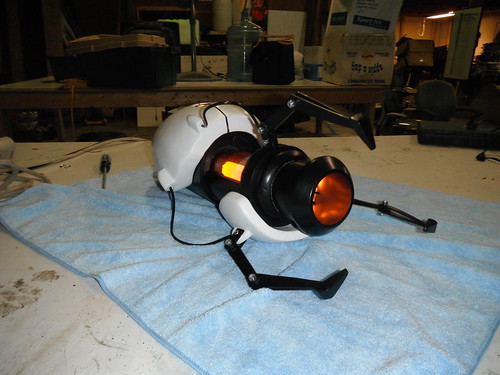
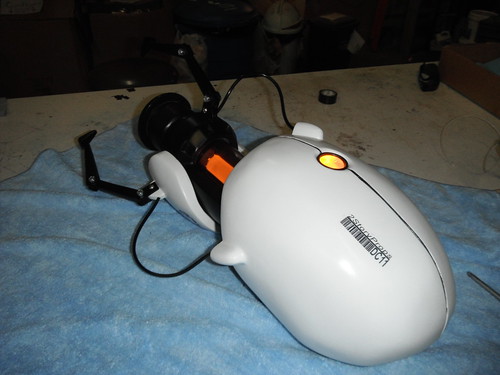
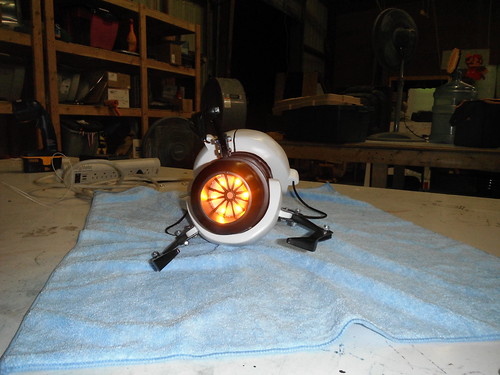
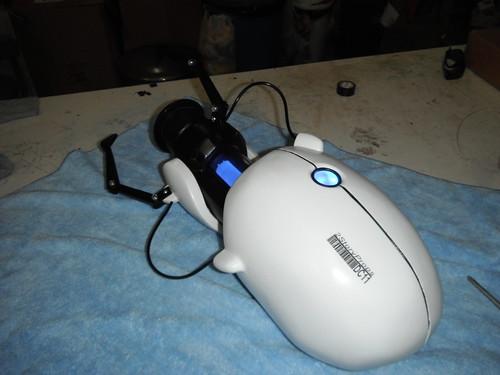
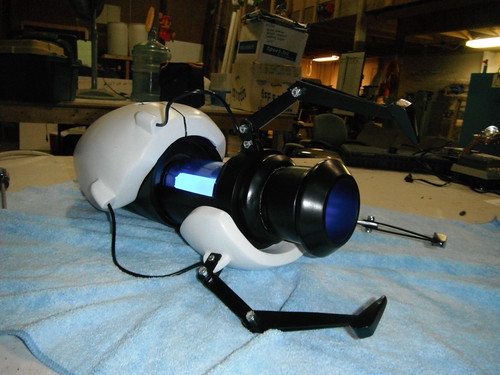
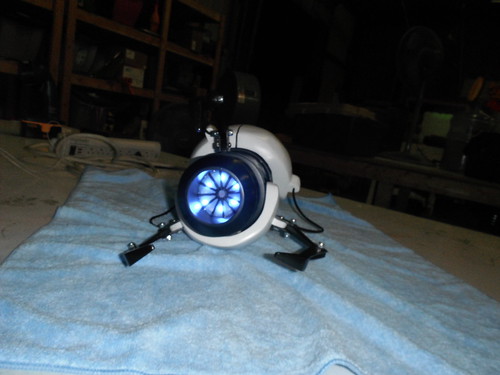
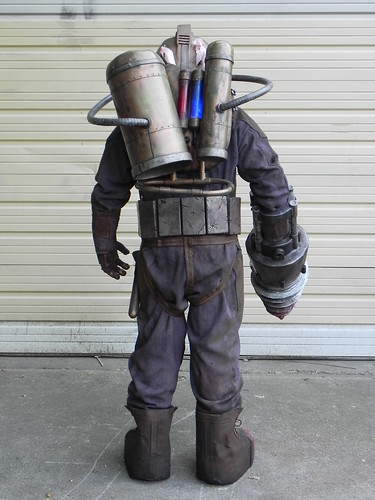
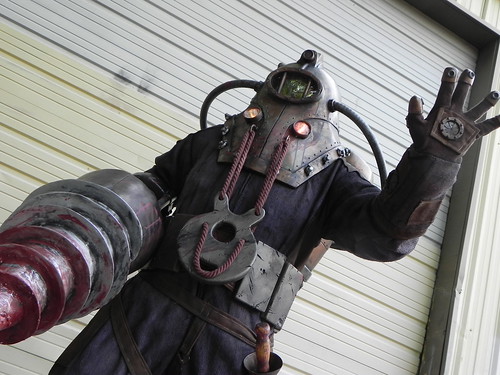
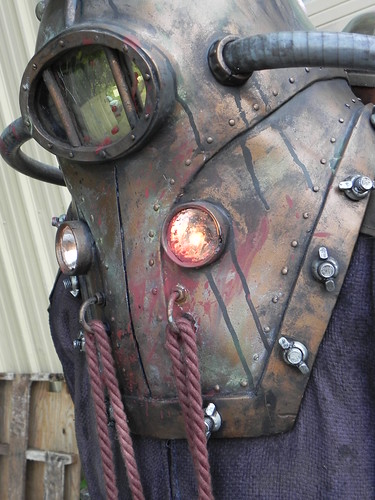
Using lessons I learned building the portal gun, I made two boards for the Adam and Eve tanks with the appropriate super bright LEDs. The front lights on the helmet are actual bulbs to provide a soft yellow glow rather than the clean light from an LED. A 4” fan was installed in the right tank to blow air into the helmet. In total there are 20 AA batteries in the helmet allowing it to run for 8 hours.
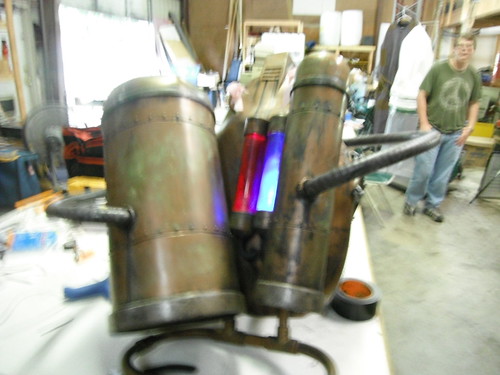
Adam and Eve Tanks
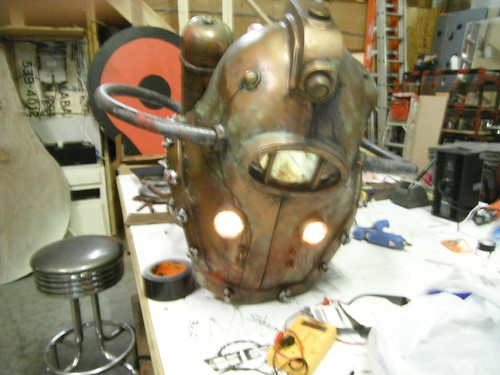
Helmet Lights on
With construction complete, Dave and I began weathering everything with acrylic paints and mineral spirits. The jump suit also received an ample amount of spray paint.
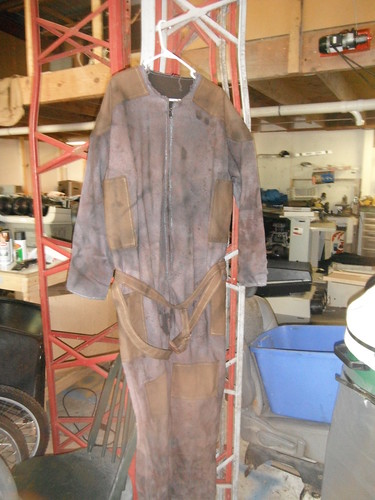
Dive Suit
David Meating the Drill
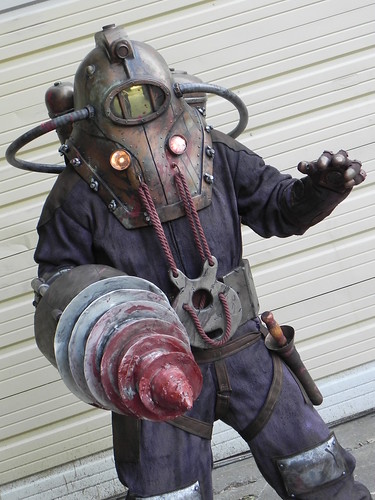
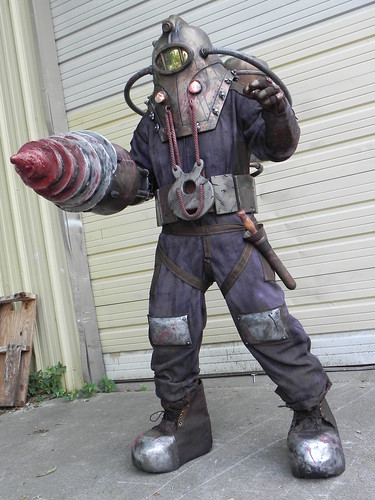
After a week of weathering it was time to put the full suit on for the first time. This is the result of over 8 months of work:
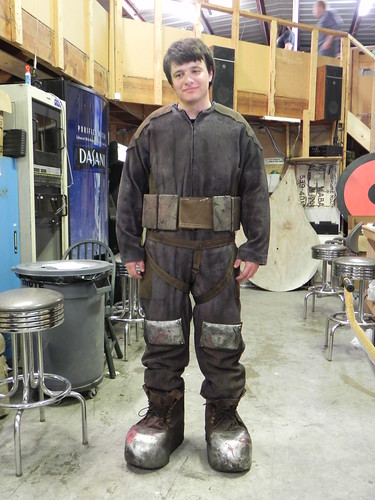
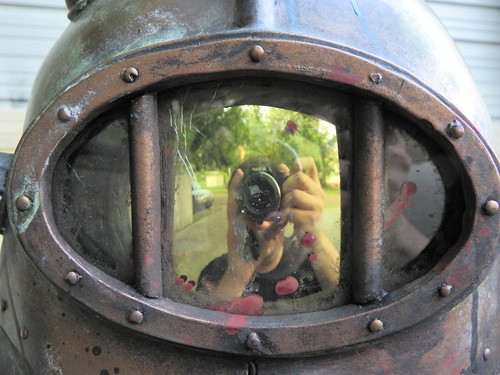
Proof I am inside the suit

And some movies of walking and the drill in action:
I am very pleased the look of the suit. Personally I have never made shoes, or moving props, or anything like this before so it is a major accomplishment for me and defiantly a bit of a self-esteem boost. We ran into a major issue through which I down played for a long time, heat exhaustion. For this shoot I had the helmet fan on and the two front ice packs in the cold vest. At the time I was planning to make the gasket for under the helmet which would not have fit with the back two in. I was already sweating even before I put the suit on as the weather in Huntsville has regularly been over 90 degrees this week, and the shop is not air conditioned. The padding didn’t help anything either. After about 20 min the heat finally hit me like a brick, and we had to get me out of the suit. The air conditioning at the convention will help by actually putting cool, dry air into the helmet, but padding will be removed and much of the Rothco jumpsuit will be removed. Additionally, I will be wearing the full cold vest with all four packs as well as some cold bandanas. We are planning another photo-shoot on Saturday so we’ll see how much the improvements help then.
If you want to see the suit in person, you will need check out the Friday Night Costume Contest on September 2, at Dragon*Con and cheer us on. Due to the thermal issues and mobility restrictions I will not be walking around the convention in this suit as we did with the ODST or the RCGB. Those suits are much, much more comfortable than this thing.
Thank you everybody who has been following the build. This was a personal attempt to push the limit of my abilities and win or lose at D*Con this was a huge success. Your comments on facebook and the forums keep us working to impress you all.
And finally a big thanks to my partner in crime David. There is no way on earth this ever would have happened without his help. Last year when we finished the ODST he said that that project proved that we could build just about anything, and I think all our projects this year have demonstrated that point. Check back soon for updates on our Daft Punk Suits and we hope to see you all at D*Con!
Check out all the Delta Related Pictures Here