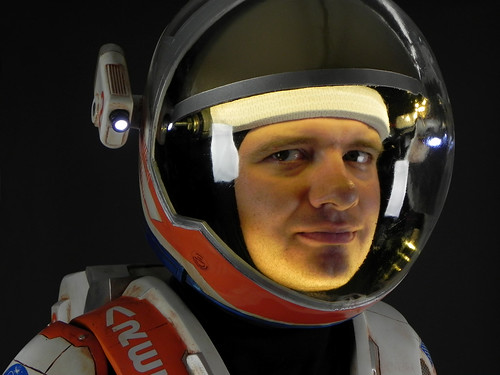
While The Force Awakens was great, my favorite movie of 2015, and in my top 5 of all time is The Martian, which is a story of how Mark Watney uses math, science, and ingenuity to survive after being stranded on Mars. I read the book in July that year and made all my friends go see the film on my birthday as the opening was the same weekend. The film was amazing and I knew what my next costume project was going to be. This was a very labor intensive project with many separate components, so I’m going to split the buildup into its various components. We’ll start off with the helmet and work our way down.
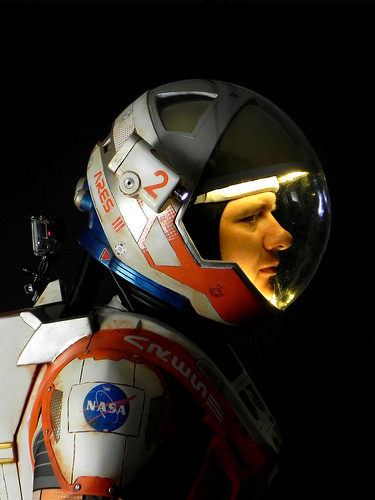
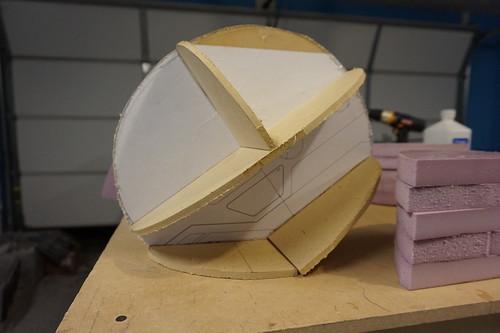
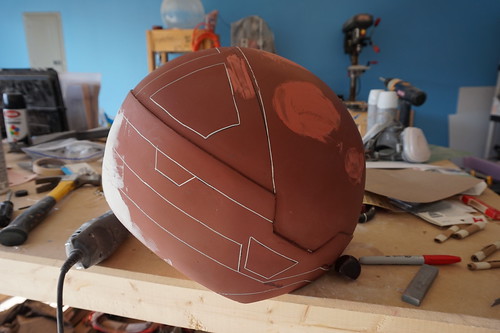
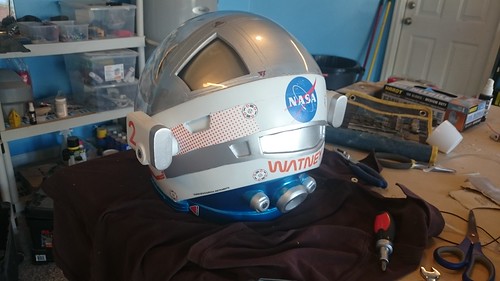
When the movie came out, AMC theaters was raffling off 5 “replicas” of Watney’s helmet. Lucky for me, a friend of mine was one of the winners, so I had a reference I could hold and feel. Additionally, Captain April on the RPF created a 3D model and PDF file of the side view of the helmet. Using the PDF I created a MDF skeleton, then a base sculpt with pink insulation. The shape was sealed with EpoxACoat then smoothed with Bondo. Since the helmet has a visor I built up an edge using .04” styrene to ensure the lip that the visor would sit on was a uniform thickness. Using some of David’s carving tools, I etched the panel lines in and the outline of the recessed areas.
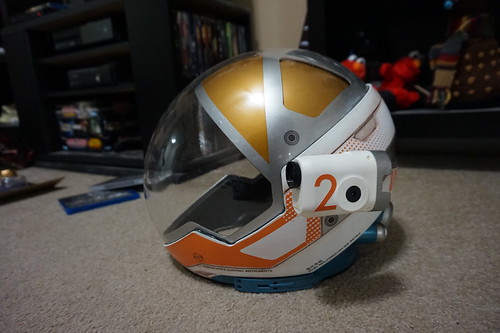
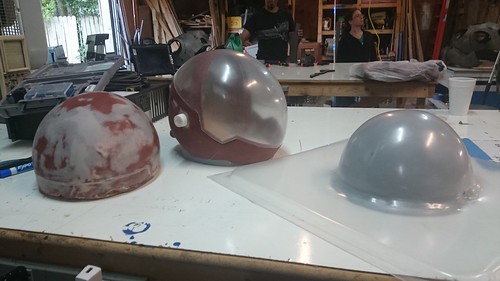
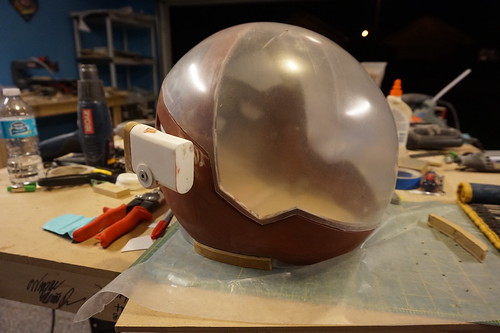
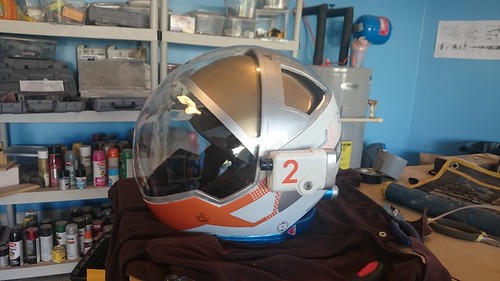
At this point I needed a hollow casting to finish sculpting and the buck for the visor, so I made a mold and pulled 2 castings. One casting was reinforced with expanding and sanded down to become the vacuum forming buck. The main visor was then pulled from 0.09” PETG.
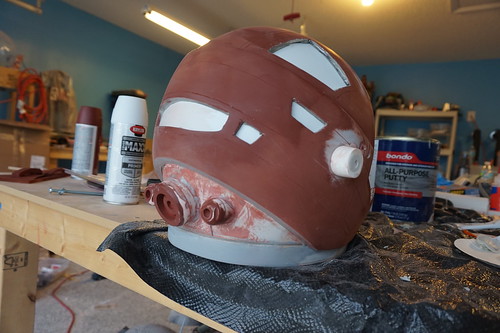
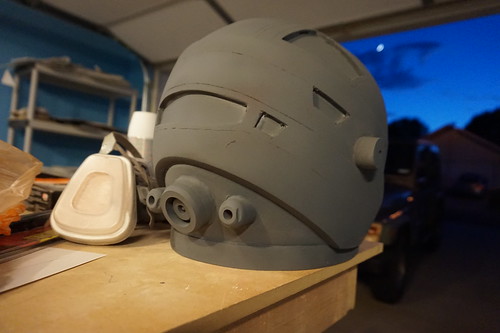
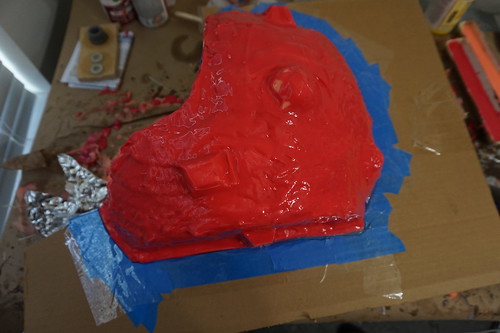
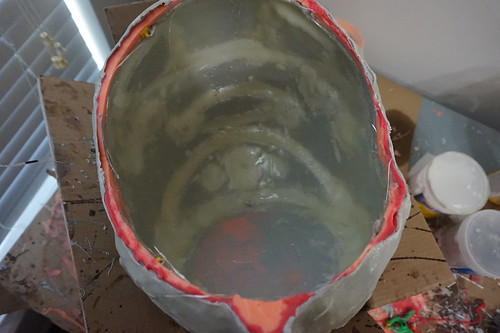
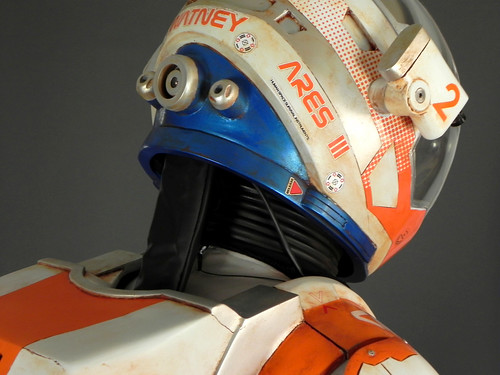
The other casting was refined into the final positive. The neck ring was added, the gas ports on the back integrated, and the head lamp mounts and recessed areas added. Molding was a bit different than all our previous helmets. Instead of making the neck hole the opening in the mold, I made the visor area the opening the access point. A single piece mold was made using Rebound 25 and a EpoxACoat/EpoxAMite mold jacket.
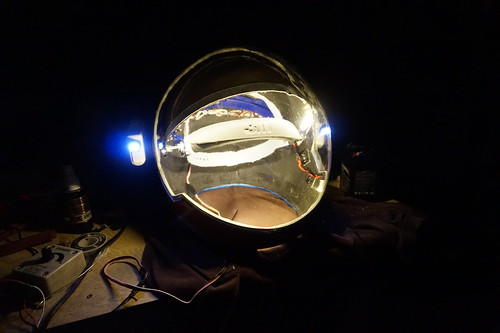
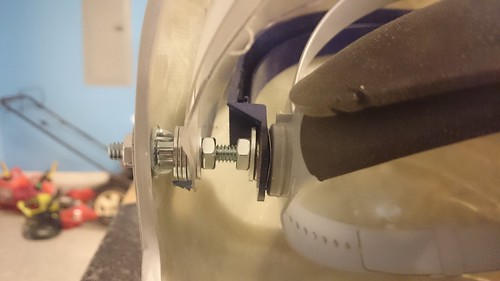
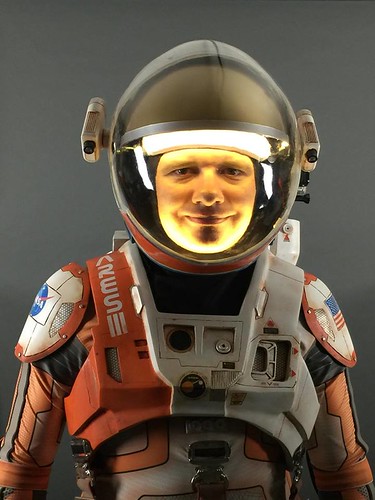
The helmet casting is made with 2 layers of EpoxAmite, then FreeForm Air is added to all the corners where the fabric would have trouble bending. Two layers of EpoxAmite and fabric were added and allowed to cure for an evening. The result was a strong but light weight casting. Clean up was very minimal, but before painting I had to figure out how to physically wear the helmet. The method I got to work was to use a face shield head band. The pivots bolt into the side of the casting and the portion that would normally hold the visor was trimmed and attaches to the back of the helmet with one screw. The buck for the inner visor was made like the helmet using foam, EpoxAmite, and bondo for the buck and 0.09” PETG for the pull. It was then painted on the inside with gold paint.
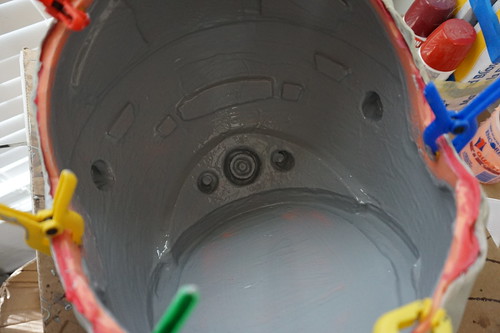
The head lamps were sculpted using MDF and PVC. The sculpts were molded and roto cast in SmoothCast 65D so they would be hallow. A small pen light was dissected and the lighting element added with a wire going into the helmet.
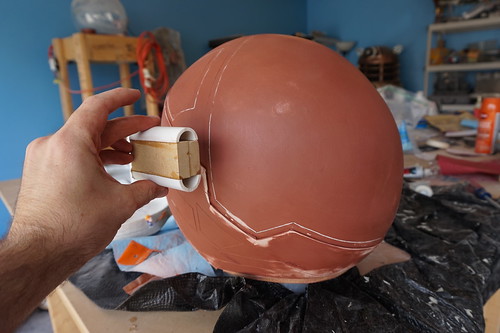
The helmet was painted with Krylon paints, except the blue which is DupliColor Bahama Blue Met . The decals were printed at a local sign shop on vinyl using a PDF file Captain April posted on the RPF. After applying the decals, the helmet was weathered with Burnt Sienna acrylic paint.
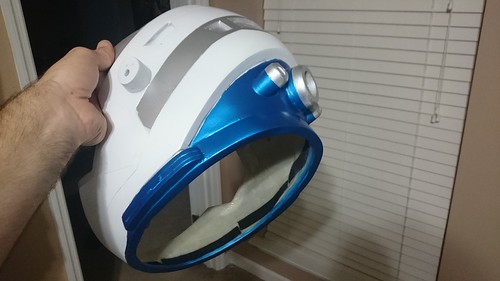
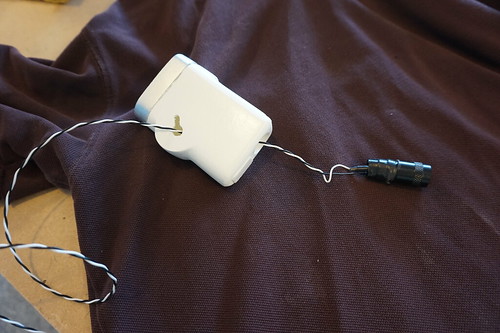
The inner lights are self-adhesive amber LED strip. The led strips and the lamps run to a 3 cable servo wire, which plugs into wiring in the torso section. I’ll cover more of that in part 2 of the Watney write up, so stay tuned!
To stay up to date with our other projects, be sure to like out collaborative page 2StoryProps and my personal page A7L Props on Facebook!
For more build pictures, visit the flickr album here.
Thanks for reading!
-Wayne


I really enjoyed reading you whole information you shared with us. Thank you. helmet with bluetooth
ReplyDeleteTHis is really good! Can you show better images of the decal text?
ReplyDeleteThanks, I know this is a somewhat dated blog, but just stumbled across it. I am looking to build a a spacesuit based on some concept art i found online. I am hoping to have it ready for the fall cons in 2019. Your work helps immensely.
ReplyDeleteHey Wayne,
ReplyDeleteThanks for this.
I hope you enjoyed your weekend
ReplyDeleteJoker388
Joker388 Judi Ikan
Slot Joker123
Joker123
Sejarah Slot Joker123
Thank you for your help
ReplyDeleteBermain Slot Joker123
Anekamasakan.web.id
Daftarbankindonesia.web.id
Daftarfaunaindonesia.web.id
Daftarfilmkorea.web.id
I hope you're having a great week
ReplyDeleteDaftargameandroid.web.id
Daftarnegaraterkaya.web.id
Infokorea.web.id
Daftarbankindonesia.web.id
Daftarfaunaindonesia.web.id
I hope you're having a great week
ReplyDeleteDaftarfilmkorea.web.id
Daftargameandroid.web.id
Daftargubenurindonesia.web.id
Daftarhargakomoditi.web.id
Daftarhewanmitos.web.id
Thanks for getting in touch
ReplyDeleteAgen Joker123 Indonesia
Agen Slot di Indonesia
Judi Slot Casino Online
Situs Judi Slot Terpercaya
Slot Joker123
ReplyDeleteIt's great to hear from you
Tembak Ikan Uang Asli
Judi Slot Joker123
Agen Joker Gaming Indonesia
Joker123
Agen Slot Joker123
Bandar Joker123 Judi Slot
Looking to enhance your photography? Check out this website to buy props that will take your photos to the next level! Whether you need backdrops, lighting accessories, or unique props, they have a wide selection to choose from. Elevate your creativity and capture stunning images with the help of high-quality props. Don't miss out on the opportunity to enhance your photography skills. Buy props today and unlock endless possibilities for your next photo shoot!
ReplyDeletehi
ReplyDeleteWhat an impressive build! Your detailed breakdown of the Mark Watney helmet showcases exceptional craftsmanship and dedication. For prop makers and packaging enthusiasts aiming for precision and durability, consider Kingchuan Packaging's PETG Shrink Film. Known for its high clarity, excellent shrinkage properties, and resistance to impact and abrasion, it's an ideal choice for packaging and labeling needs.
ReplyDelete