
http://www.facebook.com/album.php?aid=2954209&id=1921590&l=1a7c9427bb
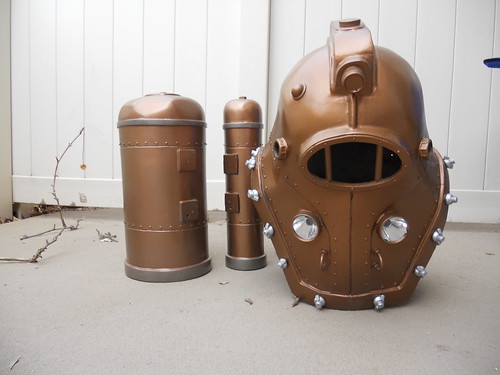
Since the original post the master positive received A LOT of cosmetic work. A balsa camera was added, the face plate was shapped from ply wood and plastic, and chest lights were made by molding a mag light and making two resin castings which were attached to the helmet with hot glue and blended into the helmet with bondo.
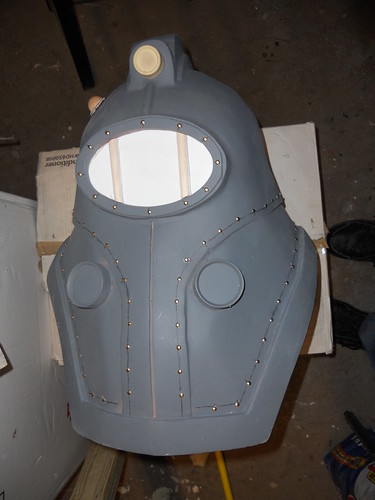
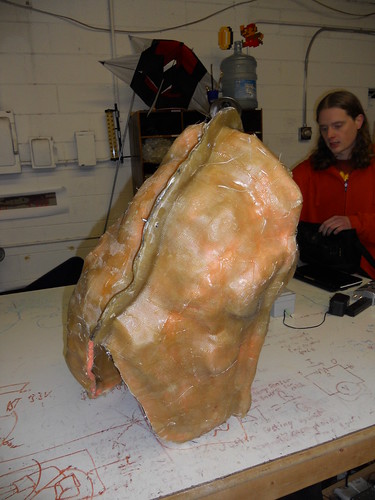
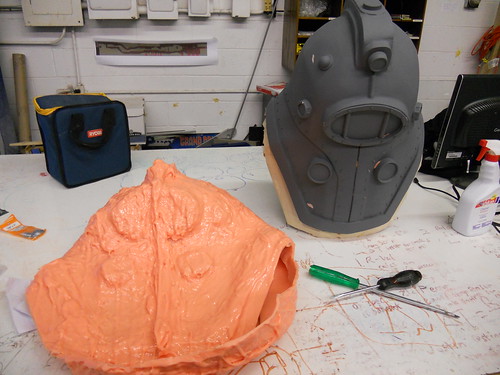
The rivets were added by pounding finish nails into the helmet. After the nails and other small details were applied, I made a silicon rubber mold of the helmet to produce a lightweight resin casting for the final product. With the casting pulled, the handles, weight supports, rear guard, made from PVC, and other small details were added to the helmet, followed by several coats of Krylon Hammered Copper Paint.
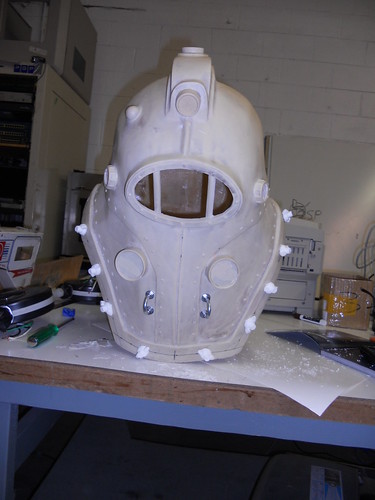
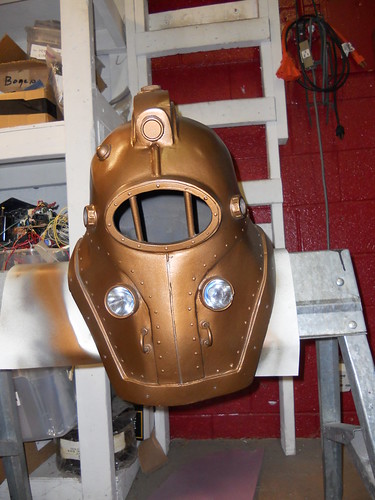
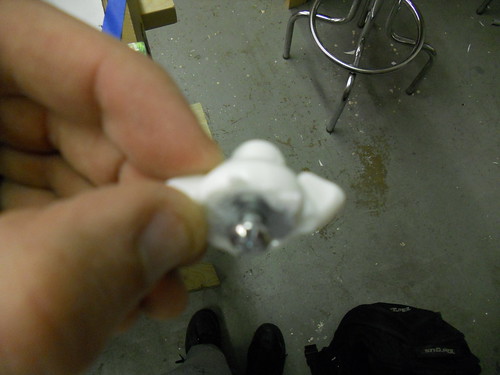
The wing nuts are actually castings. I took a ½” wing nut and grinded it to the proper shape, and then made a silicon mold. I then casted resin copies with a #8 nut inside so the nuts could be bolted to the helmet. The nuts were painted silver to provide contrast with the helmet.
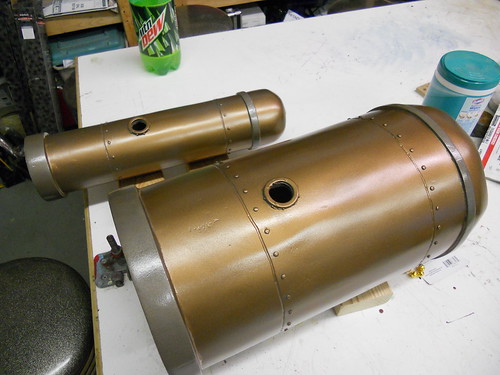
The two main tanks were made from cardboard tubes coated in resin and bondo. The top of the tanks were sculpted from great stuff expanding foam and then coated in fiberglass and bondo. The rings are made from balsa and the rivets are once again finish nails. The tanks are designed with a flat surface so they can be bolted to the helmet without wobbling. With the tanks and helmet painted they have now been handed off to David for weathering.
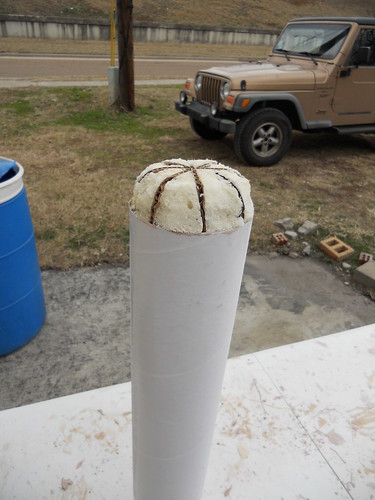
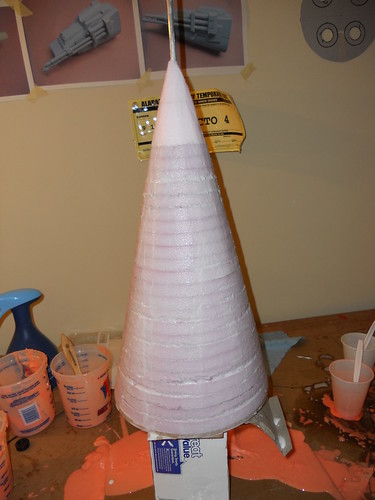
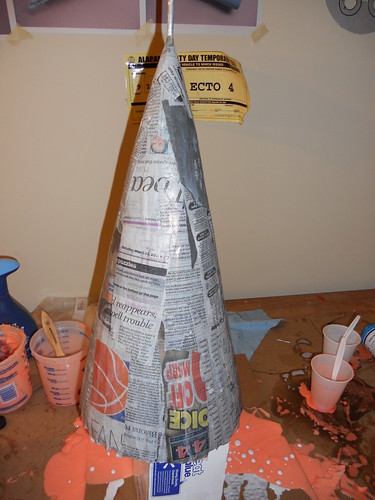
The drill is still a work in progress. I started with several foam disk glued together and sanded to form a cone. The foam was then covered in a layer of paper mache to prevent the resin from eating it. I then used poster board to form the threads and coated the whole thing in several coats of resin to provide strength. At the moment I am sanding it down and should be applying primmer soon.
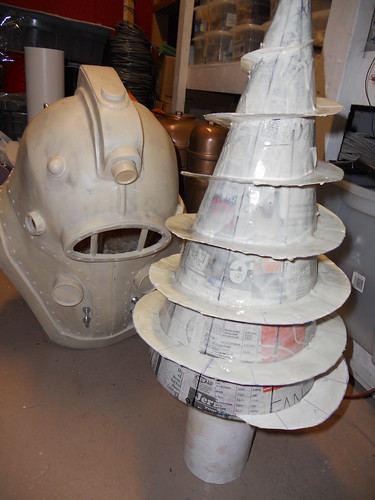
The helmet will take a few weeks to months to weather as we research techniques and work on other projects. In the mean time I am working on the drill, which will spin via a heavily modified 12 drill. I will make a post when that reaches a good pause point.