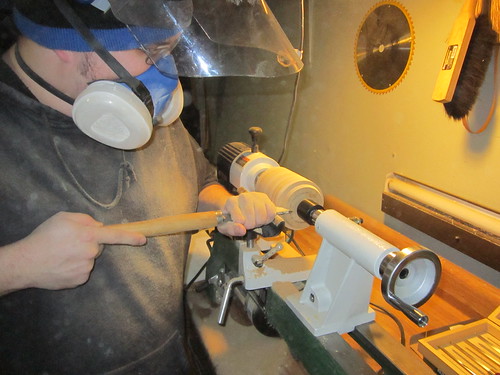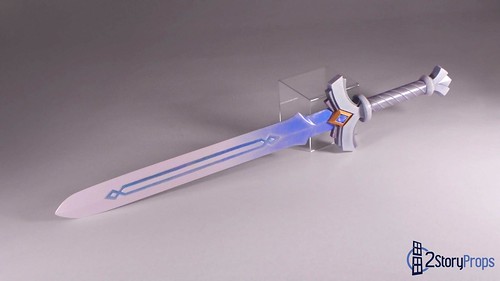
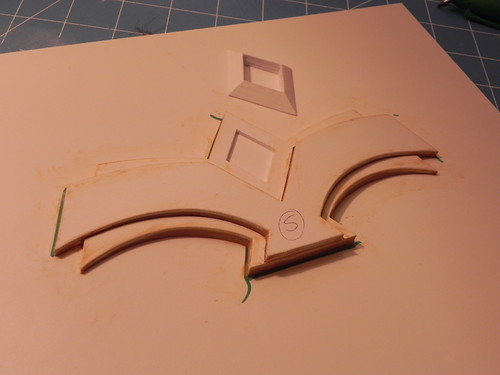
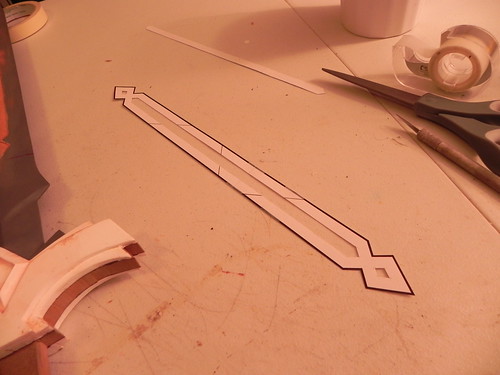
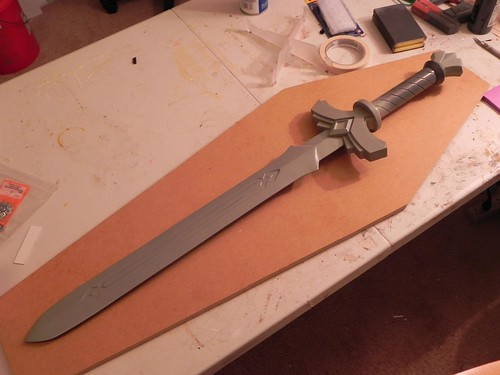
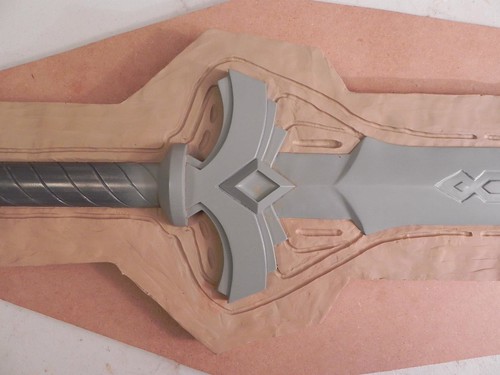
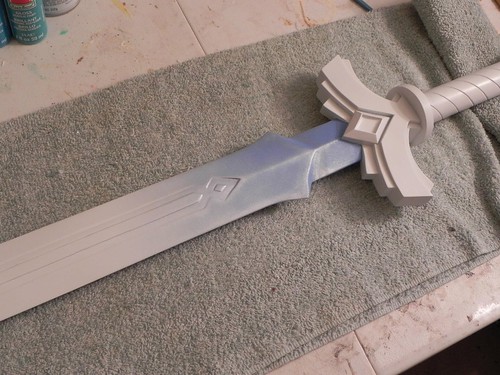
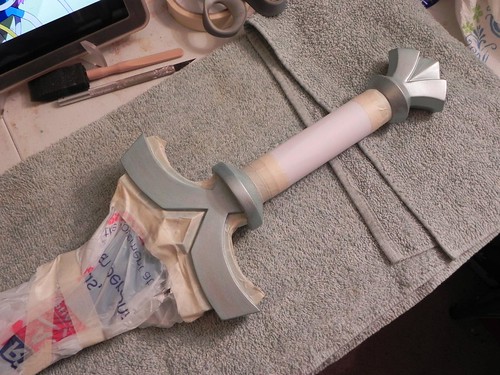
The Goddess White sword is the third incarnation of the Goddess Sword, the sword that eventually evolves into the legendary Master Sword, from The Legend of Zelda: Skyward Sword for the Wii. The White Sword is not an unique sword in the entire LoZ canon, but it sure does have a unique look within the context of Skyward Sword. Most builders, if they're building anything from any LoZ game, are building the Master Sword. I chose to embrace the uniqueness of this sword, and it's certainly become one of my favorite builds for several reasons. I'll go ahead and state this so you're aware: this build isn't too much different from my Pipit's Sword build, so I'm just going to hit the highlights. Like Pipit's Sword, this sword began as a template I drew from the game models. I originally intended to build the blade separately on this sword, but that design fell through and I decided to start over with a blade-on design. Fortunately it was so close to the beginning of the project that there really wasn't any work lost. However, during that whole hiccup, I did start on the cross guard details, which are essentially constructed in the same manner as Pipit's Sword: layered sintra with clayed-in gaps, then molded and cast for exact duplicates for each side of the sword. During that hiccup I was also able to turn a few pieces for the hilt on my lathe, so I really didn't loose any real work at all.

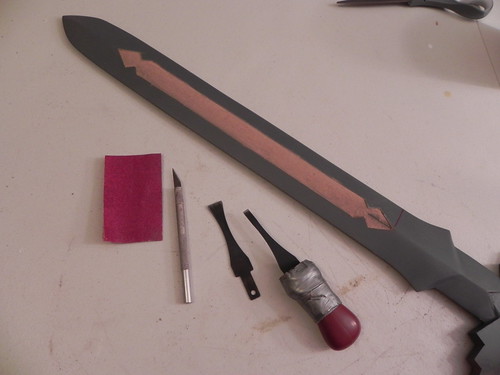
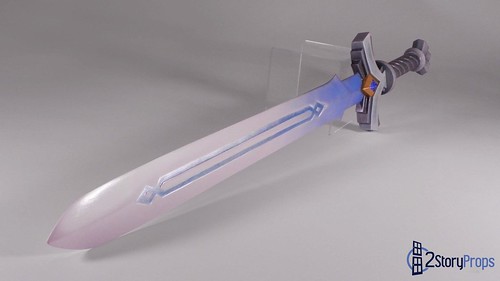
Just like Pipit's Sword, I shaped the blade with a dremel, power sander, and belt sander, so really there's hasn't been anything terribly new up to this point. However, the Goddess Swords all have this decorative blood groove down the blade, so I transferred the shape to the blade with my template. Then I took out my carving tools and started removing material and sanding it to shape. After that, I finished up the blood groove with a few bits of plastic sheet for the center raised detailing.
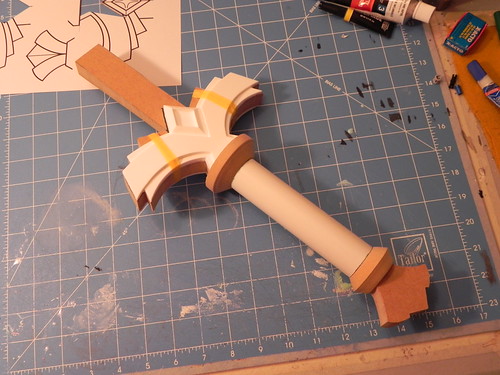
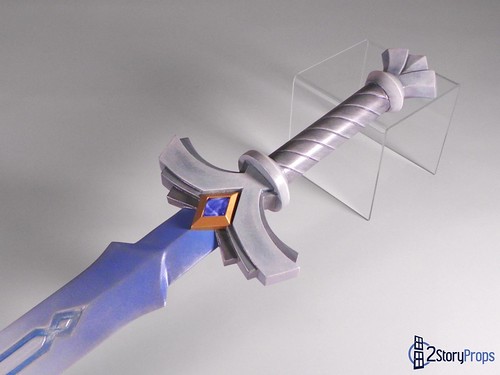
The grip was probably the most intricate work on the entire build. Unlike Pipit's Sword that could be left plain, this one had carve grooves running down down it's length. The tricky part was that it's four spirals equally spaced from one another. After about an hour and a half of taping and retaping my groove lines, I carved them out with a dremel and smoothed the grooves out with a file.

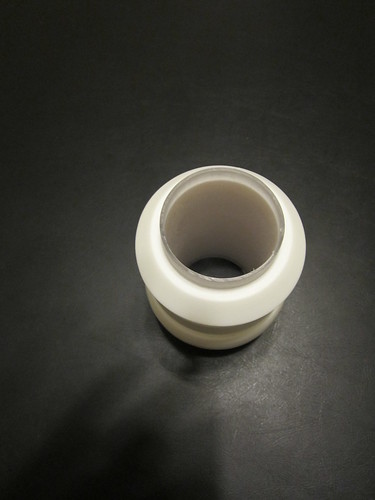
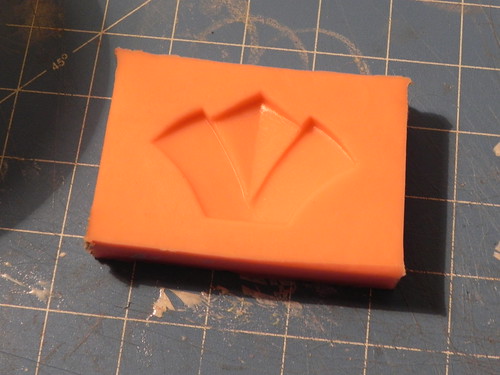
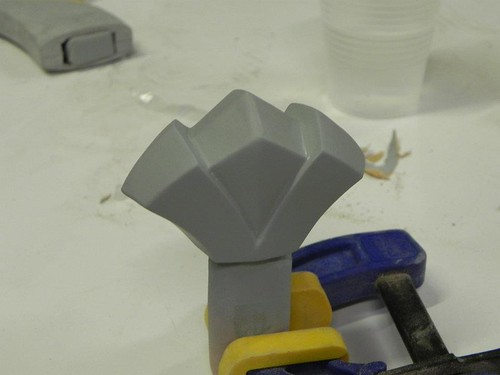
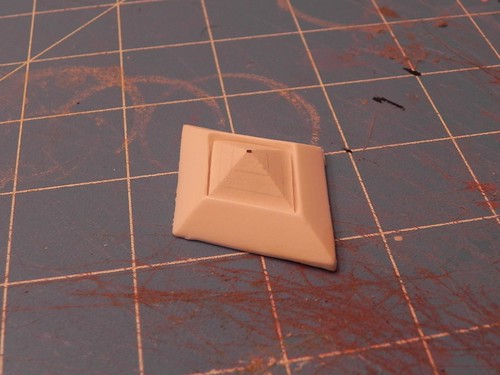
Unlike Pipit's Sword, I had some detailing to do on the pommel, so I sculpted an original facing based on my template and made a mold of it so I could cast two duplicates, one for each side. I also added some Apoxy Sculpt all around the pommel so I could make a nice bevel leading to a single point all along the perimeter of the pommel. Unfortunately I don't have a photo of the Apoxy Sculpt part, but below you can see the final product.

By this time, the sword was essentially done, save for a little bit of smoothing and gap filling, and I still needed to mold it and create jewels for it. I put it on the back burner for a few months to pursue other projects, but picked it back up shortly after Dragon*Con 2012 because I set a due date of mid-November for it so I could get a final copy to Child's Play.
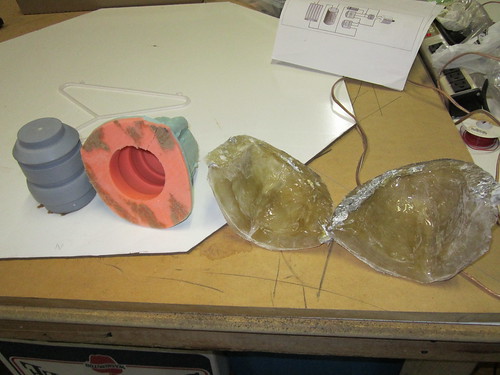
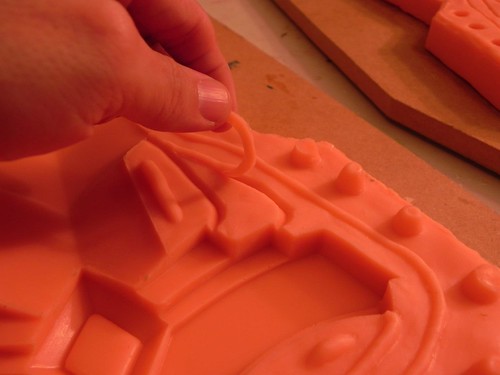
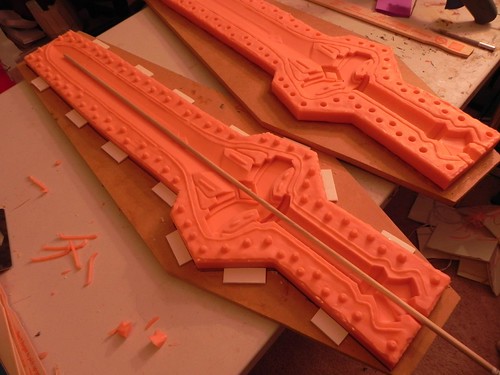
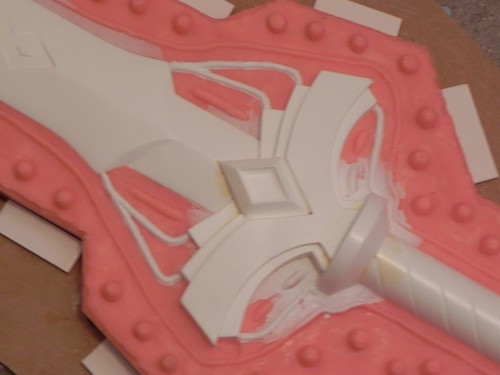
So onto the molding. Here's where it starts being a little different from Pipit's Sword. The design of the cross guard on this one presents a few problems. There are all sorts of funky angles and spaces where air can become trapped in it during the casting process. Up to this point I've never had any projects that required any sort of venting in the mold, but to address the bubbling issue I created a series of channels in the mold that would allow for trapped air to escape as the level of resin inside the mold rose as I poured it in. These channels created "sprues" of resin that would later be cut away, and they allowed for resin to fill in areas that would otherwise not fill due to trapped air. If you're not understanding it now, a photo further down this blog post will probably explain it a whole lot better than I could ever do with text, so sit tight.
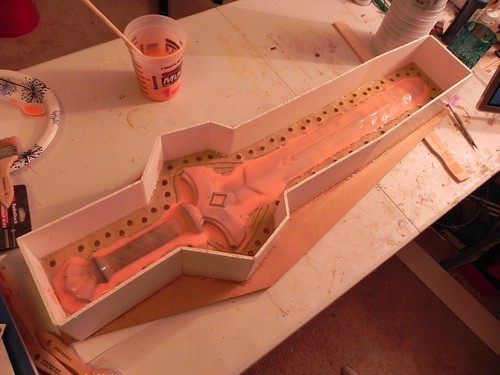


Once the rubber molds were done, I needed to carve out the channels. Previously, they were carved into the clay, and as a result, one half of the mold still needed some work. This was just a matter of cutting out the channels with an X-Acto blade. I also carved out my pour spout at this time, and created a few other vents in the pommel end to help with entrapped air. After everything was cleaned up, I was ready to cast!

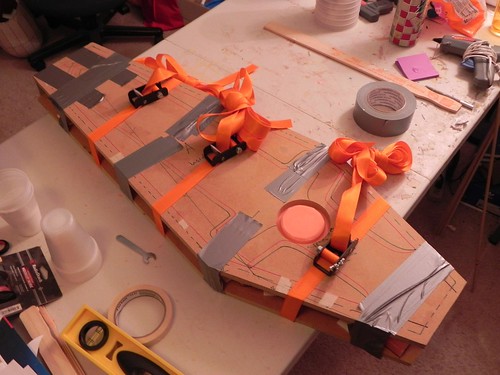
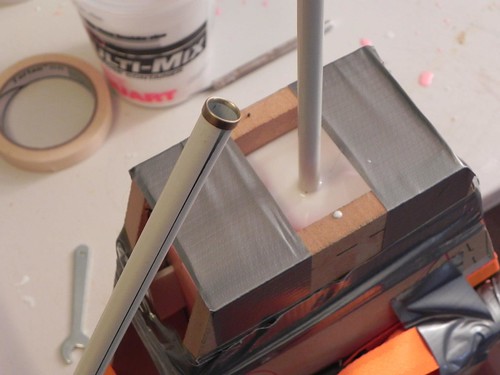
This sword project also varies from Pipit's Sword in that the blade is far thinner and would require an internal support in order to stay straight. I figured a metal rod would be the best choice, but I wanted to see if I could get away with using a wooden dowel. Unfortunately, the moisture contained in the wood and the heat of the resin curing caused the wooden support rod to warp like crazy. I don't have a photo of that, but I figured at that point I'd just move onto a metal support rod. My concern was that a metal support rod would way it down, and I liked the idea of this sword being relatively light-weight. The solution was curtain rods. They are lightweight aluminum, if not some other junk metal for cost reduction, and they're hollow. The hollow tube would allow for resin to fill it, so the bulk of the material in the sword would still be resin. The metal tube just provides the structure and keeps it straight.
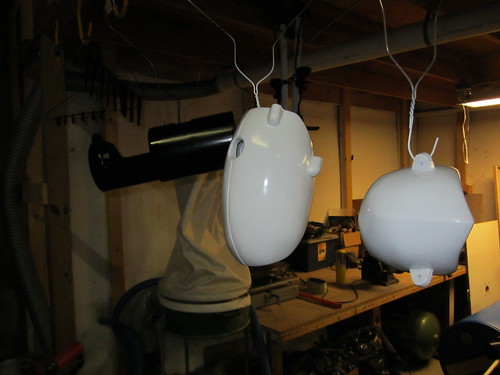
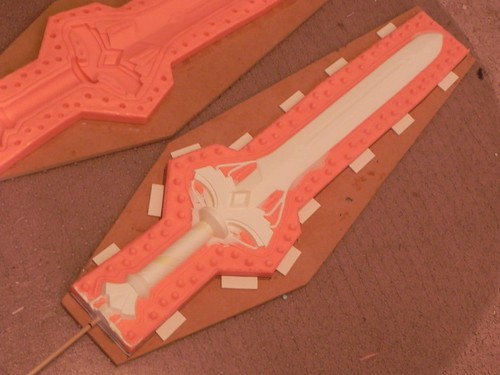
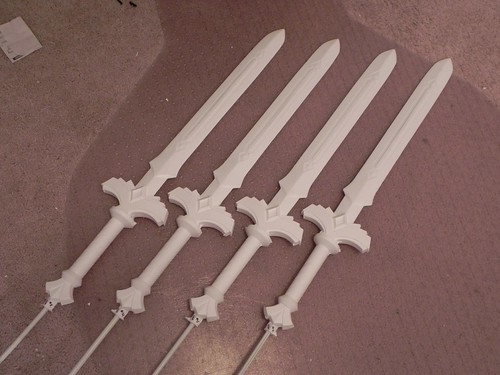
While I did still have a few bubbles to work around, the castings turned out phenomenal. The seam line is nice and tight, only requiring minor sanding work to clean it up, and the sprues just break off. There is a little shaping needed on the pommel where the pour spout was, but that's typical of any project where pour spouts are involved.
I'm not done yet, though! Obviously at this point I still need to clean up a casting and paint it, but I needed to make jewels for it! I wanted to wait until I had sword castings before I started sculpting the jewel so I wouldn't have to accommodate for any kind of shrinkage down the road. The shrinkage would be minimal (if any), but I didn't want to do any kind of carving or sanding on the jewel castings in order to preserve their natural shine. Anyways, I sculpted the jewel of of layered sintra and then coated it in a few layers of urethane to really make it glass smooth. Then I made a quick mold of it and cast a few copies out of some clear jewel-making resin I got at Hobby Lobby.


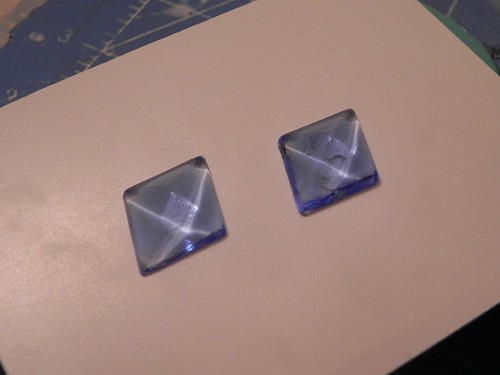
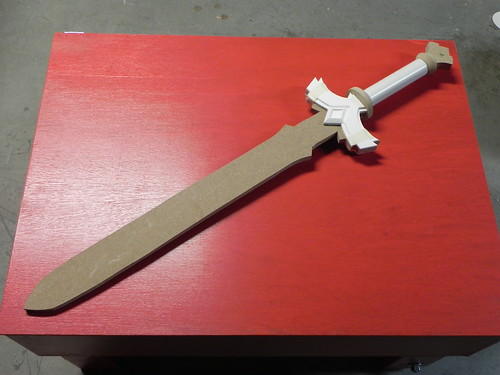
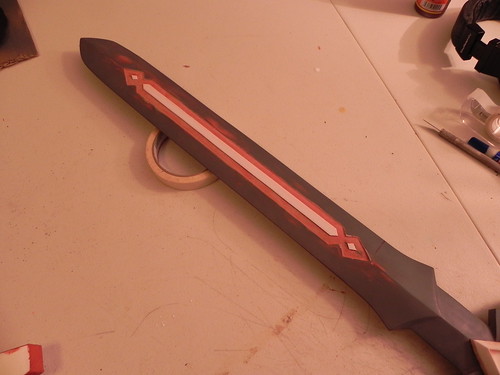
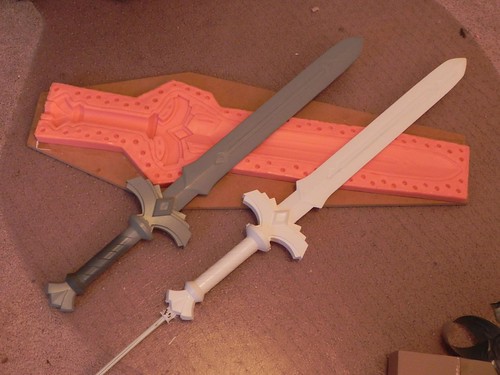
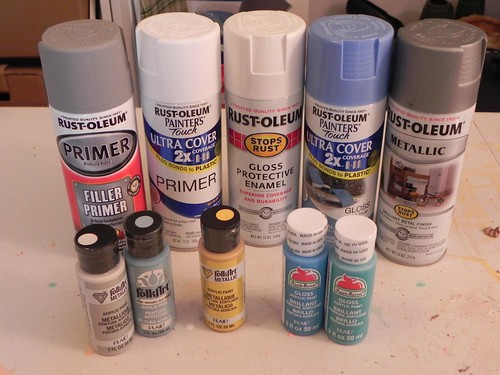
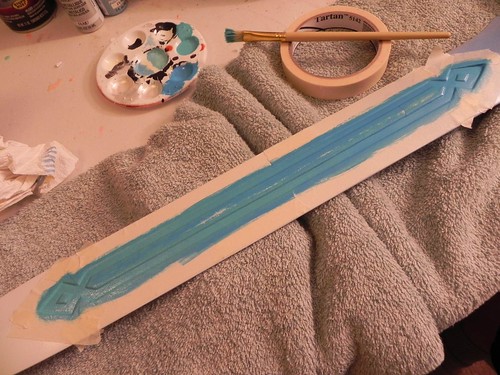
Onto painting! The painting on this one was pretty tricky and fun. While the name "Goddess White Sword" suggests that the main color on it will be white, that ends up being somewhat not true. There is indeed a lot of white on the blade, but there is a wonderful fade to blue as it nears the hilt. Plus, the decorative blood groove ends up being a fade from turquoise toward the tip of the blade to cyan toward the hilt. Plus, the coloration on the blade really sets off the hilt, which (in my opinion) is where the real fun of it is. Anyways, the fade from white to blue on the blade was done by misting my chose white and blue paints on top of each other until I got the right color and the right positioning. The blood groove was masked off, and the color was painted by hand. To get the fade on the blood groove, all I really needed to do was stipple one of the colors over the other since they were so close to begin with. The color change is subtle, but it's definitely there on the game model so I wanted it to be on this prop. The hilt was painted almost entirely by hand, with exception to a few spray painted layers for a good base color. This was primarily accomplished by applying a few light washes of color and then dry brushing on top of it.


This prop will be available for auction at the Child’s Play charity auction dinner in December of 2012, along with my two other Skyward Sword props.
Check out all the progress photos and final photos here:
http://www.flickr.com/photos/2storyprops/sets/72157628796302101/