
Since a full costume is going to be a nightmare to write about, I’m only going to write about the main features of the costume: the helmet, the armor, some of the main cloth components, and the weapons. This blog post will discuss the helmet and the pair of Nordic Daggers I opted to build for Dragon Con.
The Dawnguard Full Helmet
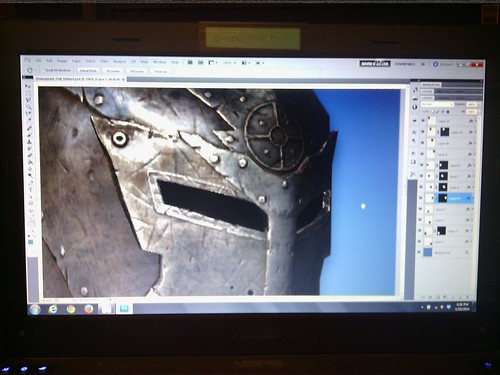
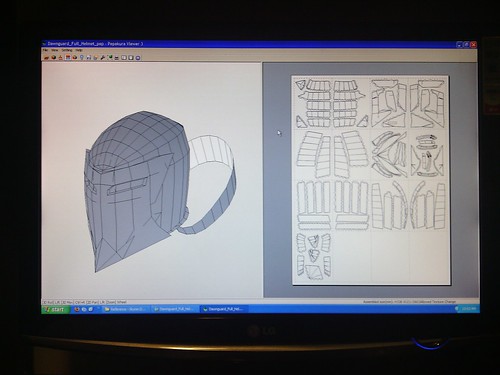
The helmet started off as a 3D model I designed, based on my own screen grabs. I’m not into pulling game models because they are often low-poly, or the polygons don’t match the implied shapes that the graphic skin display. It can be like a bowl full of chips – my intent is to replicate the lump of chips, but the bowl doesn’t work for me. That may be a rough analogy, but I don’t know how any other way to adequately describe the experience from my POV. Anyways, the 3D model was designed purposefully simplistic, so that my Bondo sculpting would be what you see in the end. The model was then processed through Pepakura, which shouldn’t be anything new if you’ve been following our build write-ups. So I won’t go into depth there.
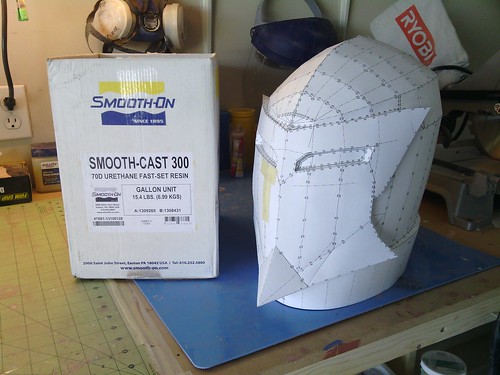
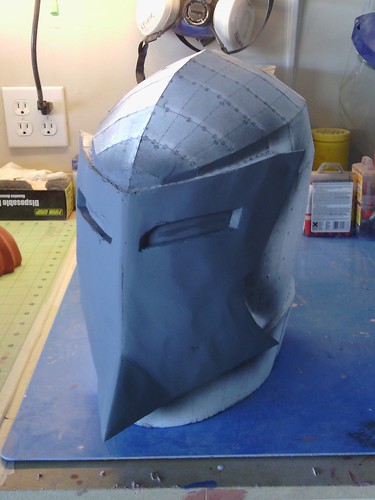
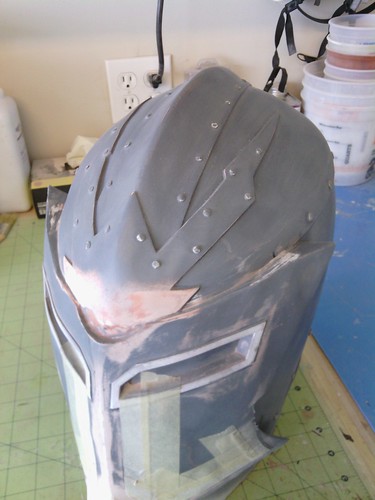
After the paper model was printed, built, and slushed in resin, I took to the Bondo work. This ended up being rather tricky for me. I’m used to sculpting something that’s supposed to be perfect and smooth, either with graceful, gentle curves, or hard, flat edges and faces. I set out to sculpt this helmet to appear as if the blacksmith who made it had to crank 15 of them out in a day, so I had to reel in the quality on this one intentionally – not to be lazy and produce a bad sculpt, but rather to intentionally make it slightly misshapen, rough around the edges, imperfect. You know, government quality. So this meant grinding in a flattened, semi-faceted surface throughout that would mimic the appearance of metal roughly hammered over a beat up anvil. I also wanted to intentionally weather it from the get-go, since all the Dawnguard stuff is super beat up hand-me-downs from a bygone era, kept up by a lone blacksmith.
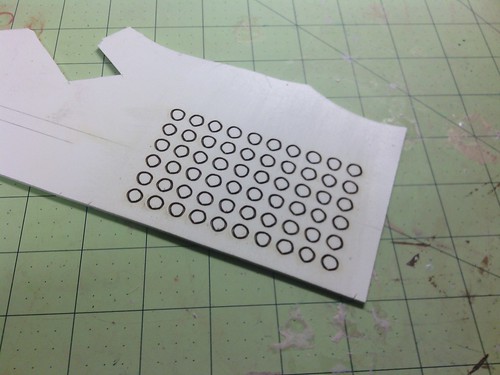
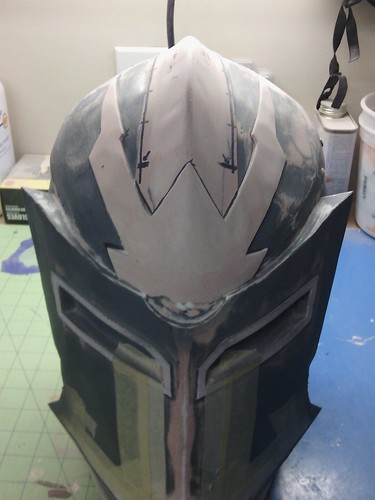
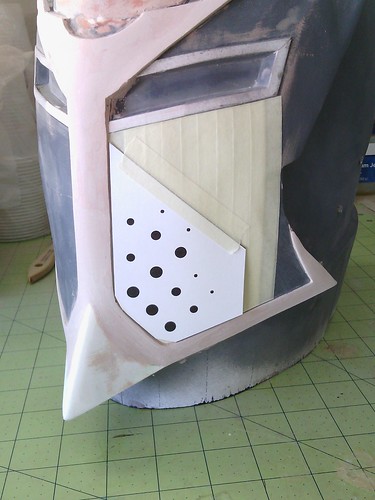
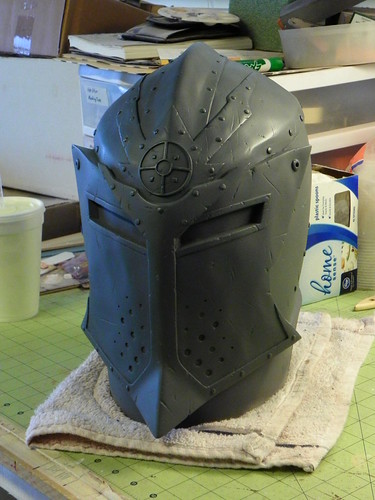
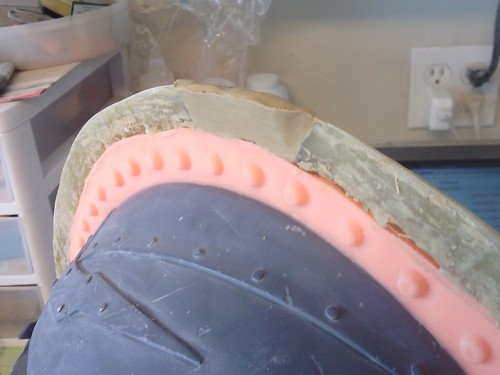
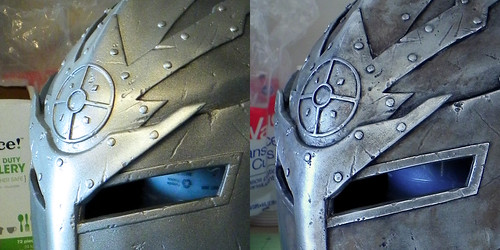
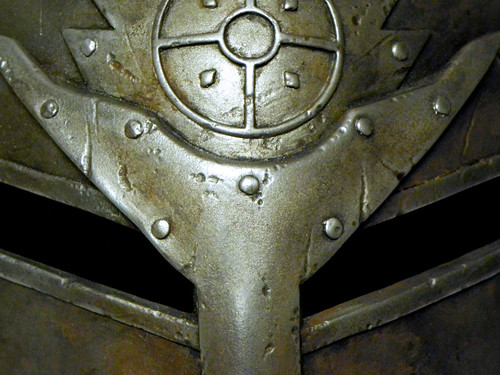
That’s not to say there isn’t careful detailing involved in it, however. I’ve been trying to integrate laser-cut components more and more into my builds, and this helmet gave me a perfect opportunity. In addition to the thin crosshairs logo on the forehead, this thing has too many rivets in it to remember a correct count, so I opted to laser cut a ton of little circles out of some sintra, glue them on, and then beat them up with some rough sandpaper. This would make every rivet unique, but would also give them the appearance of being soft metal hammered into place.
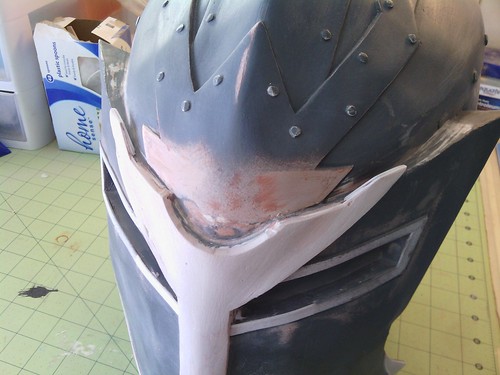
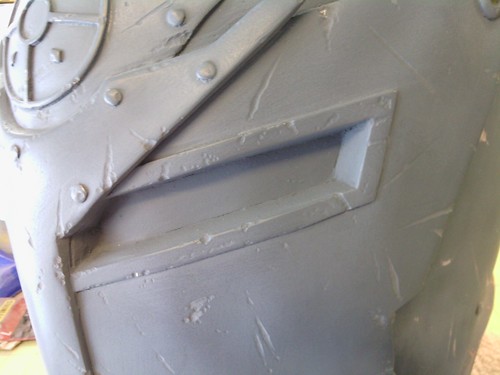
Overall, nothing terribly new was happening here. There was your typical Bondo work, which included the masking tape method wherein you peel up the tape while the Bondo is still wet to reveal a sharp edge. This method was used extensively throughout this build. There was also plenty of hand-crafting plastic sheet involved, primarily around the eyes and forehead details. The laser cut work was opted for out of time and labor considerations for the most part, but also just to make certain details less stressful to deal with.
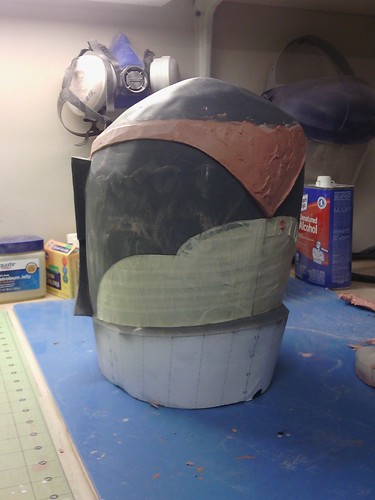
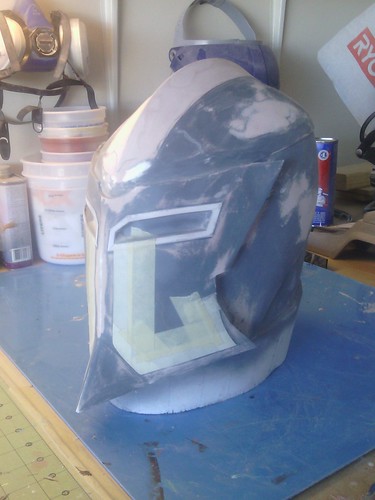
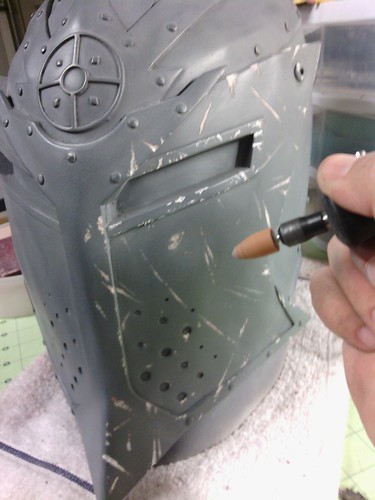
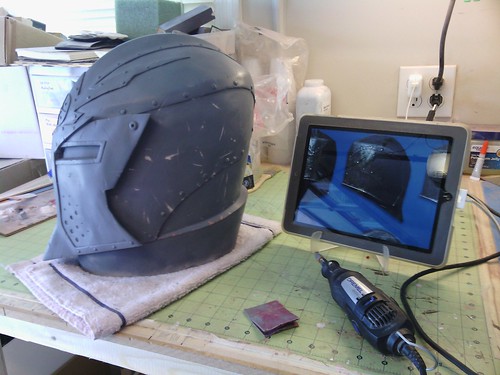
When the base helmet model was complete, the real work that would bring it into the world of Skyrim would begin. Prior to molding, I decided to weather it so that all the scratches and dents would be embedded in the model. A lot of people would frown upon that, since it would make it tedious to fill in if someone wanted to do a “clean” version. However, I decided that as the builder, I would play the part of the game and just give myself an old, beat-up helmet from the start. That’s how it is in the game, so that’s how it is in the sculpt. The weathering details were accomplished by “drawing” them in with a metal grinding bit in my dremel. I basically just sat there for several hours, scrutinizing my reference images while scratching it gouges and pits. It was really fun to do, and I think the effect worked out pretty well since they mostly disappear when viewed from only a few feet away. So it’s not like I took a pick axe to it; it’s a really subtle effect that will only bolster the painted weathering later on.
Then I took to molding the helmet. I decided a simple two-part mold with a seam right down the center would be easiest, based on the types of undercuts this thing had around the faceplate. Undercuts can be managed well enough if you plan for them ahead of time and work out ways of getting resin into them effectively. On this helmet, basically all the edges around the faceplate were undercuts in some regard, but they weren’t harsh enough to warrant some kind of crazy mold. Being able to peel the mold off in left and right halves made it easy to deal with. Molding material used was Rebound 25 from Smooth On, and fiberglass mat and cloth for the mother mold.

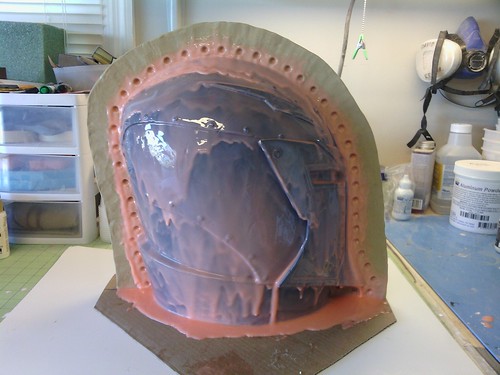
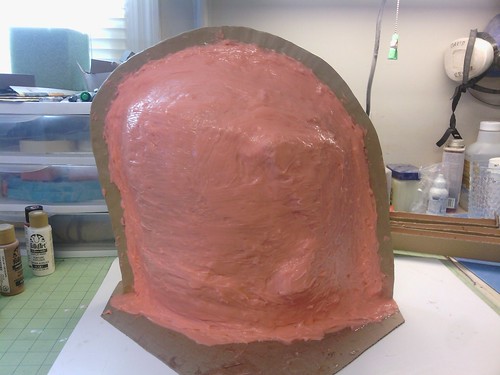
I look around for new molding techniques all the time, but oddly enough I hadn’t come across this until I saw Frank Ippolito (I think!) do this on his Zoidberg head mold. You sculpt a little wedge shape into the mothermold so that you can insert a pair of flathead screwdrivers into it. It makes demolding way, way easier, especially when you’ve had the mold cranked down tight onto itself for several hours during casting. The mothermold can lock up on itself, and the screwdriver slots remove unneeded stresses you might otherwise put on it by trying to twist, tug, or bend it.
And ta-da!
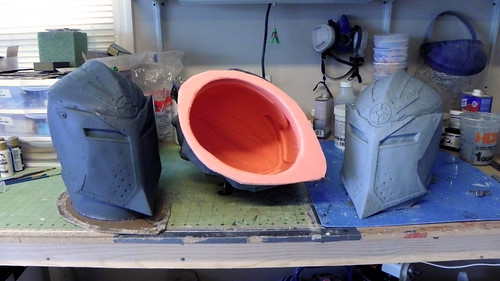
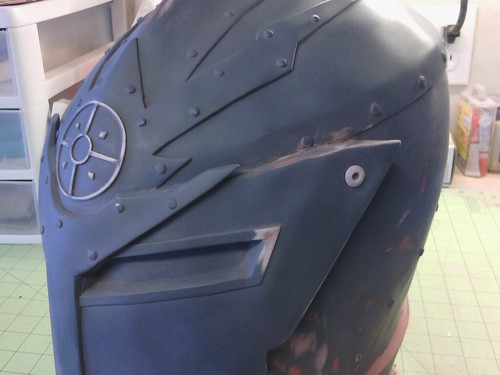
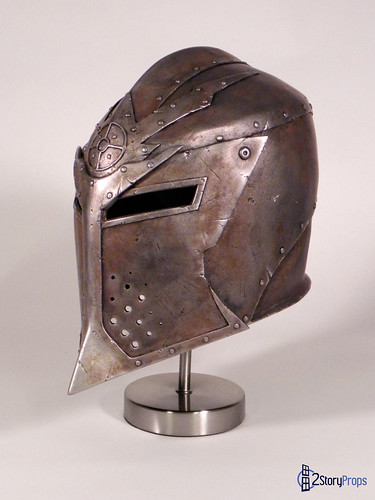
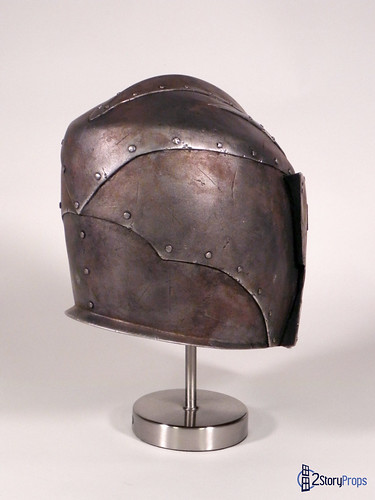
Next came paint. Luckily I was able to find two rattle cans that had the right colors for it. I don’t have any sort of fancy paint setup, so right now I just stick with rattle cans, hand-painting, and a little airbrushing. I’ve switched from Krylon to Rusoleum in my paint work, and their metallic are pretty nice. After a solid base coat was applied, I hit it with several black and brown washes, selectively adding in some minor rust effects and other isolated dirty spots. To really drive home the point that this helmet had been around for a while, I used some Rub N Buff on a lot of the edges to highlight the really worn areas. The key to using Rub N Buff in a weathering capacity is to use it very, very lightly. Both in how you apply it, and in how much you apply.
After painting, I spruced up the inside with a hard hat liner for comfortable convention wear, and a little black paint. Here’s some glamor shots on the final product.

The Nordic Daggers
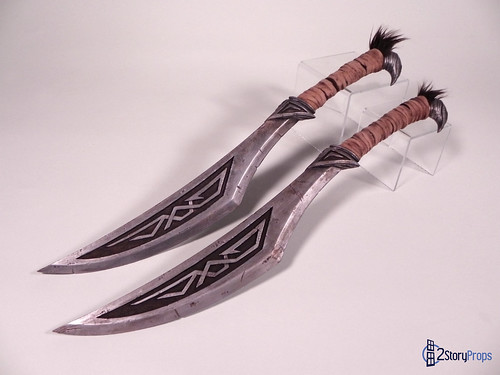
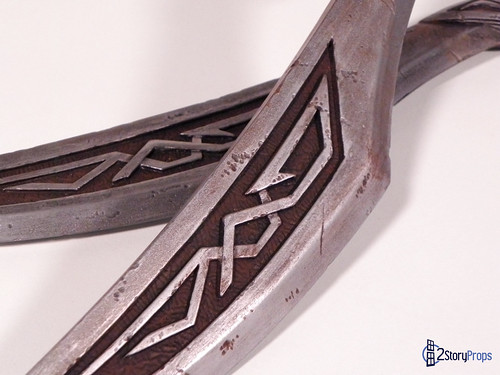
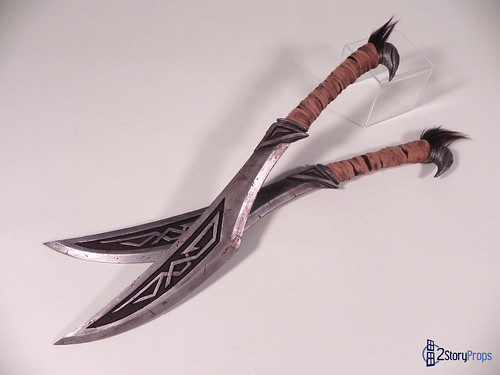
For the record, I do have Dawnguard weapons in progress, but with the full costume taking up a substantial amount of my time and financial resources, I needed some kind of smaller weapon that wouldn’t take long to build so I’d have something ready for Dragon Con 2014. I opted for a pair of Nordic Daggers from the Dragonborn expansion pack. Their dinky, cheap, practically harmless weapons in-game, but they are very dynamic looking items, and they share a design lineage with all the other Nordic weapons and armor throughout the game, the Dawnguard stuff included. So I felt it would be a nice to sport a pair of them with the costume until I’m able to produce a better weapon later on.
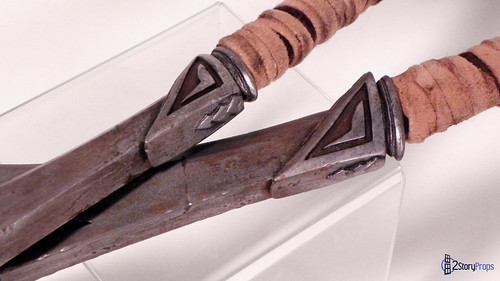
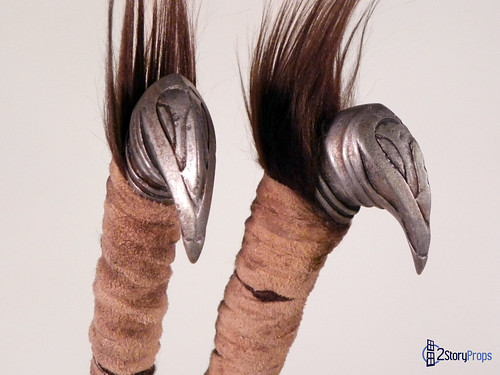
And here’s where I totally cop-out on you guys. I’m not going to tell you how I built it, other than a few highlights. Instead, I’m going to let my time-lapse video do the work for me. Part of the reason for the build was specifically to shoot a time-lapse video of a build, start to finish. Prior to shooting the video, I designed the daggers in Adobe Illustrator and used the vector files to laser cut some layers of plastic. Since the daggers have a sharp, finely detailed appearance, the crisp lines of produced by the laser cutter would be suitable for the build. During the rest of the build, I utilized plenty of Apoxy Sculpt when sculpting the grip. After making a mold, the castings were finished off in much the same way the helmet was, except for the addition of a little (synthetic) fur and suede on the grip. Enjoy the video, and check out some of the glamor shots below!
For all the progress photos for all things Dawnguard, check out our flickr set here:
https://www.flickr.com/photos/2storyprops/14067345436/in/set-72157640552352423/