September 24, 2015

Jaune Arc's Crocea Mors from RWBY

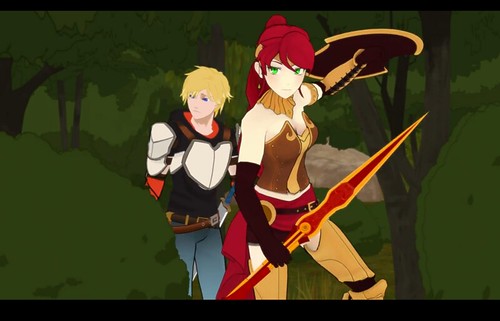
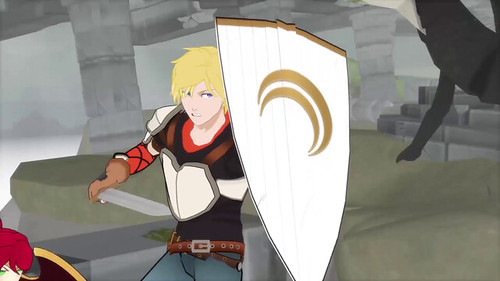
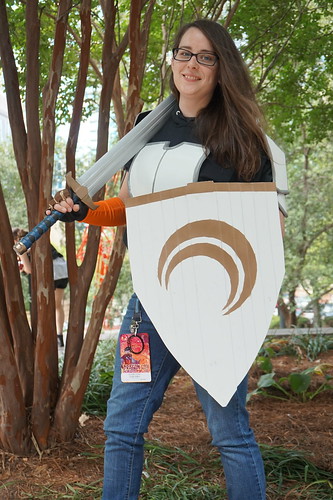
And now for the final write up in the JNPR prop series, we present the creation of Jaune’s armor, sword, and shield.

1108_Players_and_Pieces_15503

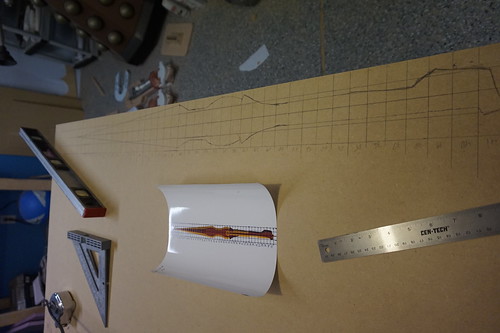
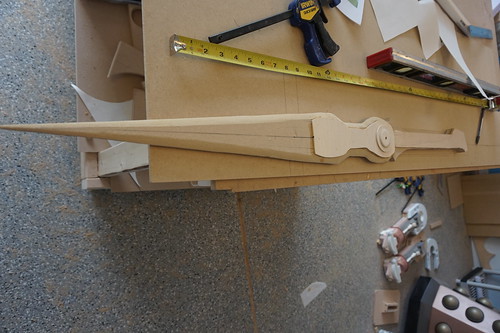
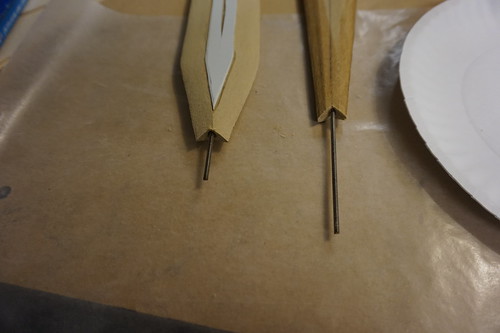
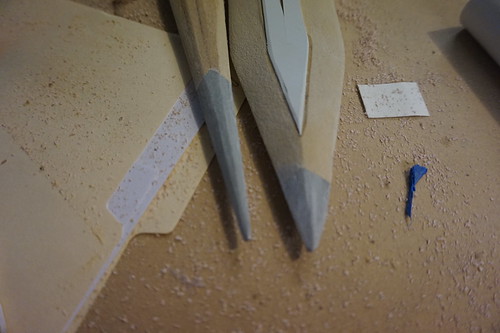
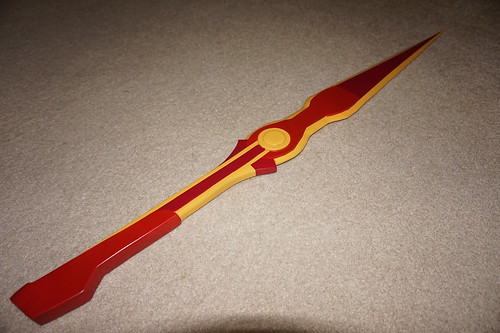
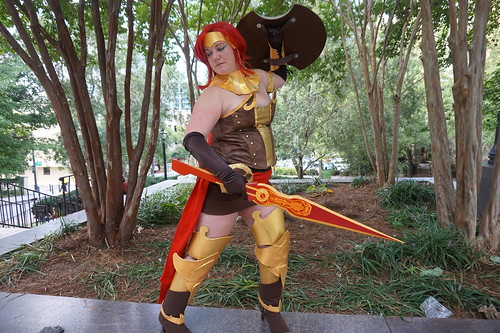
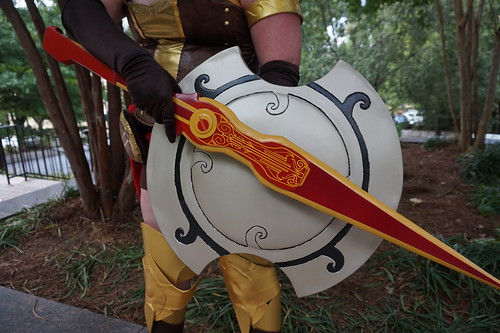
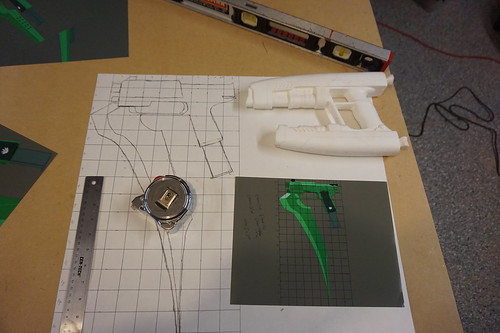
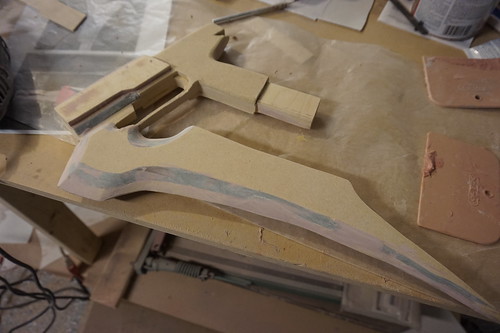
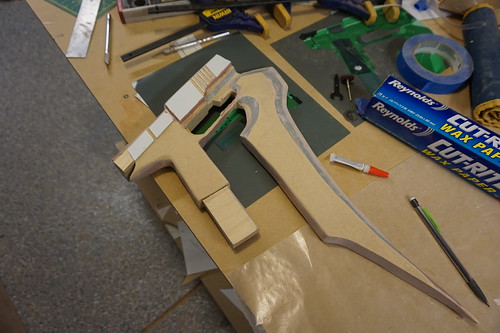
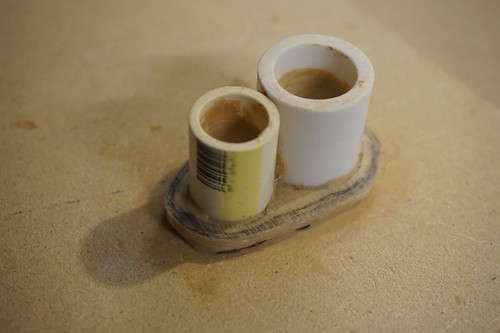
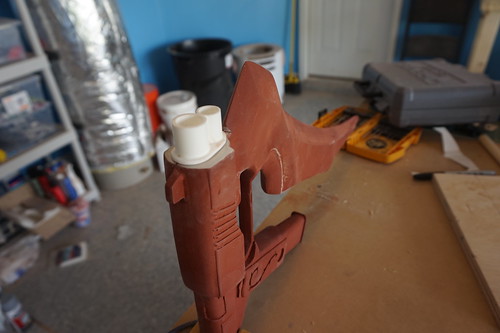
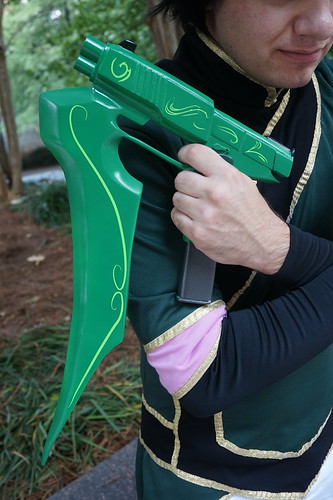
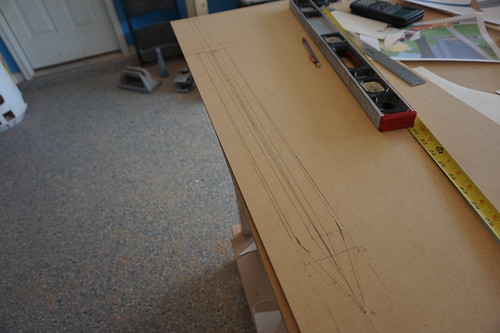
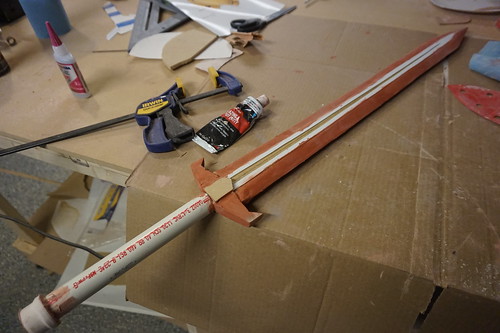
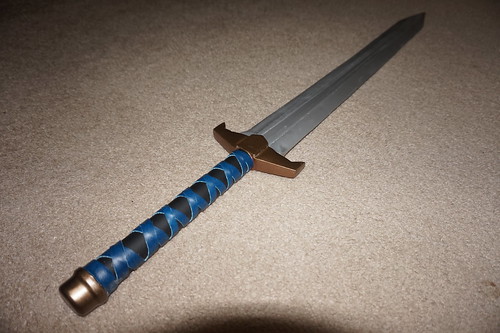
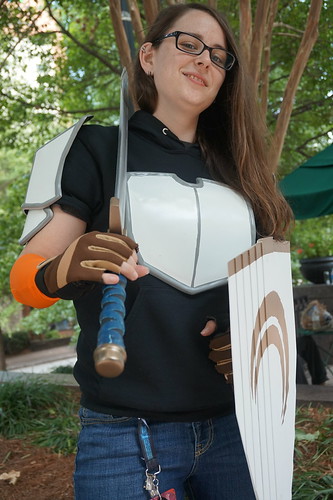
Jaune’s sword was built pretty much the exact same way Pyrrah’s was, in fact they were built at the same time. The sword is made up of layers of MDF and plastic with an ApoxieSculpt tip since this was a one off build. The main difference is the handle on Jaune’s is PVC glued to the MDF blade. After paint, they grip was wrapped in blue vinyl and glued down with Goop.

DSC00415

DSC00434

DSC00463

DSC00485

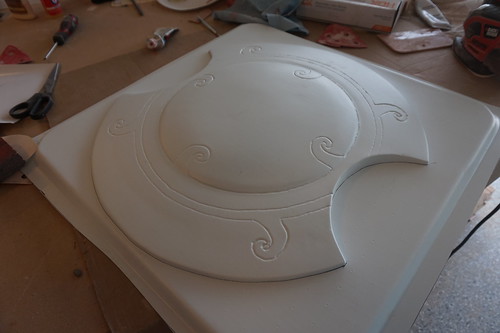
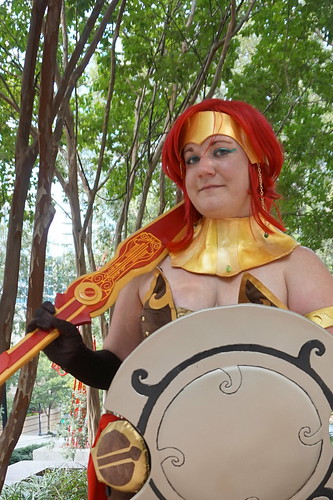
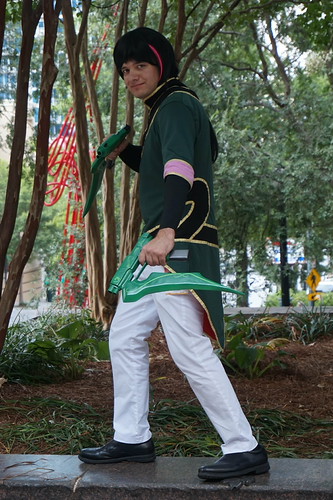
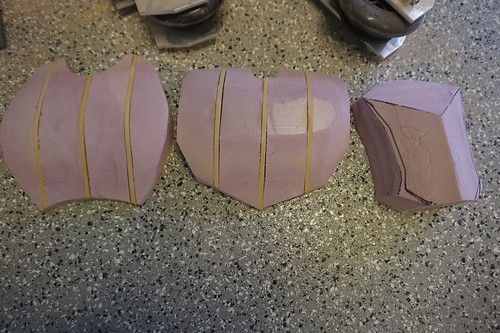
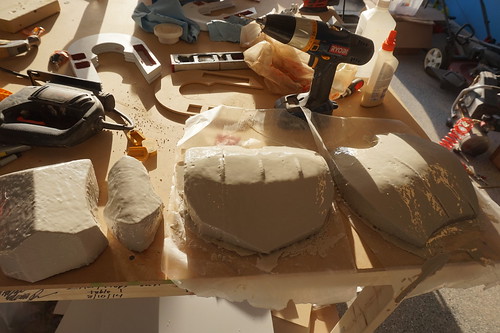
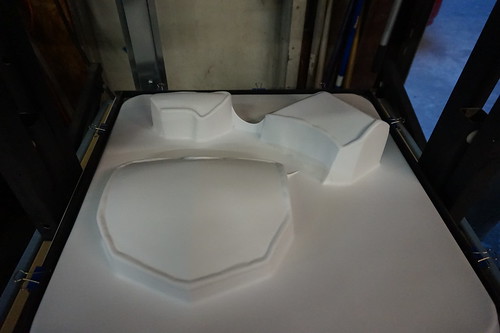
The armor started by taking some measurements from our Jaune, to figure out the rough size and curve the armor would need to take. I then sculpted bucks with pink insulation foam. After initial shaping, the foam was coated in ShellShock to make a hard coating that would survive the heat and pressure of vacuum forming. After smoothing with bondo the edges were shaped with ApoxieSculpt. The armor was then pulled from 0.06” styrene.

DSC00496

DSC00503

DSC00520

DSC00539

DSC00547

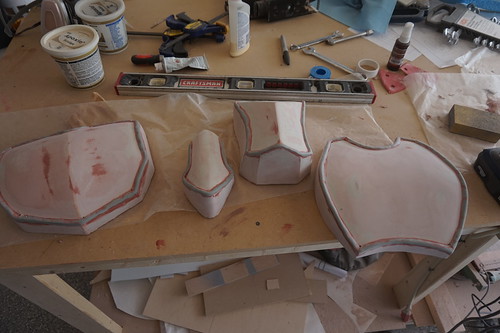
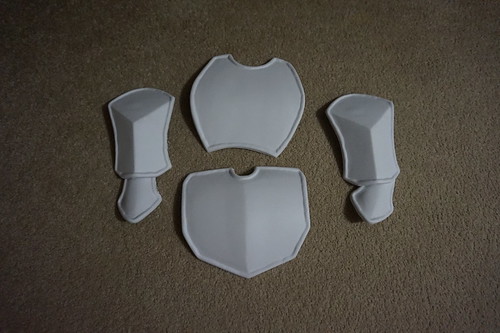
The front and back plates attach directly to the hoodie with Velcro. The smaller piece of the shoulder armor is glued to the large piece with eva foam in between to provide the correct offset. More EVA foam was added to hold the shoulders in the correct location. They attach to the shirt using elastic bands and Velcro.

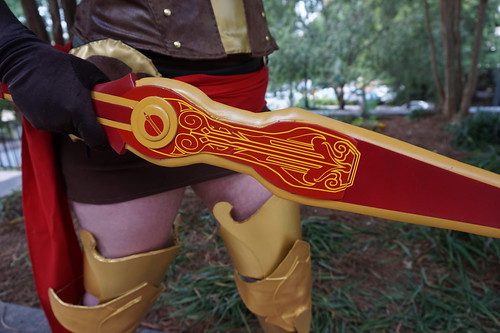
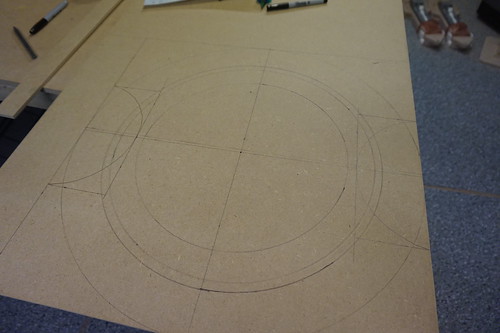
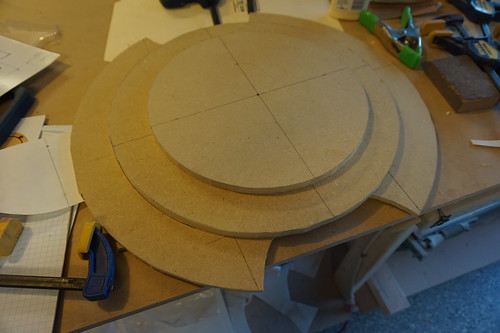
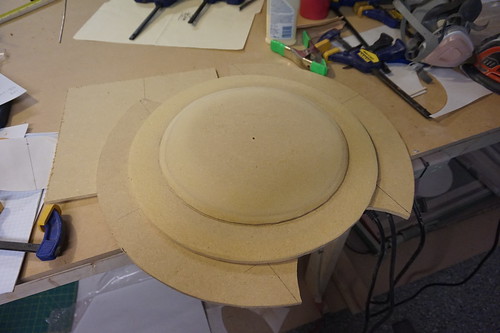
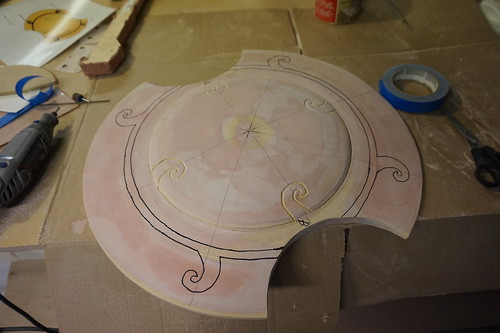
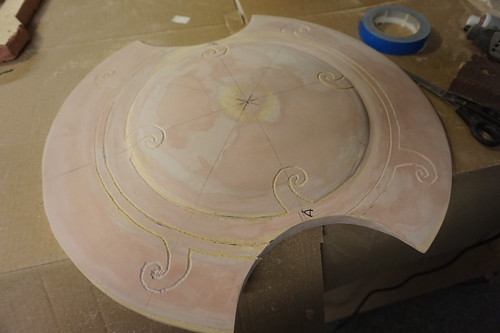
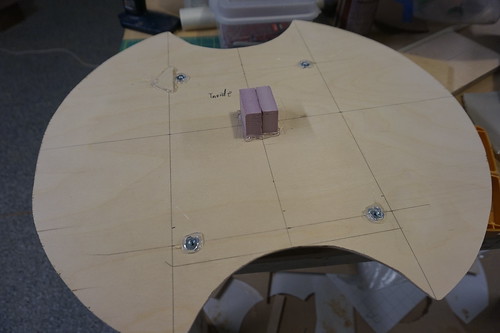
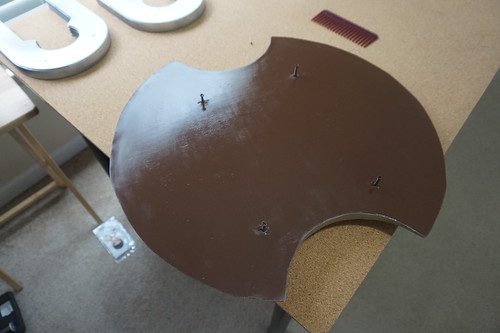
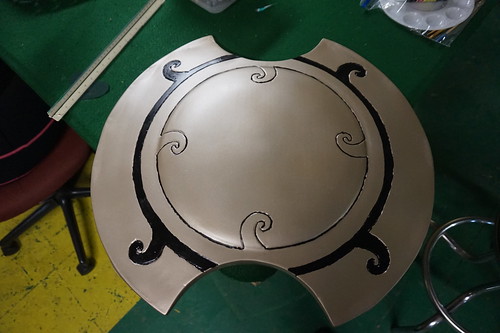
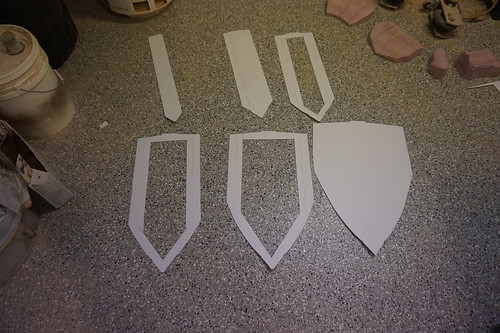
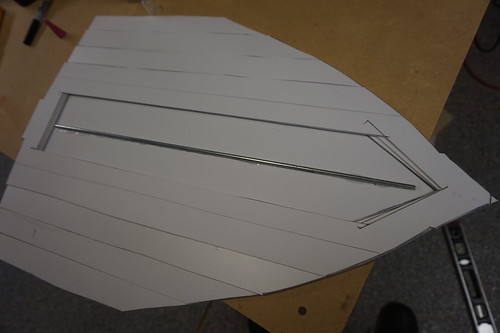
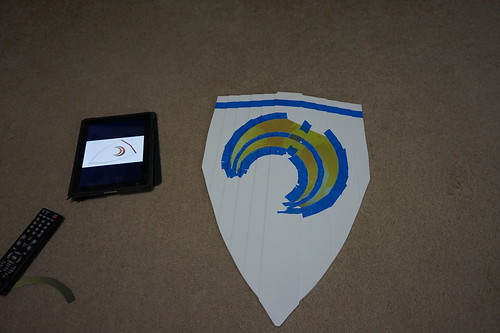
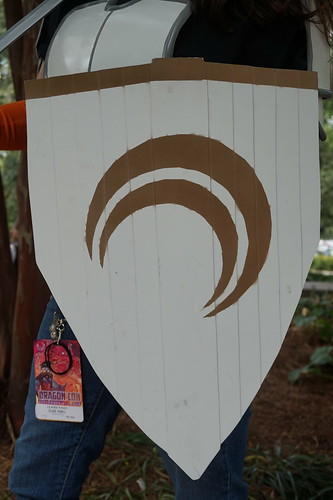
In the show, Jaune’s shield fold up into a sheath for his sword. To replicate this look, the shield was built up using layers of 0.04” styrene. Internal sections were cut out to reduce weight, while a metal rod was glued in the center to keep the assembled shield straight. Two straps were glued to the back and everything was then painted with krylon.

DSC00498

DSC00500

DSC00546

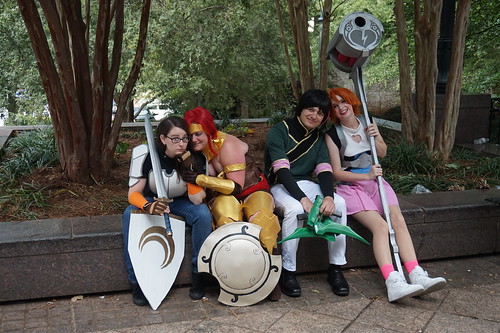
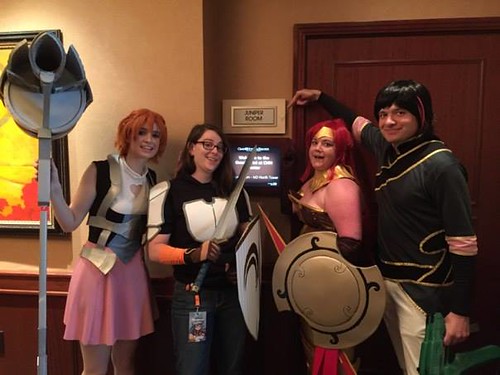
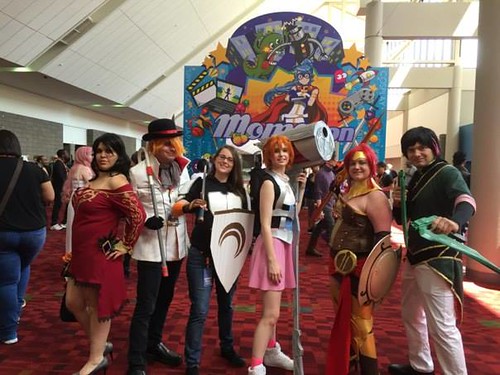
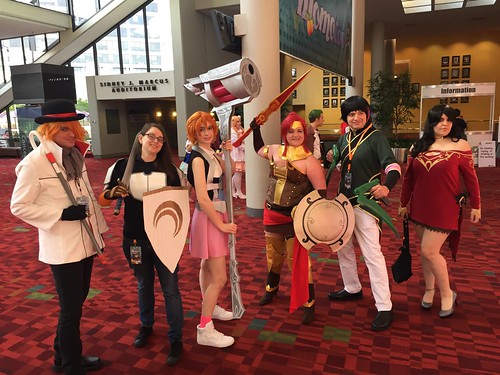
And that’s it! This was a very demanding project as everyone’s props had to be completed in a 6 week window, but having the whole group going around is a lot of fun and I am very happy with how everyone’s costumes came out.

DSC01220

DSC01221

DSC01224

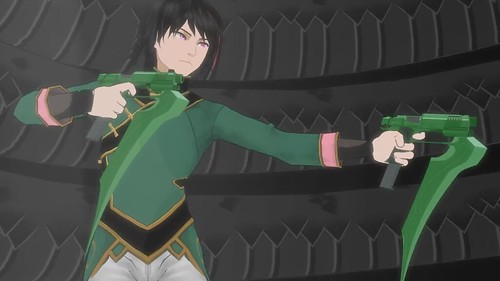
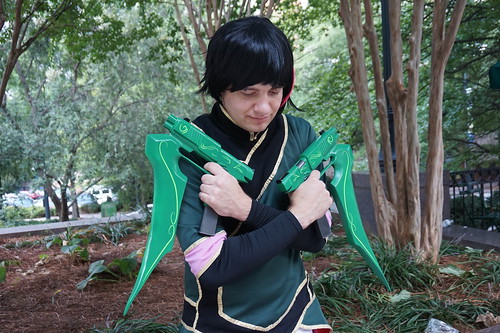
As I mentioned in the first post I only made the props and hard components for the team. All the costumes you see in the pictures were made by the individuals wearing them, except for my coat which was made by our Nora. Additionally our group has two of the villains, Cinder and Torchwich, who made their own costumes as well. I think we can all agree they did a phenomenal job and it was a lot of fun working with them.

DSC01218

11036212_571092357495_4948284202926587966_n

11295941_571092297615_5317562706066032807_n

10842119_1599733170285383_3138115549690329698_o

Looking forward, I’d like to try and make the main RWBY team’s weapons at some point, but there is a large project I plan to start after Halloween that will take a lot of my time. Be sure to check out Nora’s, Lie Ren’s, and Pyrrah’s write ups and thanks for reading!

To stay up to date with our other projects, click here to follow us on Facebook.

For more build pictures, visit the flickr album click here.

Click here for Nora Valkyrie’s Magnhild!

Click here for Lie Ren’s StormFlowers!

Click here for Pyrrha Nikos' Milo and Akouo!

-Wayne, 2StoryProps

September 21, 2015

Pyrrha Nikos' Milo and Akouo from RWBY

We’ll continue our JNPR write ups with Pyrrha’s sword and shield.

4

As with Nora’s hammer, Pyrrha’s weapon transforms in the show into a sword, shield, or rifle. At the request of my friend who portrays the character in our group, we decided to make the sword. The build started once again by obtaining the straight-on references from Monty’s facebook page and scaling it up with the grid method. The blade itself is half inch thick made from two layers of MDF. The rest of the sword was built up using layers of MDF, plastic and plywood.

DSC00400

DSC00412

Since this would be a one off build (although I wanted to make a mold I did not have the time or resources available) the tip needed to be reinforced, otherwise the MDF would easily snap. The solution I used was to cut the tip off, add a threaded rod, then rebuild it with ApoxieSculpt. The sword was then primed painted, and given vinyl detailing

DSC00438

DSC00444

DSC00484

DSC01247

For the shield I put our ProtoFormer to use. I started by making a buck out of layers of MDF. Circles were achieved using a homemade compass and carefully cutting them on my scroll saw, then sanding the proper curves in. The details were added with a dremmel engraving tool with small holes drilled all the way through so air could exit during the vacuum forming process. A copy was then pulled using 0.04” styrene. The shield is about 21 inches wide and likely the widest object we can make a pull from.

DSC00369

DSC00371

DSC00372

DSC00440

DSC00443

DSC00464

The pull was trimmed and then mounted to a plywood back piece using Goop. Before the two were joined a 1 inch cube of pink foam was glued to the center of the board to prevent the shield from collapsing in. The straps are bolted into the board using set nuts. The shield was then painted with Krylon paints and hand brushed acrylic for the details.

DSC00488

DSC00530

DSC00544

DSC01244

DSC01245

DSC01249

DSC01250

Thanks for reading. Be sure to check out the write ups for Nora and Lie Ren’s weapons and stay tuned as we finish things up with Jaune!

To stay up to date with our other projects, click here to follow us on Facebook.

For more build pictures, visit the flickr album click here.

Click here for Nora Valkyrie’s Magnhild!

Click here for Lie Ren’s StormFlowers!

Click here for Jaune Arc's Crocea Mors!

-Wayne, 2StoryProps

September 15, 2015

Lie Ren's StormFlower Pistols from RWBY

For part two of our JNPR build write ups, we’ll go over the weapons I made for the character I portrayed in our group; Ren Lie’s pistols.

RWBY6_007829

As with the Magnhild build, the project started off gathering references from Monty’s Facebook page, which had a straight-on 90 degree shot of the gun! I used a grid technique I learned in grade school to scale the gun up based on my Star Lord blasters and created a template on poster board. The shape was then cut from several layers of MDF stacked together to form the proper thickness of the pistol. Bevels were filled with apoxie sculpt and the shape refined with my dremmel and palm sander.

DSC00337

DSC00344

Additional details, like the heat sink on the barrel, were added with layers of styrene and 1/8” birch plywood. After about 1 week of putty and primer I had the positive for the guns. I typically don’t like to talk about cost, but one funny note I’d like to share is up to this point the gun was completely made of scrap material from other projects, particularly my R2-D2. Thus if I only needed one the entire build would only have required the cost of paint and vinyl. Of course, Ren Lie carries two of them so it was time to order some materials from Smooth-On, which is not cheap.

DSC00348

DSC00362

DSC00375

There isn’t anything ground breaking about the mold process; it is a two part Rebound mold like we typically use with swords. The new technique in this case was casting. On my first set, which is what I took to Momocon, I brushed the inside of each half with a layer of Shell Shock Slow, then a second layer with Shell Shock and glass cloth, and then put the mold together to cure. About half way through cure, when the resin was no-longer tacky, I filled the casting with Foam-It 3 while still in the mold. After an evening of curing the mold was opened and I had a light weight casting. Unfortunately, I believe the tooth pick I put in the tips to keep them from snapping caused an inhibiting issue and the paint never dried fully. Eventually I fixed this problem using threaded rod and switched from Shell Shock to EpoxAcast, which has a much slower and more workable cure time.

DSC00399

DSC00403

DSC00418

The business end of the gun was made using two pieces of PVC, making a mold, and casting copied with smoothcast. They were sanded and epoxied to the front of each gun

DSC00461

DSC00466

After some bondo work the guns were primed and painted using Krylon paints. For the vinyl on my current set, my friend Barbra made vinyl decals at the Maker’s Local shop and applied them to the guns. They were then sealed with Rustoleum Crystal Clear.

DSC01263

DSC01257

DSC01262

Stay tuned for Jaune and Phyrra’s write ups coming soon!

To stay up to date with our other projects, click here to follow us on Facebook.

For more build pictures, visit the flickr album click here.

Click here for Nora Valkyrie’s Magnhild!

Click here for Pyrrha Nikos' Milo and Akouo!

Click here for Jaune Arc's Crocea Mors!

-Wayne, 2StoryProps