I started out wanting to make the suit as authentic as possible within reason (obviously I can’t afford the millions of dollars to build a functioning replica). I wanted to have a bubble helmet, metal connectors, and a liquid cooling garment just like the real thing. I started off making a liquid cooling garment and refurbished an Apollo era helmet, but later had to remove them from the final build. Working on these components was very interesting, so I still wanted to share their construction in this pre-write up to the final build.
One of the reasons I wanted to attempt this project was the cooling system. In order to regulate the astronauts’ temperature in suit, they wear a jumpsuit lined with about 200 feet of tubing that cold water is run through, keeping the astronaut cool. I thought this would make the suit much more comfortable than some of our other outfits, which can get very warm.
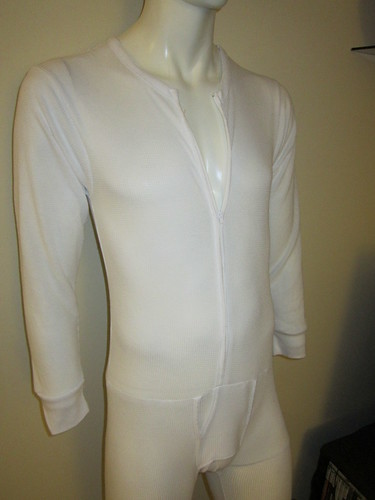
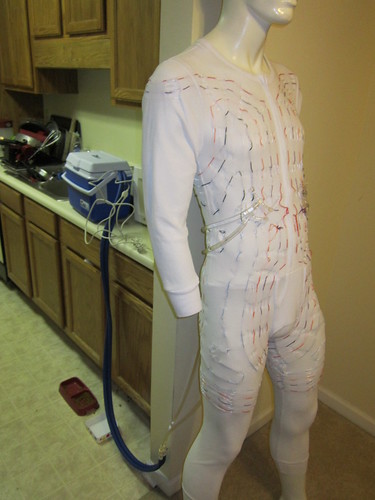
I started off with a pair of long john underwear that I sewed together into a one piece suit. A hidden zipper was added to the shirt so I could get in and out.

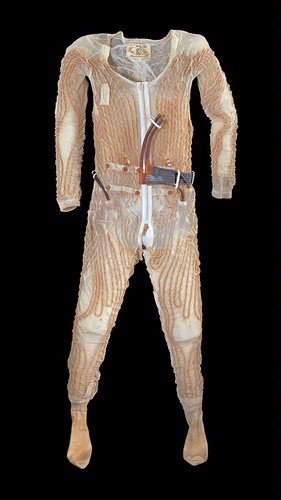
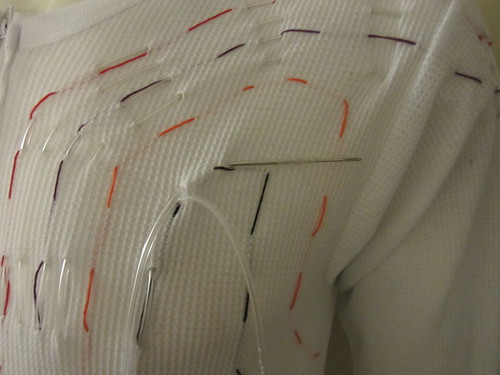
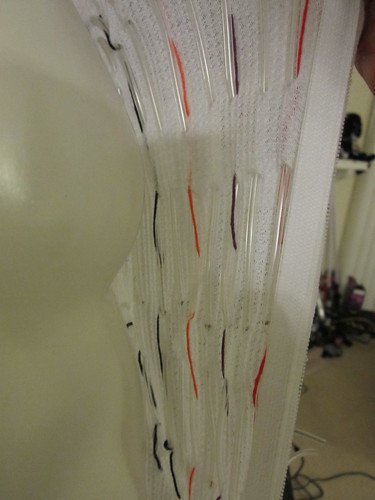
While the suit was on my mannequin, I weaved in 1/8” tygon tubing into the suit using a sewing needle. Colored yarn was used as a guide so I could weave the suit evenly.In all, it took about 3 weeks and 150 feet of tubing for my garment. The lines were then branched together such that there are 8 distinct tracks for the water to flow through.

To test the suit, my manager lent me a pump and cooler design for physical therapy cooling blankets. With the pump hooked up, I donned the liquid cooling garment and put on every piece of winter clothing I have. After 20 min of exercise I was still nice and cold. It really works!
So why is it not used on the final suit?
The cooler you see in the picture holds 2 gallons of water. At a density of 8 pounds per gallon, I would need to carry 16 pound of water, plus a battery and pump to run the garment, which would cause the back pack alone to weigh about 30 lbm. Considering this is roughly the weight of the video game proton pack, and the suit itself would have considerable weight, I made the tough decision to leave it off the suit and use the cooling vest I used on Subject Delta instead. While it is not as effective, it keeps me cool enough and my back doesn’t hurt after an hour.
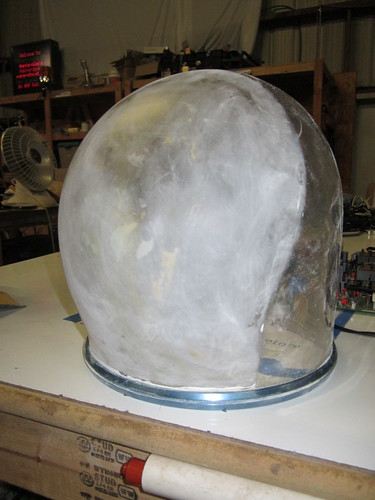
Living in Huntsville, there is no shortage of die hard space enthusiast. One of my co-workers is such a person and has collected a number of artifacts over the years. One such artifact was an Apollo era bubble helmet. From the research we did we believe this was a training helmet from an early test- fit prototype. The construction indicates it could never be used on a real pressure suit, and according to my co-worker it was going to simply be thrown away.
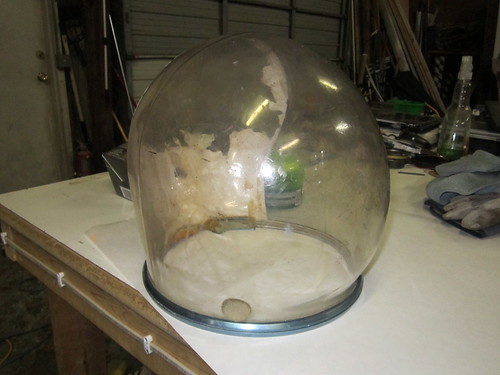
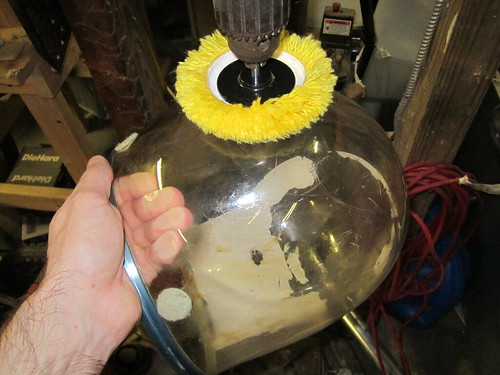
It was in pretty bad shape when I got it, so I had to perform some referb work. I gave the helmet a good cleaning, and then polished the helmet with a headlight restoring kit to make it transparent again.
The chipped paint on the back was sanded away and recoated with enamel paint.

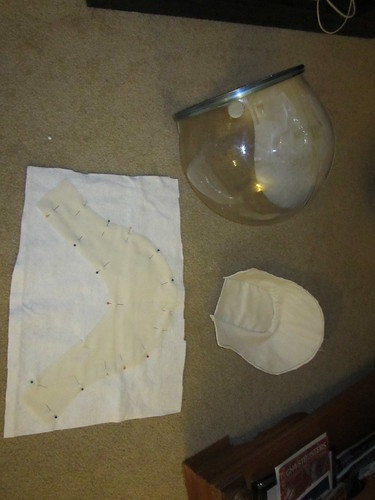
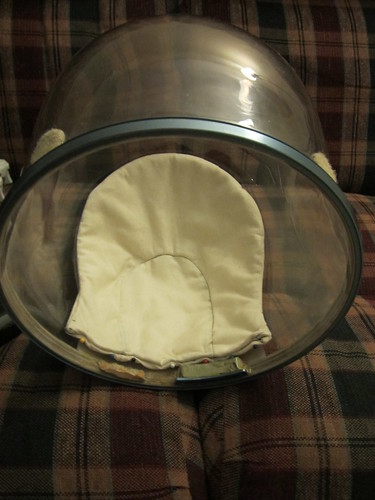
There was no padding in the helmet, only glue from where it used to be. I made a new cushion from two layers of batting and white cotton. The pad attaches to the helmet with Velcro. This was the first time I ever made my own pattern for a sewing project. When I showed my co-worker the restored helmet, he couldn’t believe it was the same one.

So why is this not on my suit?
As I mentioned earlier, I wanted to have metal connectors, and this was to include the neck ring. The way the ring works on the real suit is the helmet is locked down by spring loaded pins. I wanted to work with our machinist to learn the process and machine a ring, but he was too busy and I knew I could not learn the process before dragon*con. I knew I could use magnets, but that would require cutting on the helmet which I was not willing to do. While the helmet definitely helped with the final build, it could not be used on the suit and was returned to its owner.
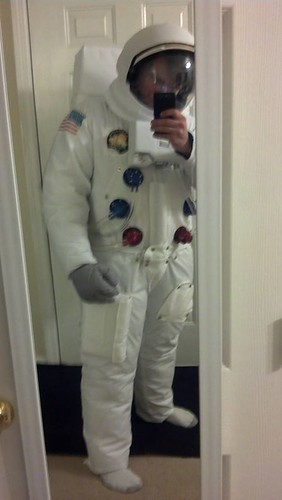
For the final build I scaled a few items back and ended up making something practical that cosmetically still looks like the A7L pressure suits but still manageable from a manufacturing standpoint. I am finishing up a few details for dragon*con, so expect part 1 of the write up some time in late September.
In the mean time, here is a little teaser of what is to come: