
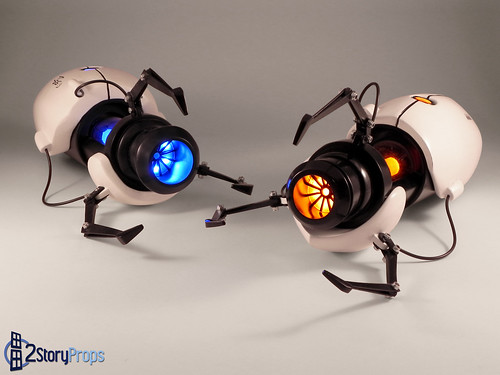
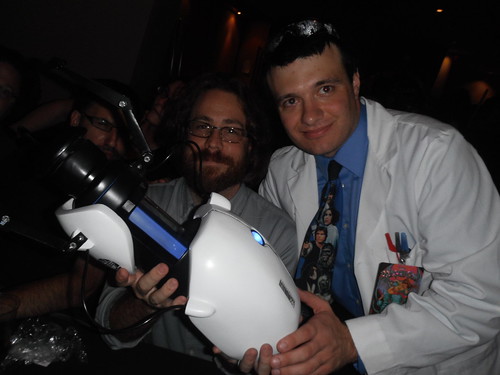
If you have been following our work for a while you may remember I made a Portal Gun for Dragon*Con 2011. While I was happy with the gun considering how much time and material I could invest in it (it was made in the middle of Subject Delta and Daft Punk), I didn’t think it meet our standard for craftsmanship and I was planning to sell it after the con to help with the convention cost. However, people loved the prop at D*Con, including Jonathan Coulton, who signed it for me. Typically, when we get one of our props signed we consider it a collectible and no-longer take it to conventions. Thus, the gun is now on permanent display in my living room.
After attending some smaller cons I found that people really wanted to see a portal gun, and at several cons I wished I had the thing with me as it is a pretty easy “costume” to get around with and a very good conversation starter. Additionally, I found that several people recognized me as the “Portal Gun Guy” from this video . So in March I figured it was a good time to take a break from the Dalek and build another gun to bring to cons.
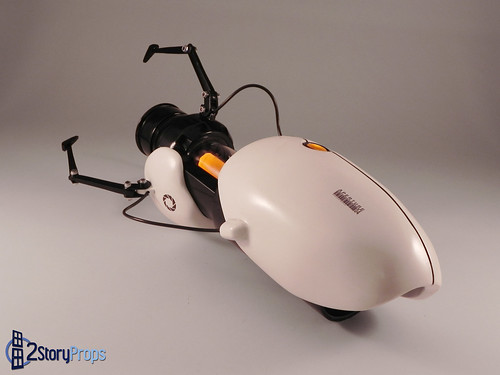
The new gun is not a recast of the one I built last year. Since the original I’ve learned a lot more about molding and rubbers, and discovered new materials to work with. Additionally David and I have acquired some new tools, particularly a lathe. The goal of this build was to improve on the original by making it cleaner, lighter, and more accurate. As a result, only one mold was reused from the original build. The base of the gun was again made from various sections of PVC. The barrel part was made from a 3” tube centered in a 4” tube while the back of the gun was made from two 4” couplers glues together. The dimensions are the same as the original although I curved the front edge on this version. Details were made with sintra and bondo.


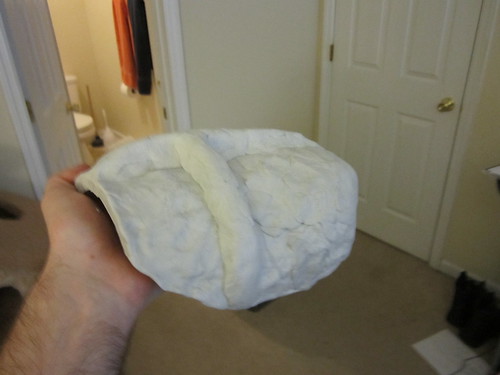
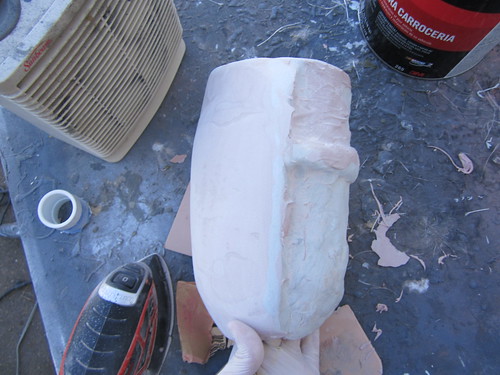
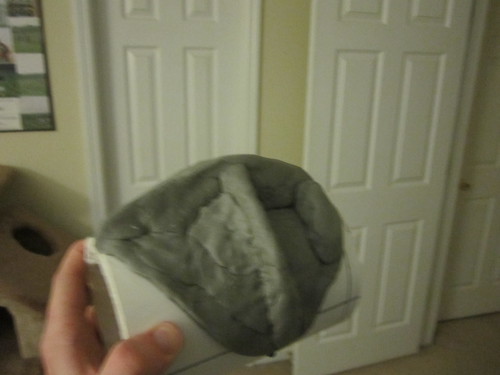
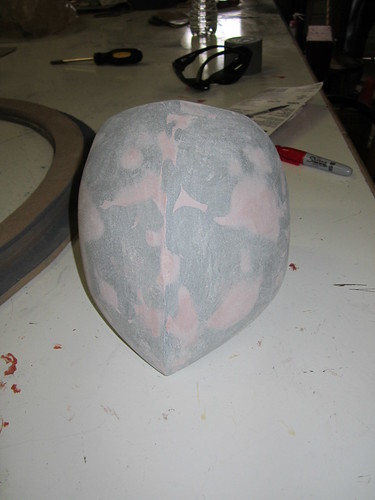
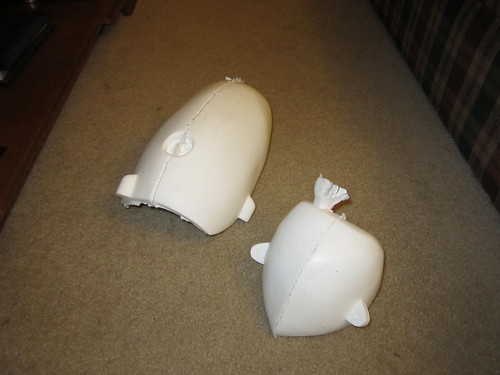
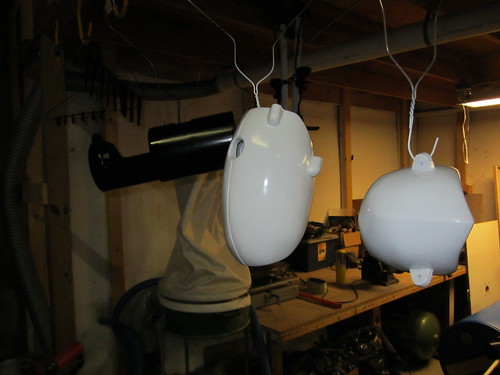
The old gun was very heavy as it has a fair amount of bondo on the shells. In fact the front shell is almost solid bondo. For this gun I wanted the shells to be hollow castings to save weight. For the positives I used a material called Apoxie Sculpt, which a two part clay with the working consistency of Play-Doh. Basically, you kneed together equal parts of A and B, shape it, and in 24 hours it is as hard as granite but easily sandable. I started off wrapping the appropriate sections of PVC in wax paper and laid down the base that would hug the gun. When this cured I started to shape the curves I wanted the gun to follow, and then filled in the “frame” once that had cured. For the back shell I filled much of the area with bondo as is cheaper than the Apoxie Sculpt. I also had to cut the rear portion of the shell off and build it up layer-by-layer to achieve an even and symmetric curve (I have never sculpted anything from clay before). The rear shell was also made such that I can get to the batteries without taking the shell off.
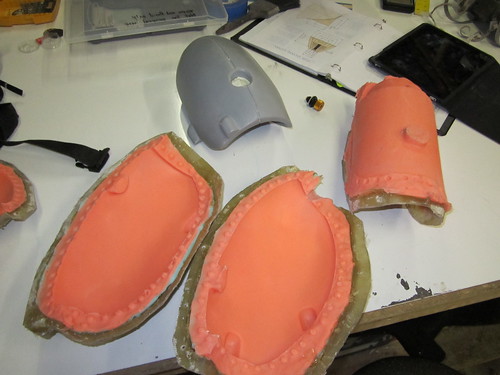
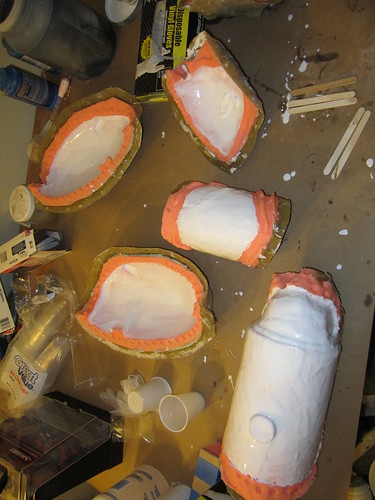
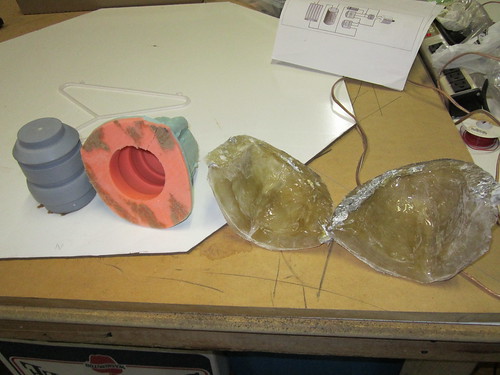
The hose connectors were sculpted from Apoxie and wood, then molded, casted, and glued to the rear shell. The pivot point of the claws were also molded and cast this time, ensuring they are all identical and that the hole is in the same location on each. Once the positives were ready, they were molded in a combination of Rebound 25 for the inner layer and Rebound 40 for the stiff outer layer. The molds were designed such that a base coat of resin could be painted on before the mold is bolted together for slush casting.


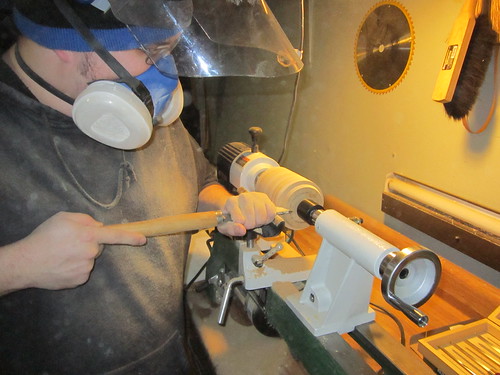
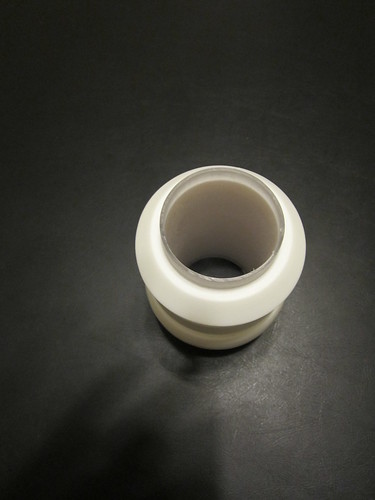
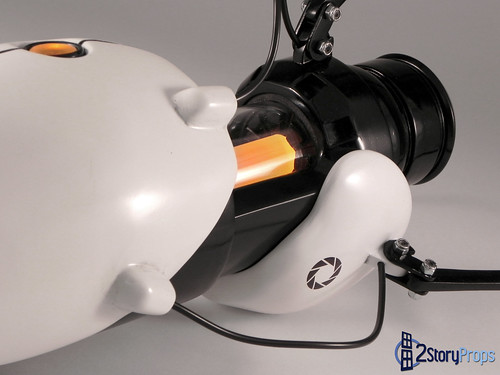
The previous nozzle was made from a section of PVC and then built up with wood and bondo. The build was about the time Dave got a lathe so we decided to try the method Volpin used for his gun. Several MDF disk were glued together and then Dave turned it down to the proper shape and then a mold was made. The center barrel of the nozzle is made by inserting a plastic tube in the mold during casting.
Much of the finishing was done the same way as the previous gun. The pieces were primed and sanded to 2000 grit, then painted gloss white or black. Decals were printed on Testor’s clear water slide decal paper and slid on the gun. I left the clear coat off this time, which helped keep the paint’s luster. One thing I thought about when it was too late was to use clear glaze to really make it glossy. At least I know for next time.
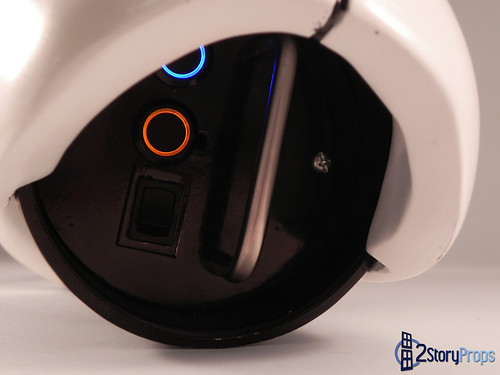
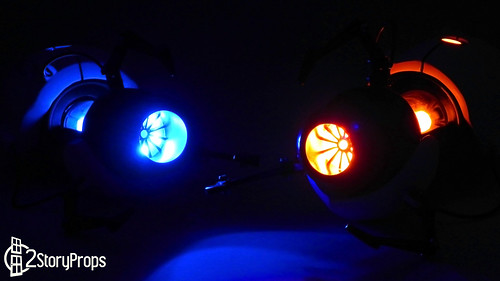
I opted to purchase a lighting kit this time from a member of the rpf as his kit includes sound. The speaker is mounted in the front of the gun behind the emitter. You can hear it pretty well in a normal room, but in a convention hall not at all. I like the buttons that came with it, but the toggle switch in the old gun was a little easier to work with.
Overall I was very pleased with the outcome, and I even won a costume contest with this and a lab coat. It will probably be heading to a few cons in 2013, particularly the ones that the Dalek cannot get to.

More Build Pictures here!