So Dredd ended up being one of my favorite movies on 2012. It was so straightforward, to-the-point, and it hit all the high notes. Before Dredd, I was never really much of a Judge Dredd fan. I mean, I knew the character, and got some enjoyment out of the previous movies, but I have never called myself a fan by any means. I didn’t dislike the franchise; I just didn’t actively align to it. But I really, really, really like this movie. Within eight or nine hours of seeing the movie, I had located enough reference materials that I could design a 3D model of the helmet. It wasn’t the final 3D model I based this sculpt on, but it was enough to get a good head start on it.
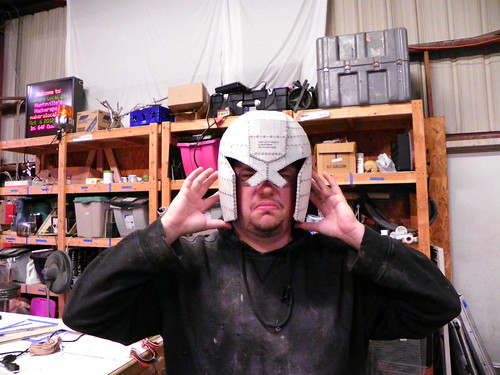
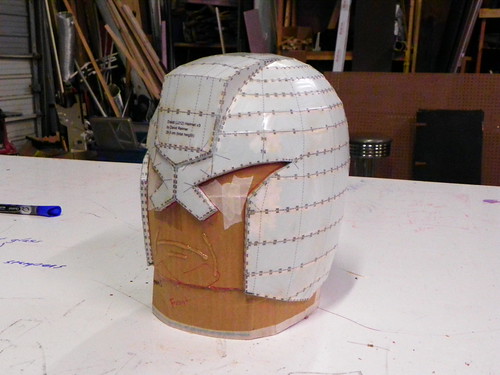
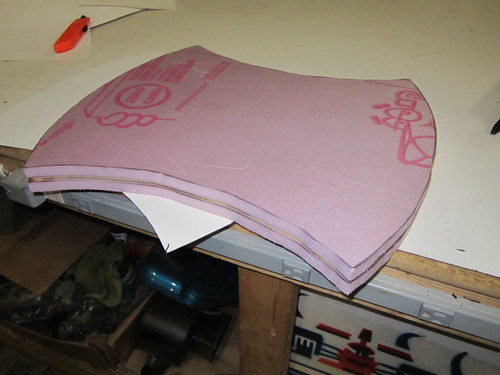
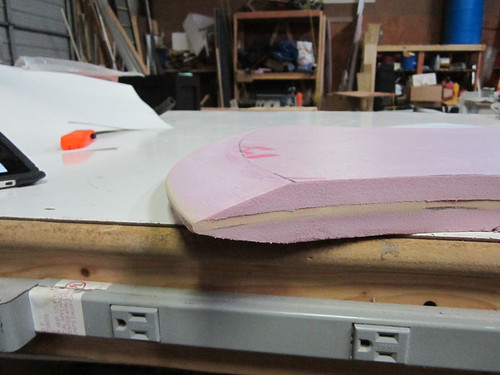
After I made my 3D model, I brought it into Pepakura to unfold it. It was such a simple shape that I could get away with this style build really quickly. Standard procedure here: print, cut, glue, then fiberglass and cover with Bondo for sculpting the surface details. The first step, though, was making sure I had the surface curvature nice and smooth. I wanted it to be one, smooth, continuous surface so I didn’t have to worry about sculpting it all at one time. At this point in the project, I had a few other major builds I needed to complete, so this sat on the back burner for a few months looking like this.
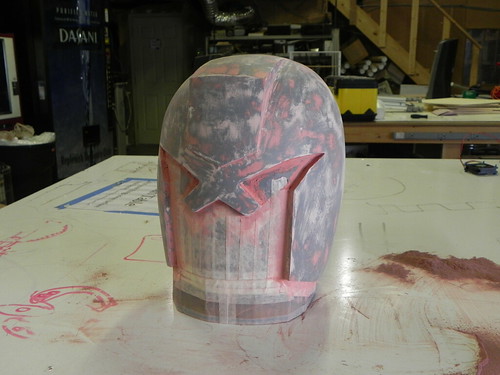
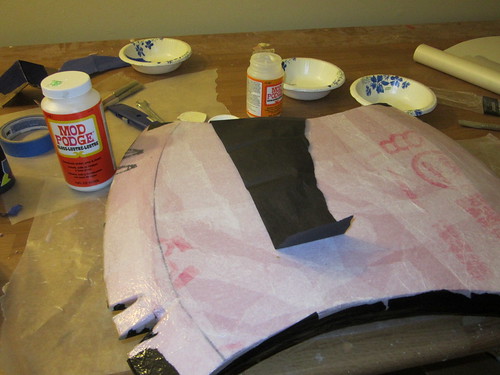
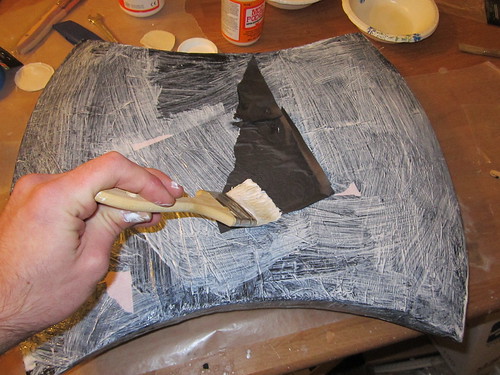
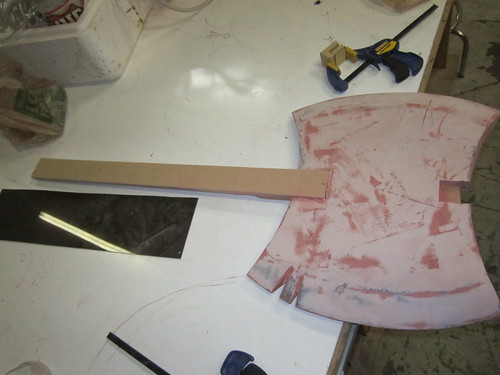
After picking the project back up, I smoothed the initial Bondo work out with some glazing putty, then started working out the raised surface trim. I started by masking out one side in tape, then I made a mirrored copy with some masking tape and clear plastic film I had laying around. The clear plastic film allowed me to draw over my existing tape mask on the one side, then simply flip it over and match it up to the other side. With all my trim masked off, I added a thin layer of Bondo, then sanded that smooth, addressing any minor issues along the edges either with more Bondo or some glazing putty.
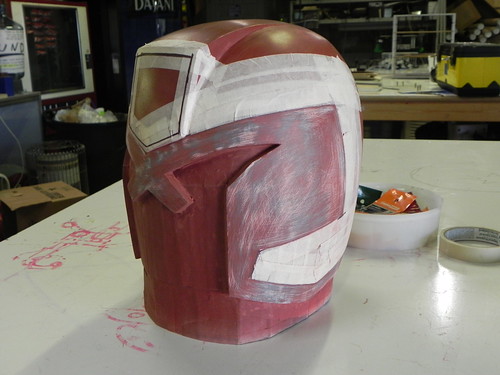
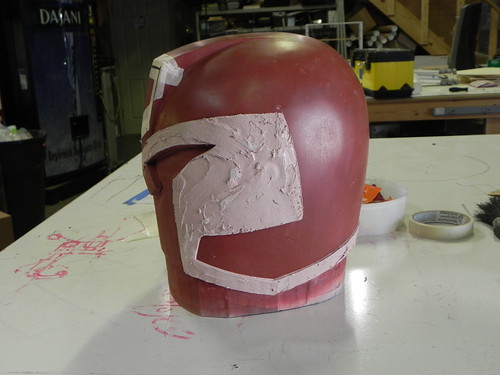
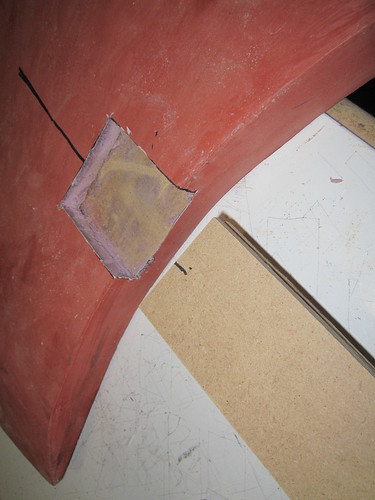
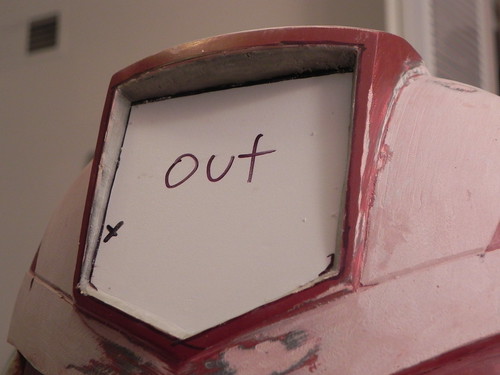
Continuing with that same process, I did the raised crest trim, which sits alongside the forehead crest, running down the back of the helmet, and finally blends into the rest of the trim at the bottom. I also cut out the area where the badge sits, because during that time I found reference materials showing that the badge piece is a separate piece from the rest of the helmet. Specifically, the Prop Store of London was auctioning off film-used props from Dredd, and some broken/unused raw castings were up for grabs, and those castings showed a recessed badge socket.
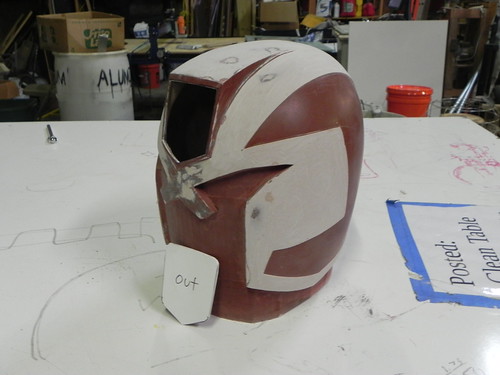
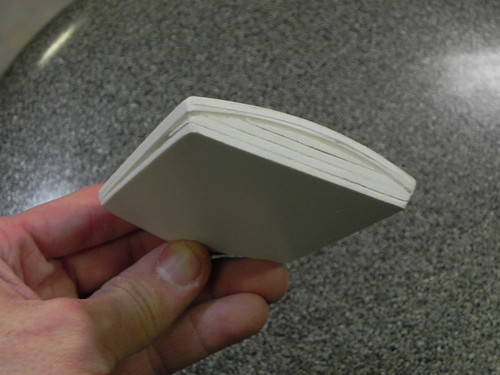
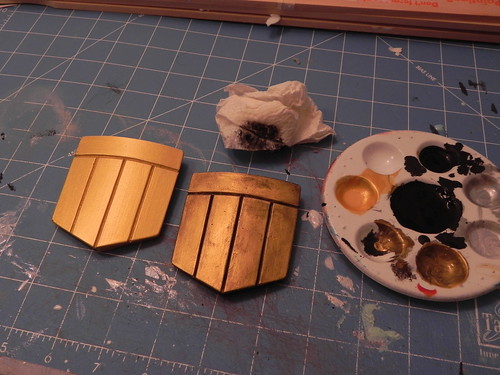
Next, I backed the badge socket with some sintra and sculpted a nice beveled edge all the way around with some Apoxy Sculpt. After smoothing everything out with some glazing putty and hitting it with some primer, the base helmet was basically done, but I still needed to make the badge. It was really just a matter of layering some sintra with a curved outer layer matching the curvature of the former badge area.
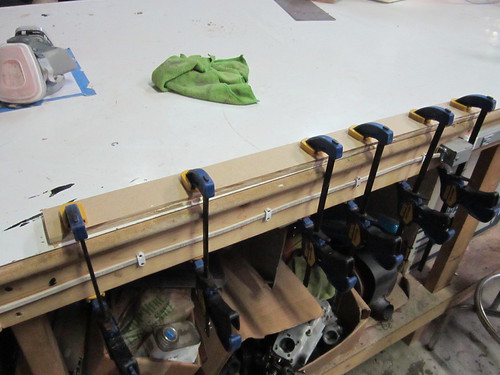
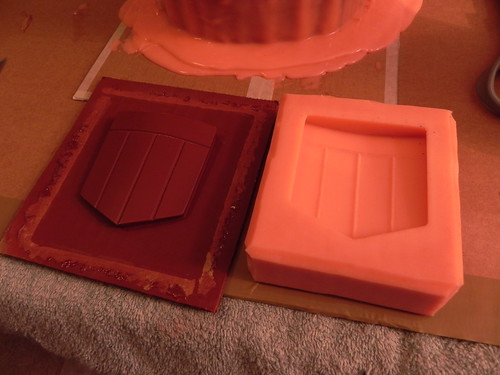
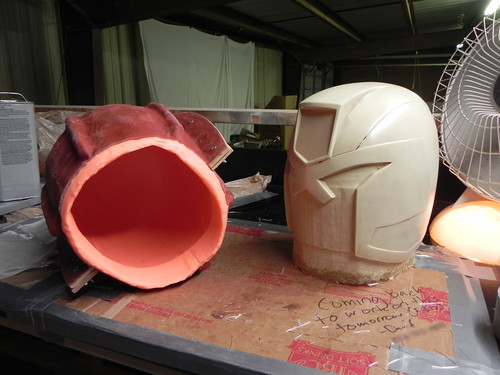
After that, everything was ready for molding. I used my typical rubber choice, Rebound 25 by Smooth On, and made a really simple block mold of the badge, and a simple slip mold for the base helmet. I tried something for the mother mold that I had seen done, but never tried before myself, and that was to use pieces of MDF for the seam between the mother mold halves. It worked really well and greatly sped up the mother mold process since I didn’t have to worry about sculpting a clay dam. It’s not really that big of a learning step, but it was fun to try and it was rather easily accomplished.

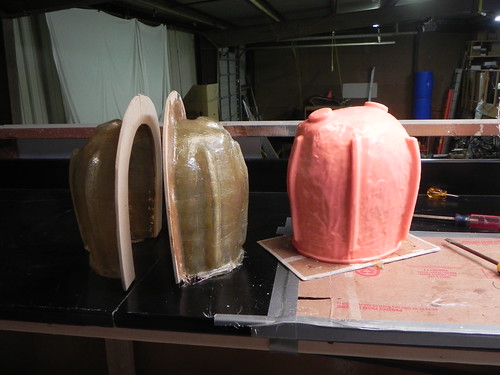
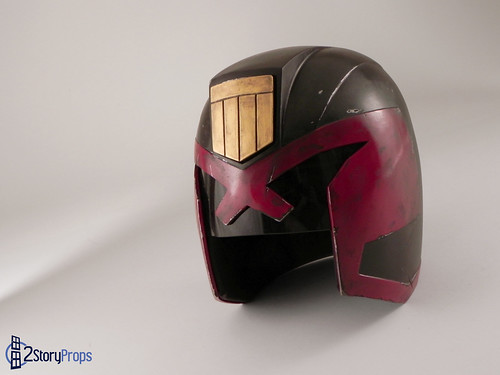
Anyways, initial castings were produced out of fiberglass resin and layers of fiberglass cloth. I’m really starting to dislike using fiberglass for anything since it’s so smelly and because casting a helmet ends up being an entire afternoon of labor. However, I was worried about the possibility of the helmet flexing too much at the points of the visor, so I wanted that reassurance that fiberglass offers. As it turns out, however, Smooth Cast 300 works perfectly well and flexes just about the same as the fiberglass did (flexing is something you generally want to avoid, but every open, holly item like this is going to have some natural flex to it; the idea is to minimize that flex to prevent cracking). I was actually so pleased with the Smooth Cast 300 casting that I stopped casting helmets and just started the finishing work on that helmet right then and there.
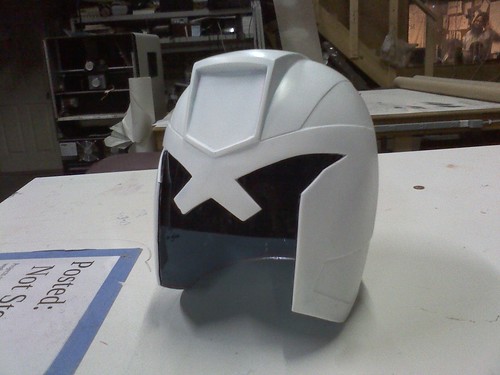
The visor is something I lucked out on. My reference material is, well, contradictory among itself. Certain images make the visor look like it’s a semi-spherical curve (like a motorcycle helmet visor), while other references make the visor look like it’s a flat sheet of plastic flexed into place. I decided for myself that it looked like a semi-spherical curve (mainly because I think it looks better) and purchased a full-face helmet visor from a local motorcycle shop. It ended up being the right choice, at lease for this particular sculpt. After cutting it out to the shape of my template, it fits perfectly into place. What’s neat is that you really can’t tell too easily that it has a semi-spherical curve to it. It looks like a flat sheet of plastic. So I suspect the real ones are like this as well.

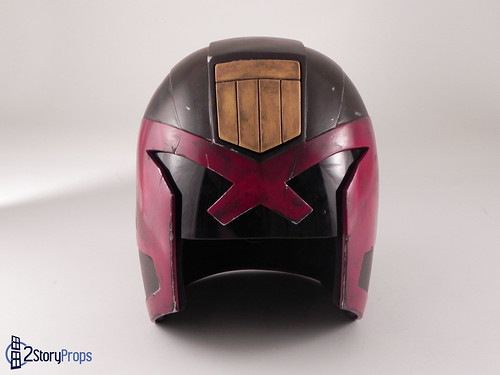
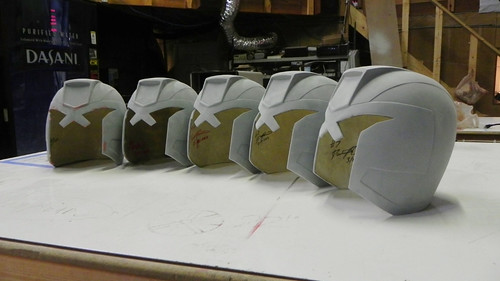
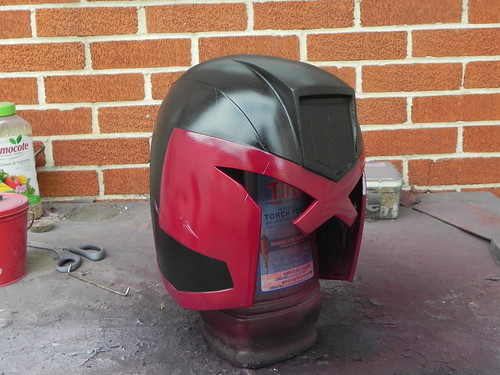
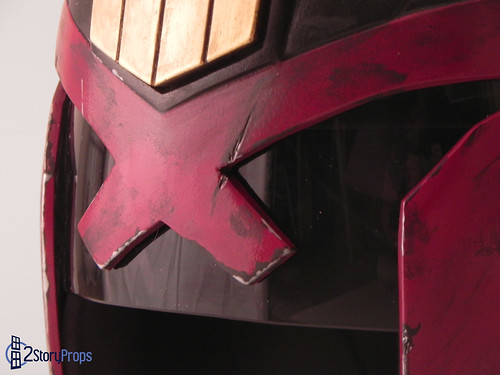
Anyways, the finishing work was done with Rust-o-leum spray paints and some bottled acrylic paints. There is actually enough room inside for a hard hat liner to be installed, which is proving to be sort of troublesome. It’s a great concept, since it should technically fit any head. However, positioning it inside the helmet proves difficult since it doesn’t want to work out well on every head. So future helmets (of which I have to build 4 more) will possibly employ other head gear. The trim padding was accomplished by using that foam floor mat that you see all the Halo people using for their armor. It’s split down the center of its depth to narrow it down, and then wrapped in black spandex. Future helmets may also explore other methods for this as well, so I may end up providing an update later on it. However, this one is done and wearable and crazy fun to make funny faces with!
Check out the rest of the progress photos here!