
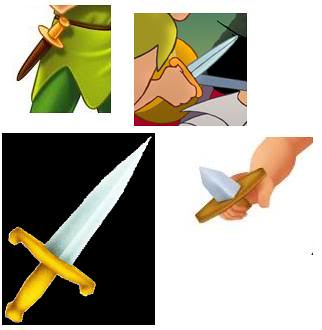
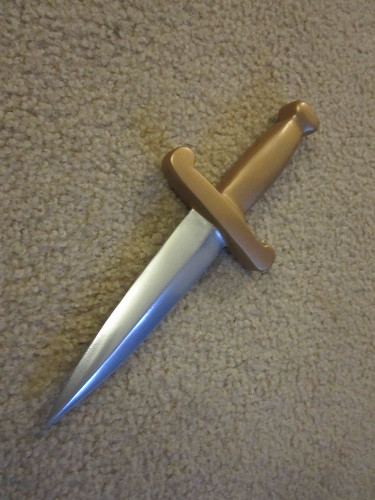
While this year has been very busy between building our new vacuum former, refurbishing the Dalek, and looking for a house, I had a commission come up for Peter Pan’s dagger from the Disney classic. Seeing how David has made some really awesome bladed props the last few years, I thought it would be a fun reason to try one myself.
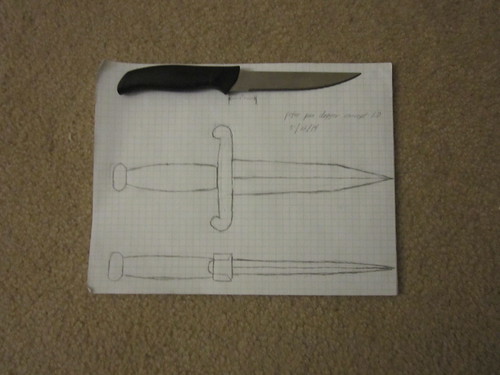
The first step was to sketch out a template for the dagger. Most prop builders I know nowadays use Illustrator for this step, but I still like to use graph paper and a pencil. Using several screen caps and a kitchen knife for size reference, I made a full size sketch of the dagger in 2 views. The drawing was then scanned and sent to the client so she could verify if scale would work for her. Once I received approval it was time to start cutting.
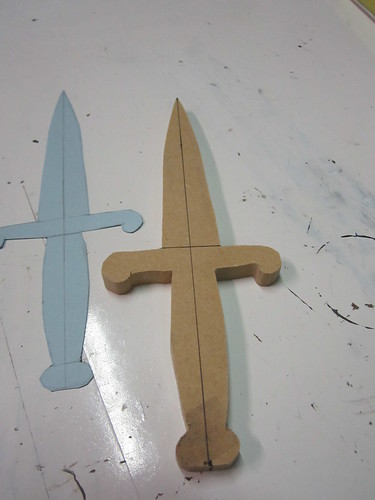
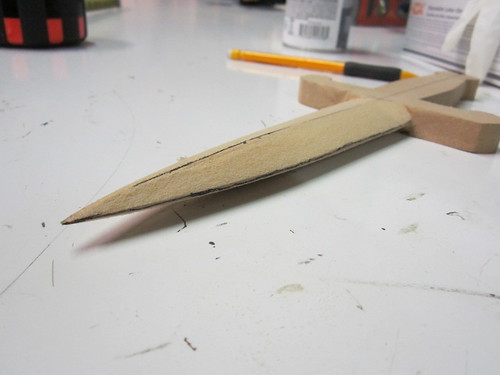
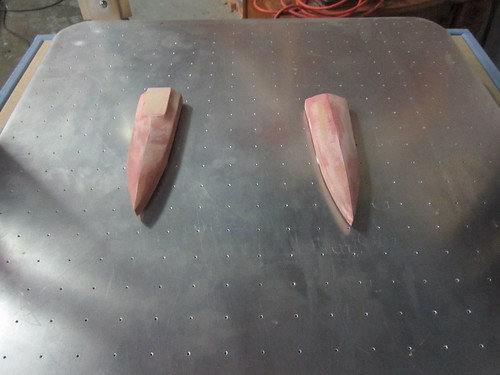
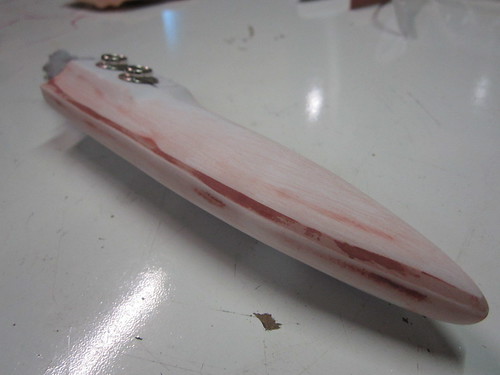
The build started with two pieces of ¼” MDF glued together to form a ½” piece, which would be my blade thickness. The pattern I created was printed full size and traced onto the wood, then cut out using a scroll saw. The centerline was then transferred to both sides of the blank.
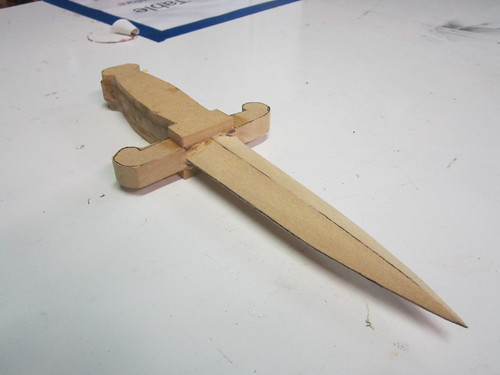
I stated shaping the blade by adding the curve as seen looking at the side of the blade. Reference lines were drawn on the sides then the blank was shaped with a belt sander and the mid line replaced. Using a dremmel with a sanding drum, I carefully shaped the blade to provide a knife edge. Once it was rough shaped with the dremmel I cleaned it up with my palm sander.

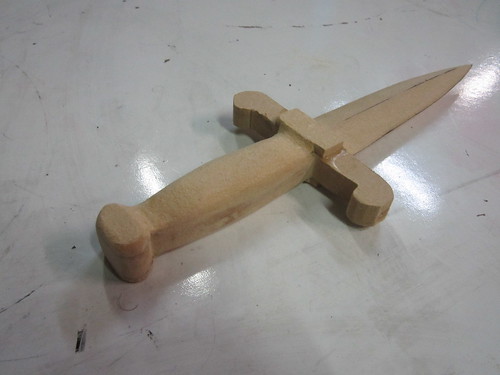
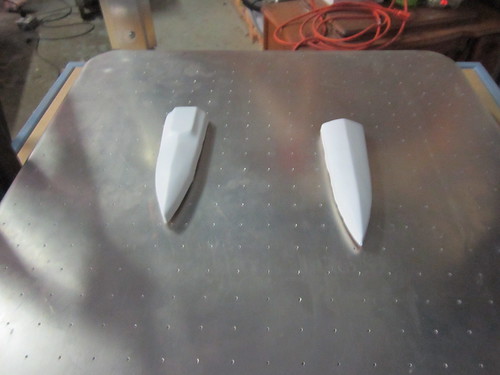
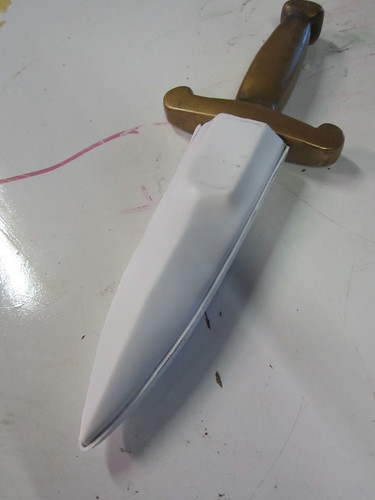
For the handle and guard I added two more layers of MDF to the handle, and then shaped it using a combination of belt sander, palm sander, and dremmel. One I reached a shape I was happy with, I added bondo to the guard to create the taper that goes to the edge. The dagger was then puttied, primed, and sanded until it had a smooth surface finish.
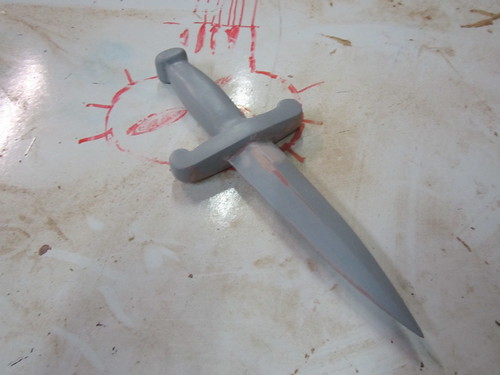
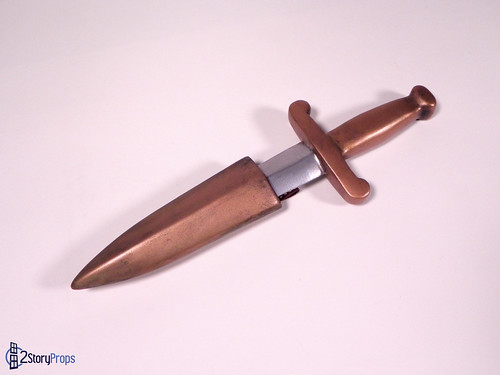
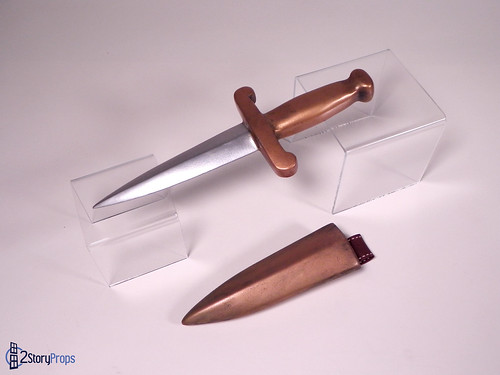
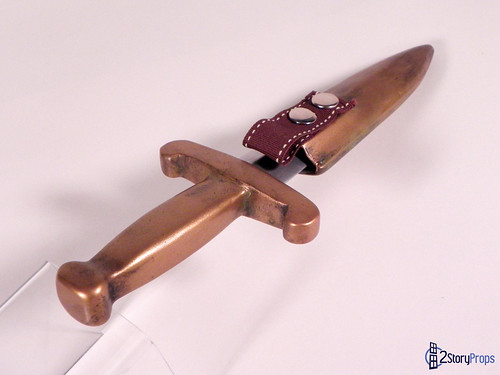
Originally I intended to paint the dagger using Rustoleum Metallic paint from Home Depot (the stuff with the trigger on the can). I painted the blade first, let it cure for a day, then masked it off and painted the handle. When I removed the masking, I found that the paint was still soft and the masking left texture in the paint. After 3 days the paint was not getting better, and I ended up sanding the entire thing back down to wood. After this nightmare, I used automotive paint from O’Reily’s for the handle and Rub’N Buff for the blade. The knife was then weathered with acrylic paint.
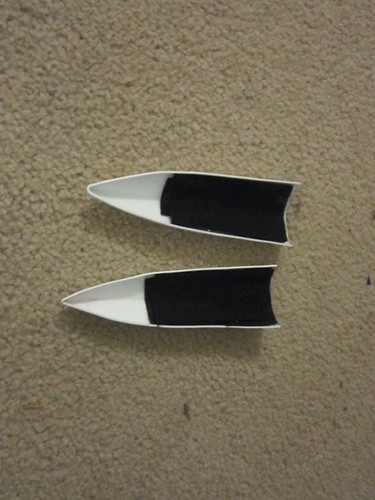
Although it wasn’t requested, I opted to make a matching holster for the dagger since it allowed me to use our new vacuum former. I started my making a buck for each half of the holster with the same outline. The buck for the back half has a raised surface so I could mount snaps as attachment points for a belt loop. I then pulled a sheet of styrene over both bucks, then leaving the first layer of plastic on pulled a second sheet. This gave two sets where one shell can fit into the other. To minimize any appearance of seems I decided to use the set where the back shell slides into the front shell.
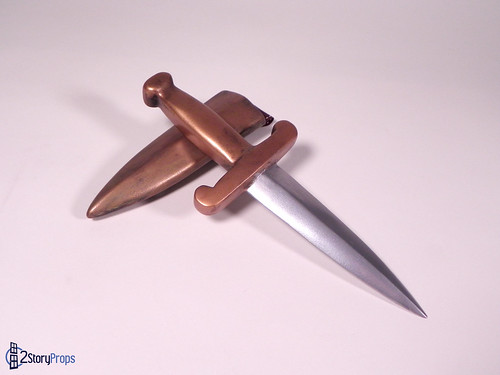
Three layers of felt were glued into each half using Goop, then the two halves were glued together with super glue. The seam was blended with bondo. I went through a lot of back and forth on how to finish the holster. In the cartoon, the holster is the same color as the belt, but other than that there is not much detail on if it is leather or a hard shell. Initially I thought about covering it with faux leather, but that may not have matched the client’s existing belt. I then considered making it look like wood, but again found myself wondering what wood, light or dark, would match the existing costume. I eventually decided to play it safe and make it the same color as the handle. That way, it looks like one complete set regardless of the belt. As with the handle, the holster was weathered to give it an aged, antique appearance. Once this was done I took the project over to David’s for a photoshoot.
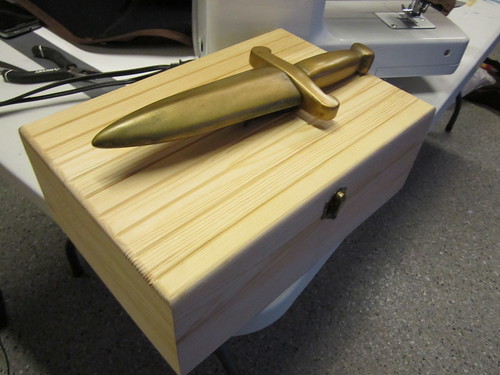
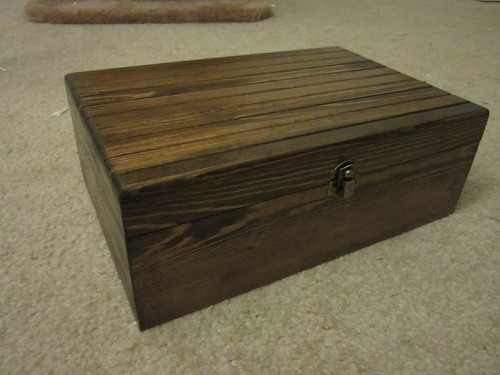
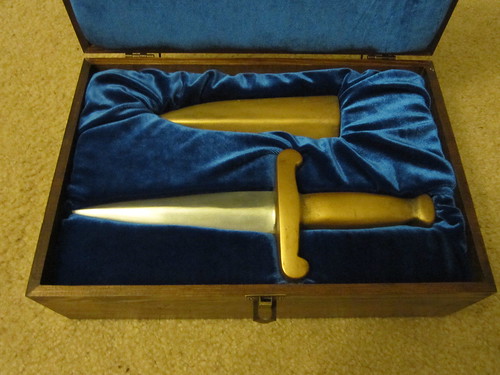
Our normal shipping method for finished props is to enclose them in a wood box lined with foam padding or pink foam board to increase the chance it will make it to its destination in one piece. On this project I wanted to try something a little different to improve presentation of the prop. Taking a trip to Hobby Lobby I found a wood box that was the perfect size for the dagger. I finished the box with stain and polyurethane then lined the inside with green foam and stretch velvet (same stuff I use on the fabric mau5 heads). The result was a storage box almost as impressive as the items stored within it.
It was a fun little build and now we can add “Disney Classics” to the ever growing list of source material we built from. I also learned a few things I hope to implement with an upcoming project I’d like to build from the web series RWBY or Loki if I ever get around to it.
While things are a bit hectic with the move and Dalek upgrades I was able to finish one more prop this year. Be on the lookout for Marshall Lee’s axe guitar build write up coming soon!