
During our first collaborative project, the Halo ODST, we found ourselves in need of a vacuum former for the visors of the helmet. Back then we had no experience with the process, and didn’t see too much need for one as most of the projects we were considering were based on fiberglass. After doing some research we found
In the 4 years we’ve had it, we discovered how useful it really is. We pulled a lot of plastic in the machine, and a lot of projects such as Daft Punk or the Apollo moon suit would have been impossible without it. While the old girl still works, some of the newer projects we are looking at will require us to have a larger pull area and more powerful vacuum. Thus, it was finally time to invest in a new machine.
Researching what others have done in the past, we found two options for 2x2 machines that most hobby builders seem to use; the ProtoForm and the Thurston James. Both machines use nichrome heating elements to heat the plastic and dump tanks that hold vacuum to pull the plastic. The key difference is the ProtoForm is designed to use 220 VAC (like your oven or other large appliances) while the Thurston James is based on 110 VAC (like everything else in your house). Both run the same amount of amperage through each heating element, but the ProtoForm has twice as many elements than the Thurston James. While the Thurston James plans are cheaper and the build is a little simpler, the amount of amperage it draws from the outlet would push the very limit of the breaker, which could cause a fire hazard. The ProtoForm was well in the range of other large appliances and is designed with its own breaker box, so we decided to go that route.
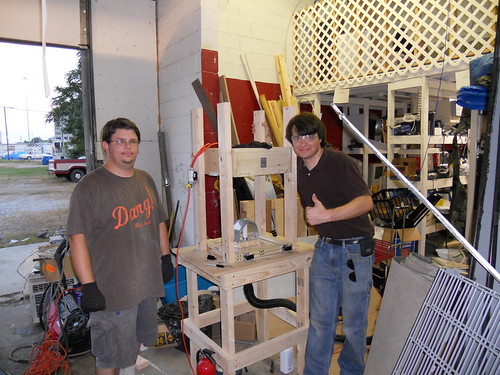
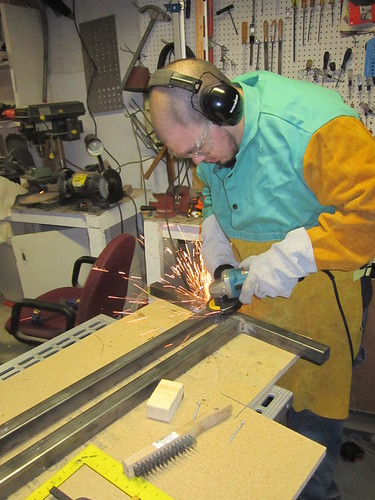
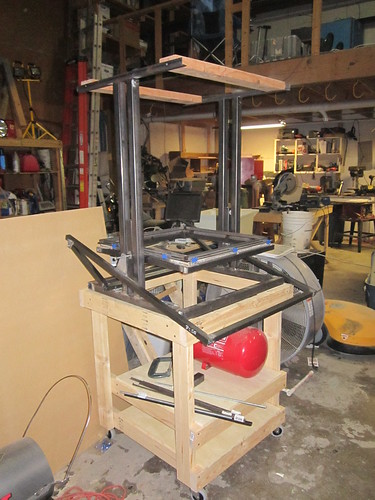
Initially, David and I were going to modify the design to be built from wood since neither of us have experience with welding. However, our friend Daniel of Smeeon Fabrications had just bought a new chop saw that he wanted to use and has welding experience, so we all started to work together to build the machine to print based on the purchased plans. David and I started by building up the rolling chassis while Dan welded together the steel frame that forms the main support of the machine. A few parts, such as the lift arm brackets, were machined by one of my co-workers who makes aerospace quality components. The lift arm is designed to stay up on its own when in the full vertical position.
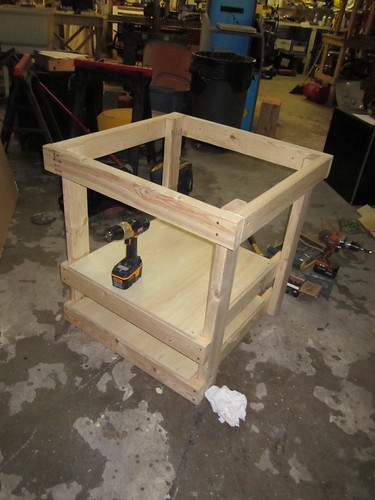
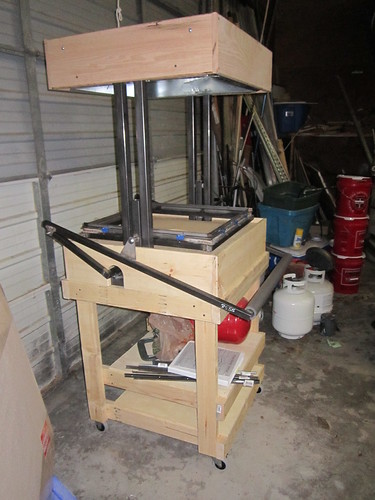
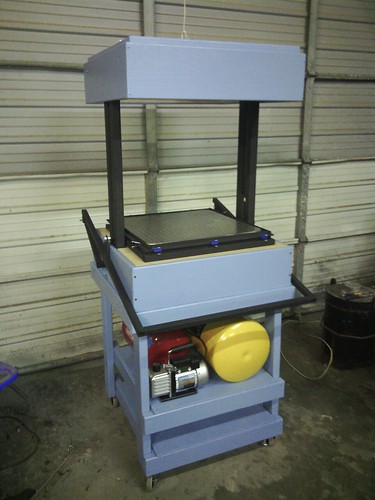
Once welding was complete, we built the wooden boxes that cover the operational components. The bottom box is made of pine and MDF while the oven box is oak to better withstand any heat from the oven and prevent warping. With the machine all built up, it was time to take it all apart so it could be painted. We used high temp grill paint for the steel components and “2Story Light Blue” for all the wood components.
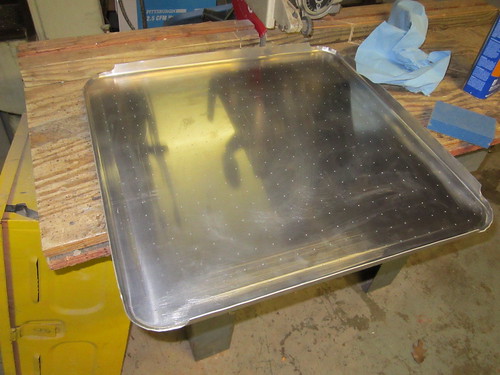
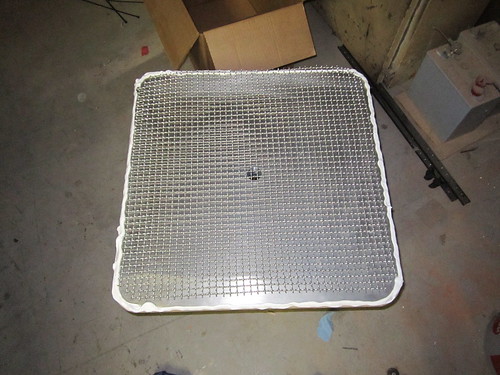
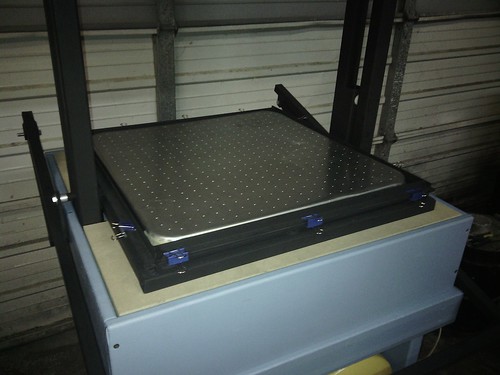
The forming surface, or platen, consists of a steel wire mesh secured between two aluminum sheets and sealed with caulk. For this part, David produced a vector file from the drawings in the plans, which Dan then used to cut the two sheets of aluminum, with holes, on the CNC over at MindGear Labs. The top sheet was bent over the MDF base and the assembly was sealed with 100% silicone.
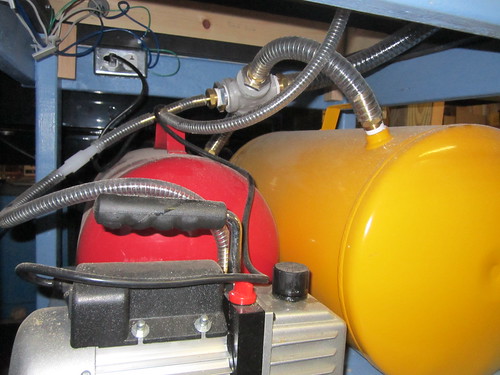
The vacuum system consists of a small Harbor Freight vacuum pump and two air compressor tanks which give a combined volume of 16 gallons. This is about the lower limit recommended in the plans, but we have seen people get away with a single 11 gallon tank so this set up should be good for the foreseeable future. The tanks are connected via reinforced tubing to a 1” valve that is then connected to the platen. Before the plastic is heated, the tanks are evacuated using the vacuum pump. When it is time to pull the plastic, the valve is opened, lowering the pressure between the plastic and the platen causing the plastic to take the shape of the buck.
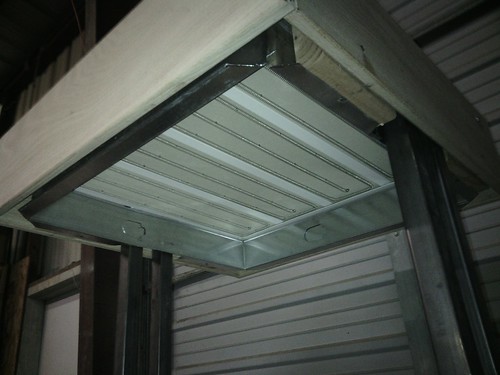
The heating elements are built from kits offered by build-stuff.com. They are a little pricy, but everything you need is included and you don’t have to reinvent the wheel. Each of the four heating elements is supported by drop ceiling struts on top of an aluminum stud.
Since we are required to move our machine around the shop for storage, we added a power cord to connect to the shops 220 voltage. While the three prong connection works fine, eventually we will reconfigure it to use a four prong connector with a dedicated grounding wire.
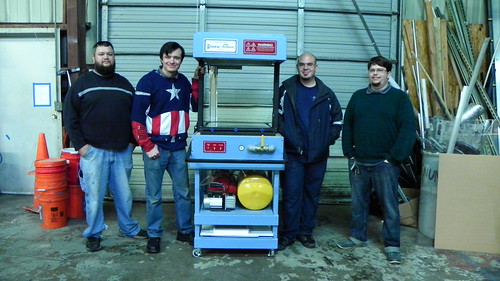
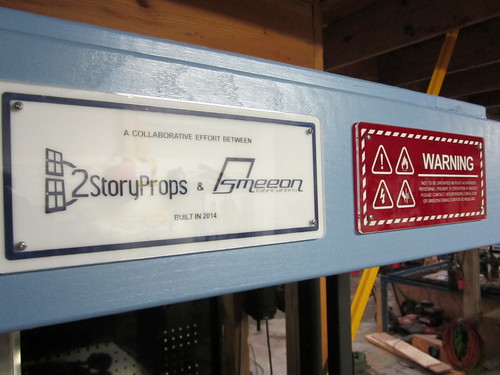
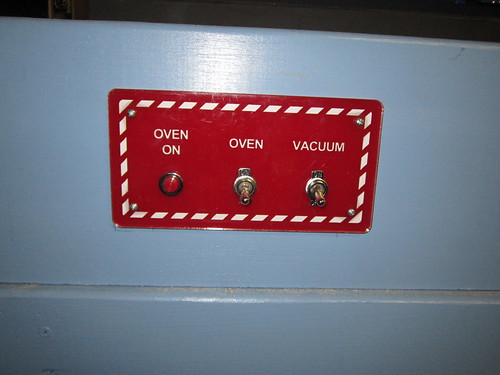
Finally, we added some plaques to the machine. The shop that the vacuum former is currently housed in has its share of curious minds, so some necessary hazard, safety, and operational information needed to be displayed. The plaques were simply laser cut acrylic with vinyl decals applied, with second layer of clear acrylic on top for protection.
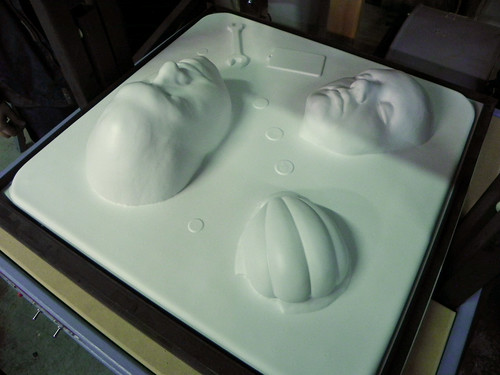
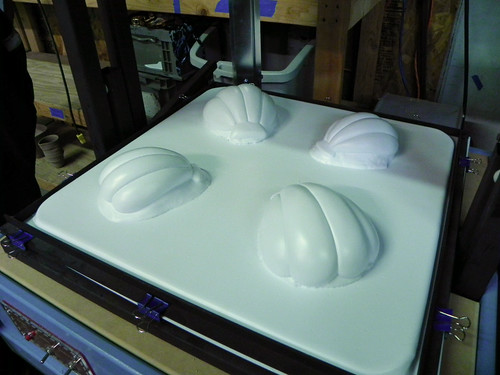
For the first pull, Daniel brought in some plaster castings and sheets of styrene. We were hoping to have better details than were possible with our previous machine, but the results we achieved were incredible. We were even able to imprint texture from a quarter onto the plastic! Here is a video of our first two pulls. The results speak for themselves.
This is was large group effort; the machine was build one night a week over the course of three months. We want to give a big thank you to our friends Daniel and Jason for helping make this possible. With their help we now have a professional quality tool that will allow us to make some really cool stuff in the future.

Build-Stuff.com where you can purchase the plans and the heating kit.