This project has a pretty interesting history, but to understand what it is exactly I’ll need to provide a brief history of general proton pack design.
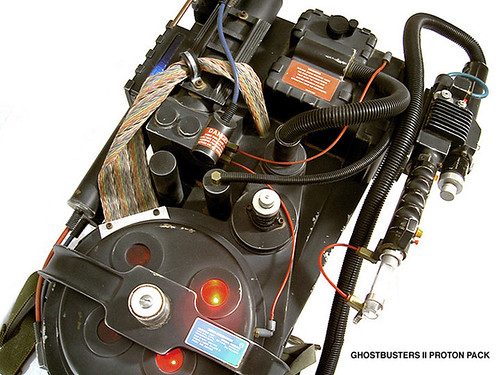
The proton pack is the key piece of equipment used by the boys in grey in both Ghostbusters (1984) and Ghostbusters 2 (1989). The prop is essentially the same in both films with very minor differences such as the angle of the gun mount and the color of the crank knob. As a result of this similarity, pretty much everyone who has built a movie Ghostbusters proton pack has strived to make the model seen in the films, which more or less is identical to the ones seen in the 1984 film (Some people have made packs based on the cartoon but that is another story)
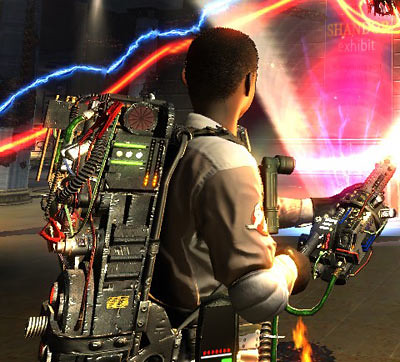
After 25 years of being unmodified, Ghostbusters: The Video Game was released in 2009 and puts a new twist on the pack. The game is basically the third movie and takes place in 1991 where your character, only known as “Rookie”, is the new experimental equipment technician and must test the new equipment Egon and Ray have developed to increase the abilities of the pack. At the start of the game the proton pack is similar to the ones seen in the films except it has a few cosmetic differences and more lights; some of which serve as your health and pack overheat indicator.
As you progress through the game the pack receives add ons to help you deal with new ghost and solve some in game puzzles. Add ons include the Slime Blower MK II, Stasis Stream, and Meson Collider. By the latter half of the game your pack has a lot more lights, wires, and other features than ever seen in the movies.
So now back to the prop. Back when we were first planning on building proton packs in 2009 (before the game came out). We had a little dilemma whether to make the packs movie accurate or game accurate. After some thinking movie won out due to the time and material needed to make a game pack for 4 people, plus there were not many good shots of the pack back then and no description what all the add ons did.
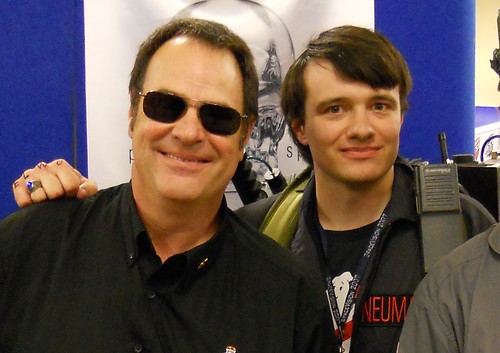
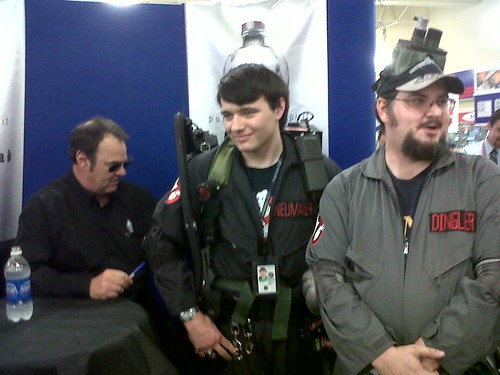
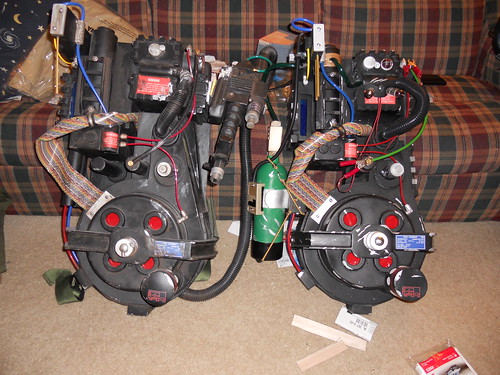
Earlier this year a few things happened that prompted me to tackle the game pack. First, Dave and I spent a lot of time molding up ODST armor, and I learned the correct way to make molds (the original pack molds were my first molds ever). This made me want to go back and make a new mold for the packs that would last longer and remove some of the imperfection in the Mark IV packs. Second, on May 8th Dan Aykroyd, came to Huntsville to promote his line of Crystal Skull vodka and had a signing on the arsenal. Needless to say I headed to the signing in costume, and Dan signed my pack. While having a signed pack is awesome, it also made the pack unwearable. As Dave put it, “It’s no longer a prop, it’s a collectable.” Since I needed to make a new pack and did the movie version 4 times now (building 6 packs total), I decided to go all out and make the game version.
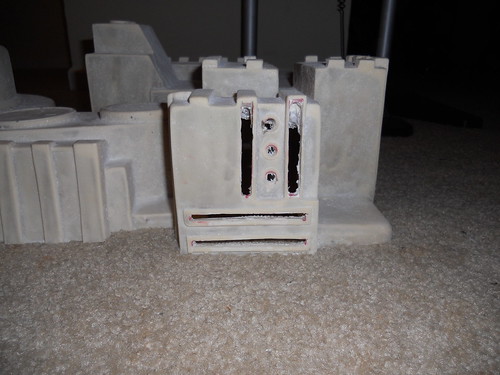
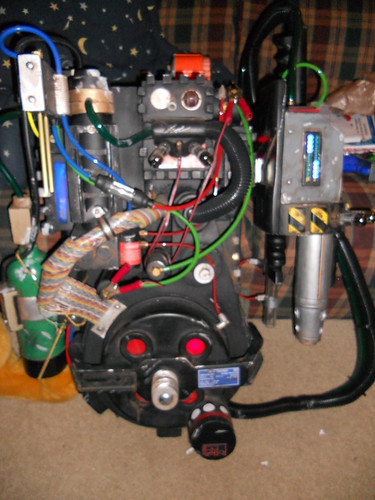
The first task was to modify the original positive we used to make the RCBG packs. The lower shell had a power cell block added while the gun mount on the upper shell had to be modified to have the various indicators seen on the game pack. With these upgrades the master positive was re-molded using much more rubber than the previous packs and multi-part mother molds (another first for me) the make shell removal easier.
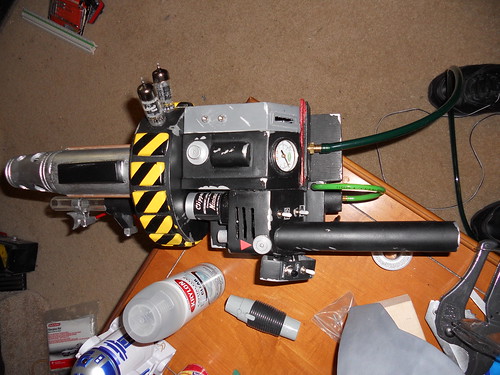
For the new gun I took an extra casting of the movie version and built up the slime blower box that gets added on later in the game from balsa. I molded these two pieces together so that I would have one single gun piece.
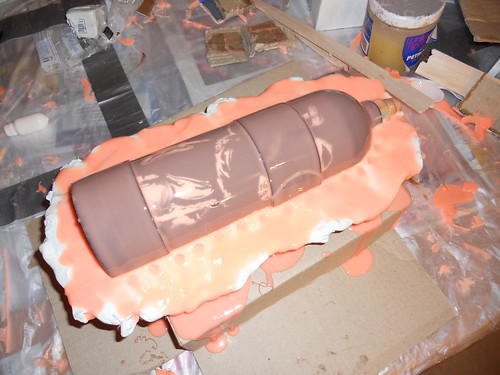
For the extra lights seen on the power cells and the crank box I used transparent resin with red and white pigment. This provided a piece I could glue on yet allow the light from an LED to show through. Various other add-ons were sculpted from balsa, molded, and cast in resin before being added to the pack. The most notable add on is the slime tank, which is a casting of a 24 oz paintball cylinder.
The green hose for the slime blower is also another first. I started with clear vinyl hose and dyed it Kelly green in near boiling water. Other additions to the pack include more hoses, bungee cords, jumper cable clamps, and vacuum tubes.
For the gun, the round piece was made from plywood and bondo with resin details. The slime blower itself is PVC with a modified wooden light house I found at Michaels. One detail on the gun people get a kick out of is the pressure gauge. That is a normal tire pressure gauge found at Wal-Mart made by “Slime”. So inadvertently, my slime pressure gauge actually says slime on it.
While I did most of the construction and painting, Dave took some time and weathered the pack up so it has the worn look. For the lights I took some notes from playing the game on how the lights behaved and sent those along with some measurements from my pack to Jupiter Electronics http://www.jupitere.com/ who made an unbelievable lighting kit for this pack. All the lights blink as they should in the game. Everything is powered by a 9.3 V rechargeable car battery. I cannot stress enough the quality of work Jupiter put into these lights.
For those scared of the weight, the whole pack weighs 30 pounds and is supported by an Alice pack frame. The first public appearance of the pack will be at Dragon*Con 2010 so keep an eye out for the pack as well as the full Rocket City Ghostbusters group!
For more pictures and details about the development of this pack, please check out the production thread on gbfans .com located here:
http://www.gbfans.com/community/viewtopic.php?f=2&t=12424
Flicker Photostream of Pack Development:
http://www.flickr.com/photos/2storyprops/sets/72157624809079888/



Man this thing is incredible. I want to build one but my skills are inferior. Fantastic job! You may have the only real-world version of this pack... don't be surprised if Sony comes a-knockin' if Ghostbusters 3 ever gets greenlit!
ReplyDeleteAh yes, but can it vent?
ReplyDeleteI like. How much?
ReplyDeleteIf I beg hard enough, would you be willing to maybe make one on commission? I really want to make one, but have absolutely no electronics or building skills.
ReplyDelete2 Story Props is a resource or platform providing props, assets, or tools for storytelling, game design, or creative projects. You can also explore a is fortnite free on switch to experience interactive storytelling and gameplay without spending any money.
ReplyDelete