
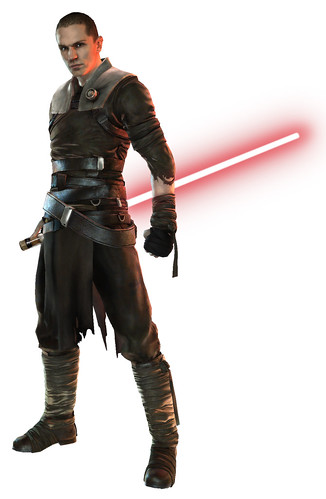
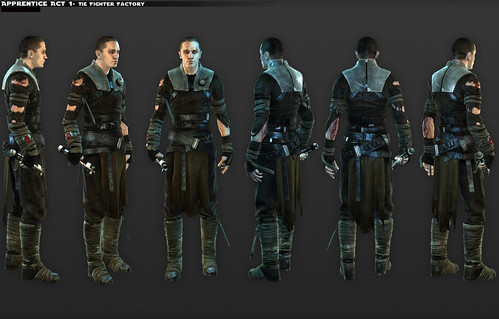
For those unfamiliar with the game, The Force Unleashed was released in 2008 and follows the story of Darth Vader’s secret apprentice, known as Starkiller, set between the events of episodes II and III. While there are several costume changes through the game as Starkiller hunts Jedi through different environments, the most recognizable costume for the character is the “Training Gear” seen in the promotional material and the first level of the game.
Starkiller’s Training Gear
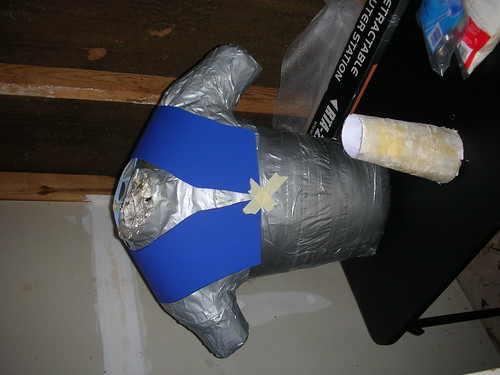
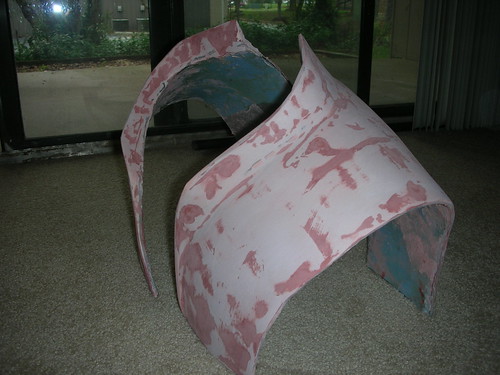
I’ve seen a few people attempt this costume with various results, but almost everybody has trouble with the shoulder armor, making it from pieces of sintra or cardboard. I wanted to make my set as accurate as possible, and this was a unique project for me as this was my first time working with fiberglass. To get things started I had my roommate at the time make a duct tape mannequin, of my upper torso so that I would have a copy of my shoulders to form the armor around. I then made a template for the armor from poster board, made two copies, and then taped them to the mannequin.
The poster board was then layered with several layers of glass and resin to hold its shape. To form the collar, I built up a wall using balsa wood and epoxy. After reinforcing the wood with glass and resin, I used bondo shape the collar the appropriate slope. Then with some bondo, glazing putty, and lots of sanding, the armor started taking shape.
Wood Collar
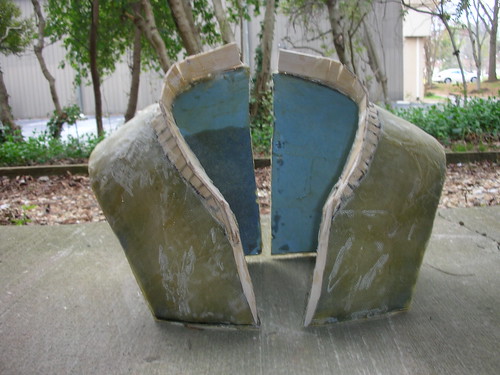
Bondoed
For finishing, the armor was painted nickel and then weathered with engine black acrylic paint and 600 grit wet sandpaper. Before the restraining bolt was attached flat black spray paint was used to put the welding residue on.
Finished Armor and Gauntlet
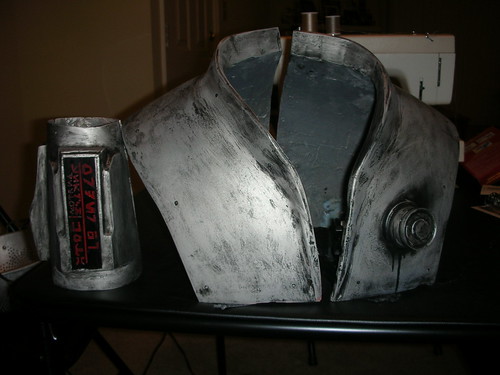

The gauntlet was made in a similar fashion; I made a duck tape mannequin of my right arm, used poster board to make a cuff, and then used fiberglass and balsa to build up the shape. The display is made from Plexiglas with red brake light tape. In case you’re wondering, the text reads, “Order 67, Search, Destroy, Kota”
This technique worked very well and I am really happy with how the armor looks. The problem I found however was that the armor does not allow enough room for the connection straps or the tunic itself, which is due to an issue with the mannequin. If I attempt this again I will be using a freshly made mannequin as well as add padding to ensure the armor has room to breathe. Additionally, the armor will be hallow cast so it will be much lighter and allow some flexibility.
No comments:
Post a Comment