Progress on Subject Delta has been going very well, despite being sidetracked by another project I’ll post about later in the week. If everything goes well I probably have a few more weeks before the whole thing is complete, but we can defiantly see the light at the end of the tunnel.
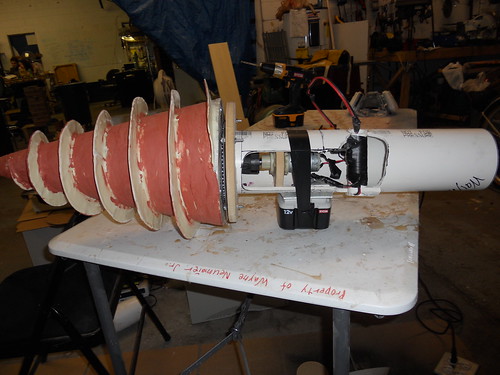
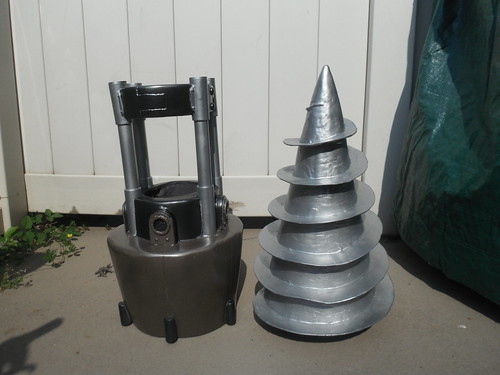
The Drill consist of three sections; the foam drill, the arm support, and the cosmetic sleeve. The arm support is made from 4” PVC with an epoxied handle and drill trigger integrated inside. This allows all the weight to be supported by the PVC rather than any of the cosmetic parts. Over the support fits an assembly made from foam, fiberglass and PVC. The side vents were sculpted and cast, and have screens hot glued inside. Everything was then painted with metallic paint and is currently awaiting weathering.
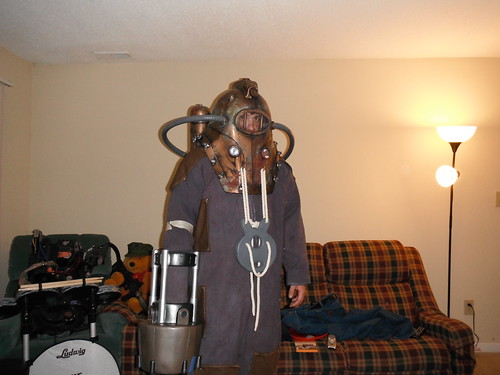
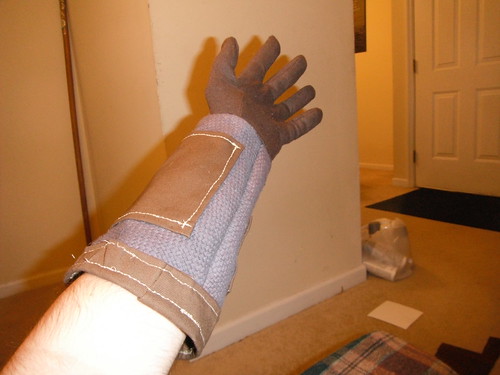
The dive suit was a big challenge, mainly because I hate working with fabric. To make it I dyed some heavy weave cotton fabric a mixture of blue and brown, and then David and I used a Rothco jumpsuit as a patterns and support for the dive suit. I then started adding details with brown duck cloth to give it a reinforced canvas feel. The glove was made by creating a cuff and sewing it to a regular brown gardening glove.
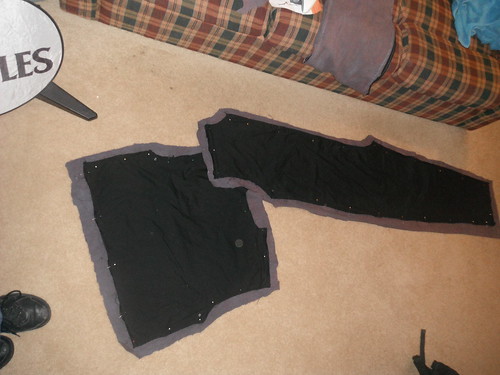
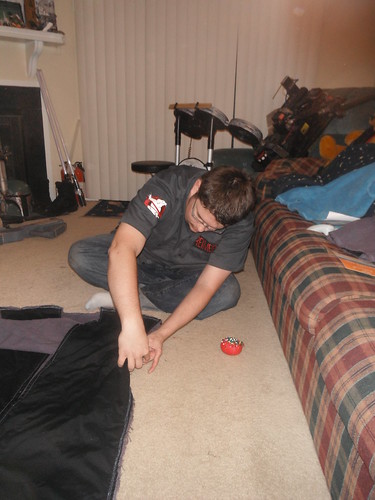
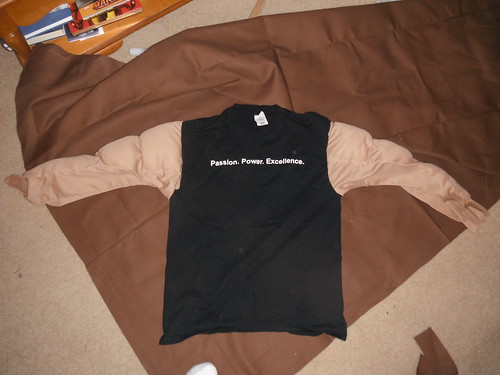
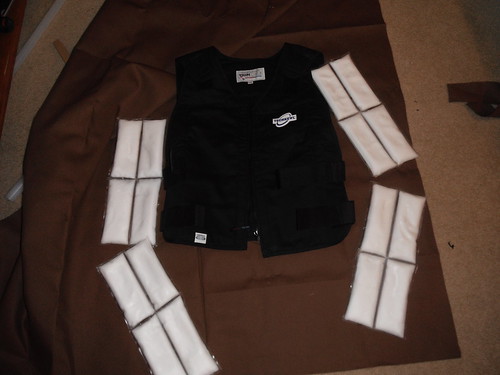
In order to bulk out my figure I made a custom padded suit to wear underneath the dive suit. The pants are made from sweat pants and plush filling. The sleeves came off a muscle shirt and were sewn onto an old t-shirt I had. My torso is bulked out due to a cooling vest I will be wearing to keep me from overheating once I am sealed inside.
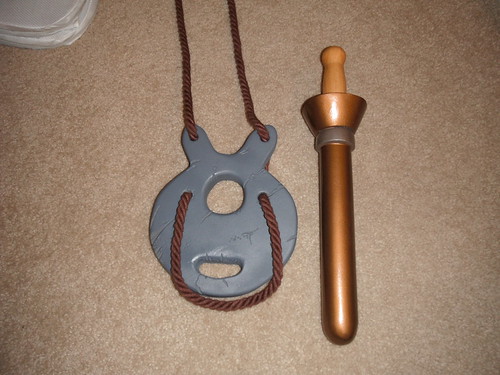
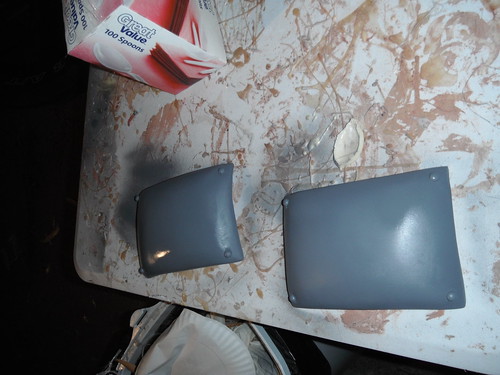
On to the details! What I call the Flavor Flav weight was shaped from MDF and is supported by custom dyed cotton rope from the helmet. The diving knife, or what I call the BFK, was made with PVC, fiberglass, and a hole saw was used as the handle. The knee plates were made from a Styrofoam sculpt that was molded and cast from fiberglass, and will attach using snaps.
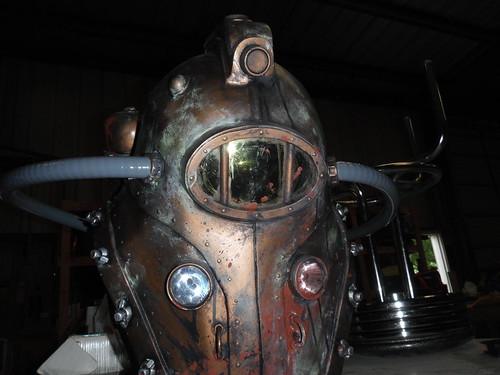
Lastly, I added a gold motorcycle visor to the helmet so people cannot see the wearer’s face. You can also see David’s unbelievable wreathing job in this shot.
During the week as I wait to finish another project I will be working on the last few gribblies for the suit as well as starting the boots. My hope is to finish the suits construction in mid-July so we can focus on weathering everything, but at this stage I think we have plenty of margin to have it done for DC’11.
June 30, 2011
June 4, 2011
Daft Punk: Part 5
So a lot has happened with the Daft Punk project since I last posted anything about it. A lot involving the project itself, and a whole lot of stuff not involving it. My professional work has really been kicking my butt lately, so I haven't quite been motivated to keep up the documentation of the project. I've also had some camera difficulty since I last posted, so I've lost some photos, specifically those involving the molding of Guy's helmet (except the low-resolution photos from Facebook). Because of the huge gap in updates, I'm not going to bother going into significant detail. I'll just hit on the highlights.
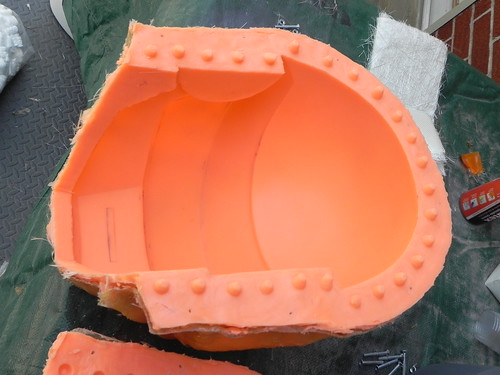
First up, as previously mentioned, Guy's helmet was molded. It was a single piece slip-style mold with a three-part mothermold. The single piece rubber mold means that there are absolutely no seam lines. The only parts that need cutting are the neck hole and the visor. It's a super clean build, and I'm very pleased with the results.
A vacforming visor buck was made out of a throw-away casting and subsequently reinforced with expanding foam. We were surprised to find out that our little vacforming machine could pull such a relatively large piece, and so far we've only had one bad pull from it.
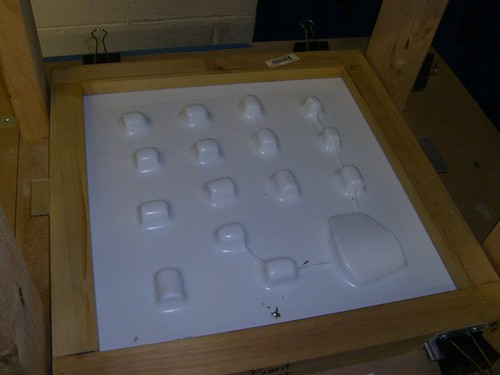
One major component that we didn't want to forget was the hands. I sculpted little MDF finger and palm plates (one for each size needed), then I molded and cast up enough pieces for one full hand. We pulled our hand plates out of styrene on our vacformer. Then they were trimmed and assembled on sprues to make the eventual chrome plating easier.
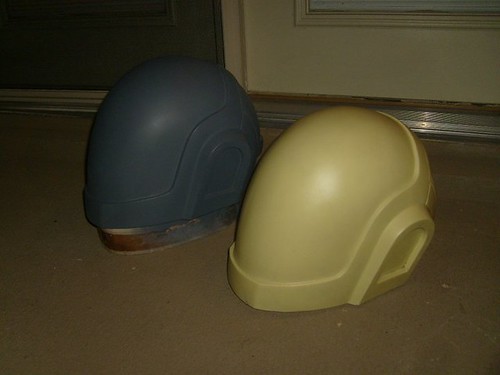
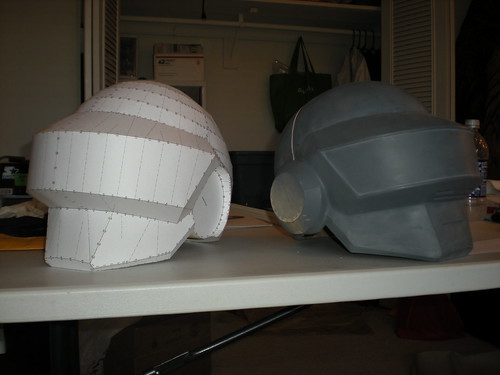
The final piece of the project was Thomas' helmet. I ended up starting over on the helmet entirely. There was too much I didn't like about the old helmet, and starting over meant I could address certain shape issues from the get-go. So another 3D model was built and processed through Pepakura. Typical building procedures took place. I decided to go with Volpin's style of build by leaving the ears off of the master copy so that they could be lathed later on. It really is the best way to go because it allows you to hide the mold's seam line in the ear cavities, making final prep super quick.
After much searching and hair pulling, a member of Makers Local 256 stepped up and offered to lathe the ear pieced for us. It was lathed out of a chunk of aircraft aluminum, and then I made a mold of it so that hollow fiberglass copies could be produced for the final helmet castings. The original aluminum piece is now a fancy paper weight on my desk at work.
Then a mold was made for Thomas's helmet. It's a two part (front and back) mold with a three part fiberglass mothermold. This has been the most recent step in the process, as just last weekend I finished the mold and pulled two helmet castings.
Currently I'm prepping the final pieces for chrome plating. I just sent all of Guy's components off to Creations n' Chrome in California, which is both scary and relieving. In the mean time I have to finish prepping Thomas' parts for Chrome, and I hope to have them shipped off to California by the end of next week.
On a final note for this post, we've once again altered the final outcome for our Daft Punk project, at least in terms of our appearance at Dragon*Con 2011. We did have a lead on a seamstress that could produce the TRON Legacy jackets and pants for us, but for availability reasons that fell through. So we decided to go ahead and get the helmets and gloves plated so we'd have some good, multi-functional helmets and gloves. To complete our D*Con ensembles, we will be sporting tuxedos similar to those worn by Daft Punk at the TRON Legacy blue carpet premier. Because the tuxedos just have to be bought and not made, we will be able to complete other projects with the attention they deserve.
To view the currently up-to-date Daft Punk photo album, please click here.
June 3, 2011
How2: All about Fiberglass
So it's been a while since I've posted anything. Not to worry, though, it's not because I've forgotten about the blog. It's because I've been making props, and I tend to focus more on the making of, rather than the documenting of.
Anyways, this is the first tutorial in our How2 tutorial series. In this tutorial, we will be giving a general overview of our fiberglassing process. Please keep in mind, though, that this is not a "definitive" how-to, as there are other methods out there. This is just our method. Also, please keep in mind that this tutorial is not meant to give a complete newcomer the abilities he or she needs to become a skilled fiberglasser. It is encouraged that you read up and learn about fiberglassing on your own before taking our tutorials to heart. It is easy, but you can't just jump into it.
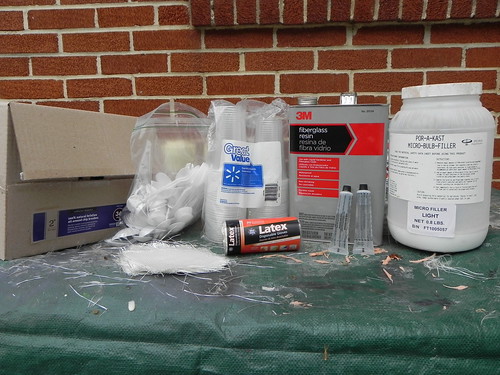
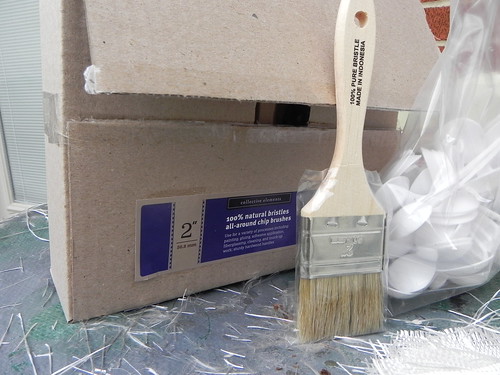
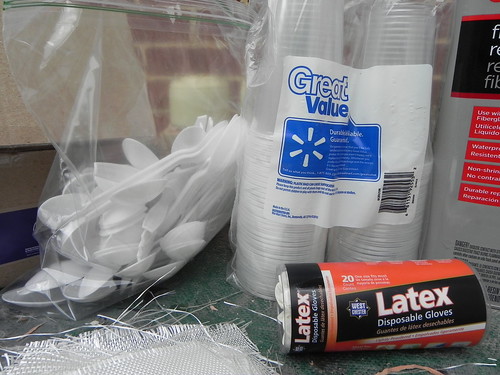
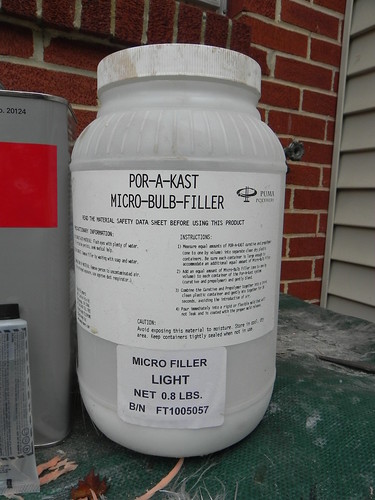
Right then, onto the tutorial. Below is a photo of the materials we use when we fiberglass. From left to right across the back row we have throw-away brushes acquired from Harbor Freight, throw-away plastic spoons, throw-away CLEAR plastic cups, fiberglass resin, and micro-bulb filler. In the front row we have pre-trimmed pieces of fiberglass cloth, latex gloves, and the fiberglass curing agent that is included with the resin.
So just a few notes on the materials themselves, and then we'll jump into the process. I'm just going to jump from material to material here without rhyme or reason, so try to keep up. We use all throw-away materials for fiberglassing because they're cheap and they allow you to work quickly. Sure, you generate a lot of trash, but there really isn't any sense in trying to clean brushes and cups. We use the clear cups so we can see how much resin we're using. Generally, for 30ml of resin, you use about 30 drops of hardener. Over the years, we've leared to identify rough estimates on the amount of resin we're using judging from how much we fill up the cups. Using clear cups makes that easy to do. Plus, if you're mixing the micro-bulb filler into it, you can see if it's mixed well enough. Try to get your throw-away brushes in bulk. If you don't have a Harbor Freight nearby, try a local paint store. Home Depot and Lowe's don't tend to sell brushes in bulk, so they're "throw-away" brushes end up being around $2 a pop.
We buy our fiberglass resin at Home Depot (and sometimes Wal-Mart). It's not the best stuff for small detail work, but for casting a simple helmet (like the Daft Punk stuff) or for bigger armor pieces, it's as good as you're going to get for locally-available materials. Wal-Mart tends to sell the gallon for a little over $20 (if you can find it!), and Home Depot sells it for $35/gallon. Prices DO fluctuate, though, as this stuff does depend on the price of oil. We buy our micro-bulb filler from taxidermy.com for about $25/shipped for the gallon container. Micro-bulb filler is basically silica particles (micoscopic glass beads) that are used to fill space in resin. They add to the volume of resin you use, and it also makes it so the resin is smoother and easier to sand.
For your viewing pleasure, I have recorded several videos for tutorial purposes. Fiberglassing is one of those processes that is best taught by showing the students in person. You can read and read and read all you want about it, but the best way to learn it is to watch it happen. I'm completely new to doing online videos, so bear with me as I learn this process. These videos are kind of beefy in terms of file size, but they are iTunes format so you can play them in iTunes or on your iPod. Please right-click and select "save as" on the following links:
How2: Gel Coat (53.1mb)
(click here to download the video)
How2: General Fiberglassing Practices (67.6mb)
(click here to download the video)
How2: Laying Fiberglass Cloth (99.6mb)
(click here to download the video)
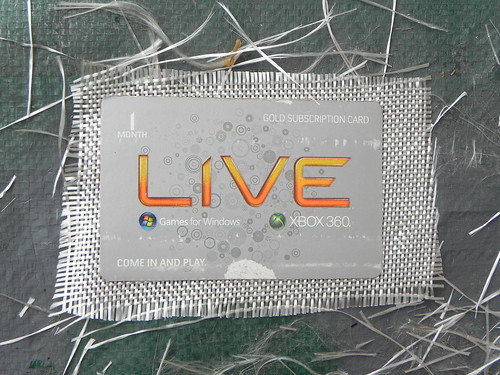
To supplement the videos, I'd like to mention a few things. Here is the photo I referred to in the General Fiberglassing Practices video. It shows the rough size I tend to trim my fiberglass (both cloth and mat). I'm not terribly picky about how I do it, and I'm certainly not trying to be exact when I cut it. Basically I end up unfolding the package of fiberglass to the point where it's a thin roll, and then I just slice up the roll, and trim the folds so that I end up with stacks of usable sheets. Sometimes I make larger pieces, sometimes I make smaller pieces, but the roughly 4.5" by 3" panel is the typical size I use.
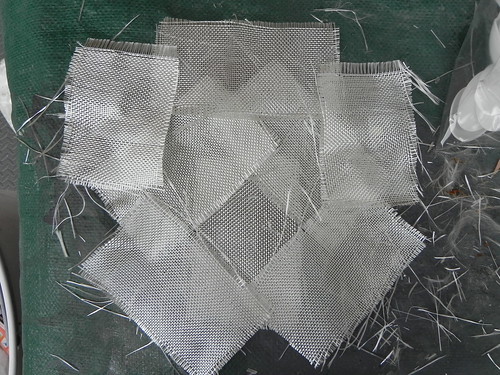
Furthermore, I failed to mention how I typically overlap the fiberglass panels when I'm laying it the mold. Because fiberglass cloth is the weaker of the two types of fiberglass, it tends to have some minor flexibility. We're not talking rubbery flexibility here, but if you had just a flat panel of hardened fiberglass cloth vs. a hardened panel of fiberglass mat, the cloth panel would have some very faint give to it that the mat panel wouldn't. To combat that, I alternate directions on the panels I lay in. See the following photo for a good guideline. Of course, if the mold warrants a different layout, you'll have to modify your layout accordingly. How you choose to layout your fiberglass will only come with experience, though.
Anyways, I apologize for the random array of information here. We've been wanting to do some tutorials for a while now, but never really had the opportunity (or the planning to incorporate it into our projects while we work!). This opportunity came about when a certain friend in Atlanta asked me my thoughts on fiberglassing, so I figured I'd take it as an opportunity to shoot some videos.
Subscribe to:
Comments (Atom)

