
Anyways, this is the first tutorial in our How2 tutorial series. In this tutorial, we will be giving a general overview of our fiberglassing process. Please keep in mind, though, that this is not a "definitive" how-to, as there are other methods out there. This is just our method. Also, please keep in mind that this tutorial is not meant to give a complete newcomer the abilities he or she needs to become a skilled fiberglasser. It is encouraged that you read up and learn about fiberglassing on your own before taking our tutorials to heart. It is easy, but you can't just jump into it.
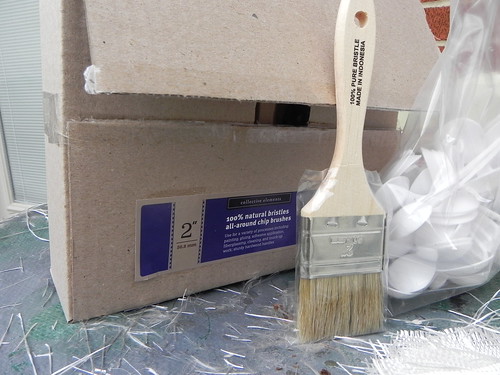
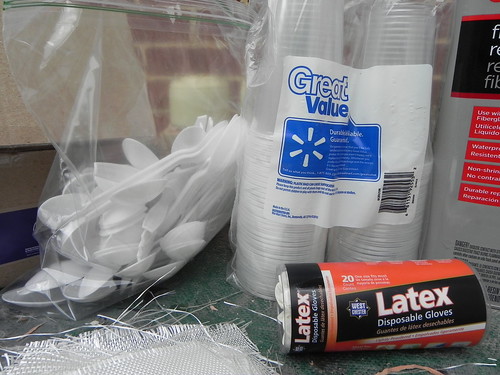
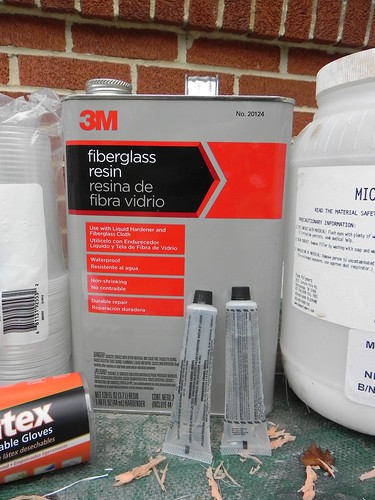
Right then, onto the tutorial. Below is a photo of the materials we use when we fiberglass. From left to right across the back row we have throw-away brushes acquired from Harbor Freight, throw-away plastic spoons, throw-away CLEAR plastic cups, fiberglass resin, and micro-bulb filler. In the front row we have pre-trimmed pieces of fiberglass cloth, latex gloves, and the fiberglass curing agent that is included with the resin.
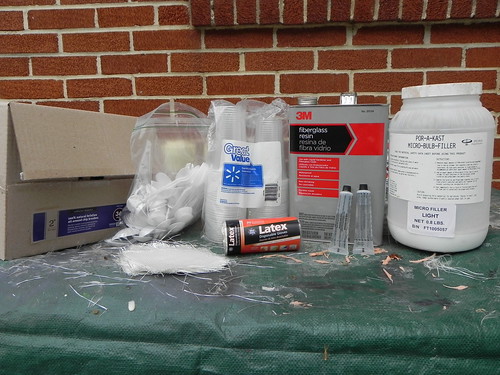
So just a few notes on the materials themselves, and then we'll jump into the process. I'm just going to jump from material to material here without rhyme or reason, so try to keep up. We use all throw-away materials for fiberglassing because they're cheap and they allow you to work quickly. Sure, you generate a lot of trash, but there really isn't any sense in trying to clean brushes and cups. We use the clear cups so we can see how much resin we're using. Generally, for 30ml of resin, you use about 30 drops of hardener. Over the years, we've leared to identify rough estimates on the amount of resin we're using judging from how much we fill up the cups. Using clear cups makes that easy to do. Plus, if you're mixing the micro-bulb filler into it, you can see if it's mixed well enough. Try to get your throw-away brushes in bulk. If you don't have a Harbor Freight nearby, try a local paint store. Home Depot and Lowe's don't tend to sell brushes in bulk, so they're "throw-away" brushes end up being around $2 a pop.
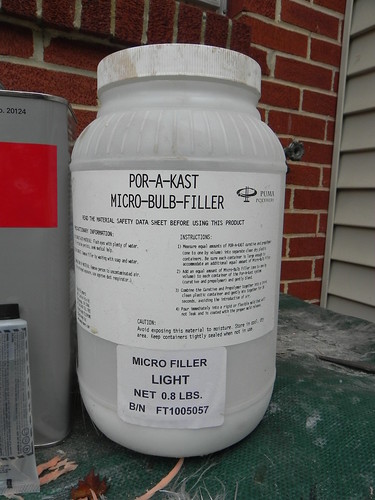
We buy our fiberglass resin at Home Depot (and sometimes Wal-Mart). It's not the best stuff for small detail work, but for casting a simple helmet (like the Daft Punk stuff) or for bigger armor pieces, it's as good as you're going to get for locally-available materials. Wal-Mart tends to sell the gallon for a little over $20 (if you can find it!), and Home Depot sells it for $35/gallon. Prices DO fluctuate, though, as this stuff does depend on the price of oil. We buy our micro-bulb filler from taxidermy.com for about $25/shipped for the gallon container. Micro-bulb filler is basically silica particles (micoscopic glass beads) that are used to fill space in resin. They add to the volume of resin you use, and it also makes it so the resin is smoother and easier to sand.
For your viewing pleasure, I have recorded several videos for tutorial purposes. Fiberglassing is one of those processes that is best taught by showing the students in person. You can read and read and read all you want about it, but the best way to learn it is to watch it happen. I'm completely new to doing online videos, so bear with me as I learn this process. These videos are kind of beefy in terms of file size, but they are iTunes format so you can play them in iTunes or on your iPod. Please right-click and select "save as" on the following links:
How2: Gel Coat (53.1mb)
(click here to download the video)
How2: General Fiberglassing Practices (67.6mb)
(click here to download the video)
How2: Laying Fiberglass Cloth (99.6mb)
(click here to download the video)
To supplement the videos, I'd like to mention a few things. Here is the photo I referred to in the General Fiberglassing Practices video. It shows the rough size I tend to trim my fiberglass (both cloth and mat). I'm not terribly picky about how I do it, and I'm certainly not trying to be exact when I cut it. Basically I end up unfolding the package of fiberglass to the point where it's a thin roll, and then I just slice up the roll, and trim the folds so that I end up with stacks of usable sheets. Sometimes I make larger pieces, sometimes I make smaller pieces, but the roughly 4.5" by 3" panel is the typical size I use.
Furthermore, I failed to mention how I typically overlap the fiberglass panels when I'm laying it the mold. Because fiberglass cloth is the weaker of the two types of fiberglass, it tends to have some minor flexibility. We're not talking rubbery flexibility here, but if you had just a flat panel of hardened fiberglass cloth vs. a hardened panel of fiberglass mat, the cloth panel would have some very faint give to it that the mat panel wouldn't. To combat that, I alternate directions on the panels I lay in. See the following photo for a good guideline. Of course, if the mold warrants a different layout, you'll have to modify your layout accordingly. How you choose to layout your fiberglass will only come with experience, though.

Anyways, I apologize for the random array of information here. We've been wanting to do some tutorials for a while now, but never really had the opportunity (or the planning to incorporate it into our projects while we work!). This opportunity came about when a certain friend in Atlanta asked me my thoughts on fiberglassing, so I figured I'd take it as an opportunity to shoot some videos.
Thanks for sharing with us conventional ways of using fiberglass resin!
ReplyDeleteThis comment has been removed by the author.
ReplyDeleteYour tip about using micro-bulb filler to make the resin smoother for sanding is gold. It’s interesting how these material properties translate to home durability, especially when choosing fiberglass entry doors long island to withstand local weather. Thanks for the detailed tutorial!
ReplyDelete