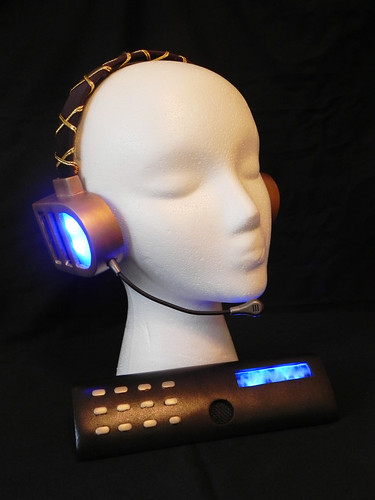
Now onto the details. Back in July when we were wrapping up Subject Delta and Daft Punk, I was chatting with a friend of ours who makes amazing sewn costumes about what she should be for Dragon*Con. At some point in the conversation, the character Luka Megurine came up. Luka is a Vocaloid; a digital pop start with digitally created voice and specific character design to accompany the software. During “live” concerts, the voice is played back accompanied by a live band while a holographic image is projected onto the stage. The program is huge in Japan, and recently made its North American debut at this year’s Anime Expo.

Luka Megurine Character Model
Live Performance
Since I had some time to spare with Delta and the Portal Gun wrapped up, I offered to make the headphones and arm display while she made the dress. The head phones started off using a piece of 2” PVC and balsa to create the proper shape of the ear piece. After a lot of sanding and putty work, the piece was molded in Rebound 25 and two castings were pulled to serve as basis for the working copies.
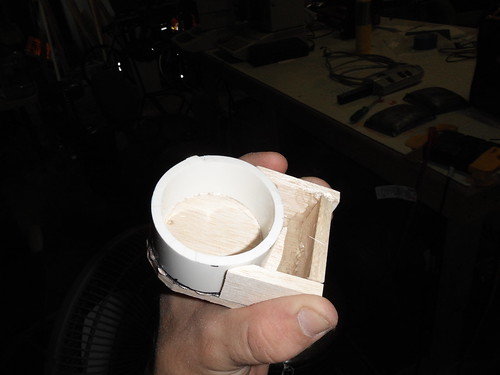
PVC and Balsa Rough Sculpt
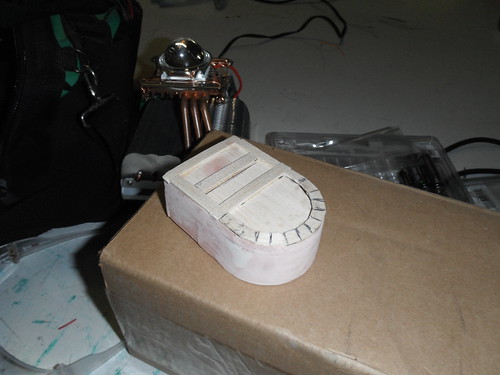
Adding Window Details
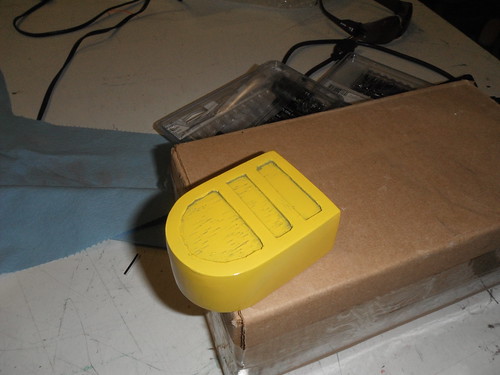
Painted Buck Ready for Molding
The tab that connects the ear pieces to the headband was sculpted from balsa and added to each working ear piece copy. Additional putty work was done at this stage as it is easier to sand a surface smooth on resin than wood due to the grain. After putty work was complete, the pieces received a coat of gloss paint and another; final mold was made with Rebound 25.
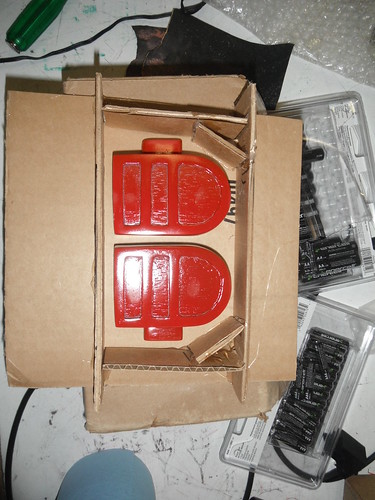
Final Bucks Ready for Molding
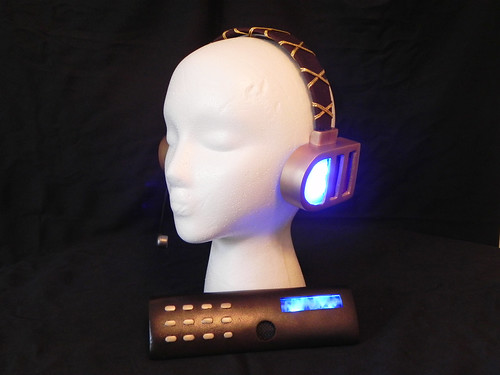
Each ear piece was cast in fiberglass and then the windows were trimmed out for lighting. Windows were made with Lexan painted with solid maroon and transparent blue paint. The ear pieces were each painted gold and the windows attached with hot glue.
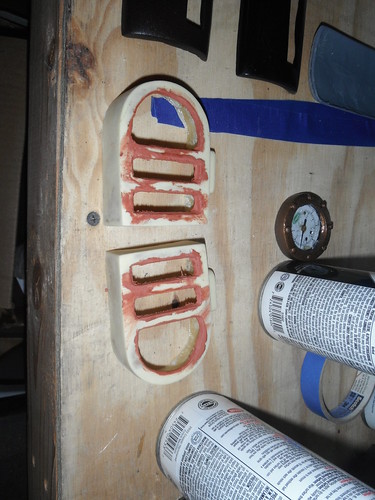
Ear Pieces Trimmed
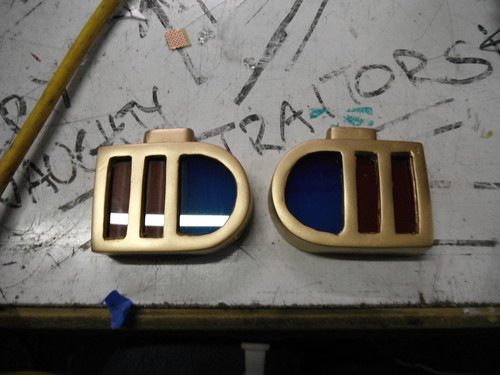
Windows Attached
The lighting elements were created using four blue LEDs soldered on circuit board. The lights are powered by two N size batteries wired in series to provide 3 VDC, so no resistors were needed on this build. Three wires run along the head band to complete the circuit. The lights are turned on and off by removing one of the batteries.
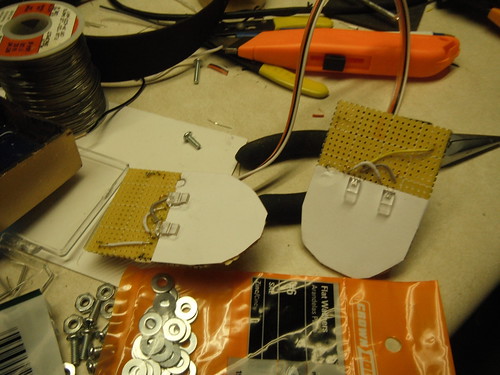
Light Boards for Headphones
The headband is a regular headband from JCPenny that was wrapped in brown fabric to match the character’s. It is attached to the ear pieces with a combination of bolts and Goop. Gold trim was added based on one of the character’s earlier renderings. The mic was taken from a computer headset.
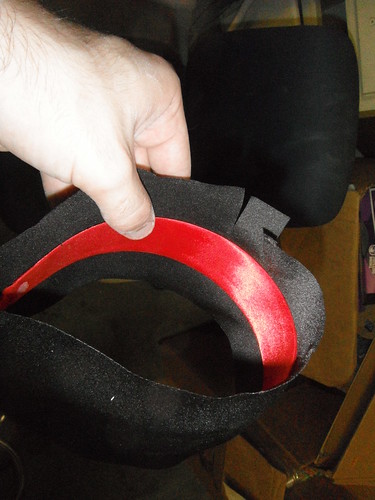
Wrapping the Headband in Fabric
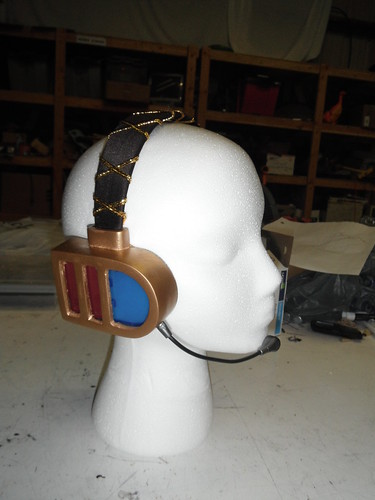
Gold Trim and Mic Added
The arm display started as a layered block of balsa sanded to a curve to fit the wearer’s arm and allow room for the electronics. The piece was coated with putty and sanded to a 400 grit finish. The display window was made using pieces of plastic and the speaker port was shaped using a cap from a spray bottle. The keys were made by cutting the rubber buttons off a TV remote and gluing them to the buck with silicon.
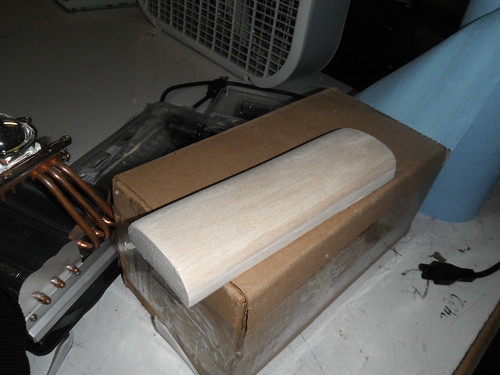
Original Block
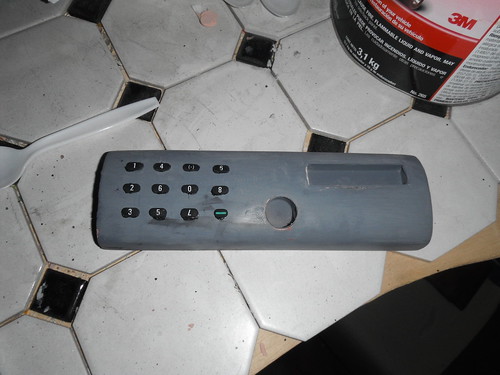
Final Buck with Keys Glued On
The piece was molded and then cast in fiberglass. After trimming the piece, it was painted by alternating between black and brown paint to achieve the proper dark brown. The keys were masked of and painted golden pearl.
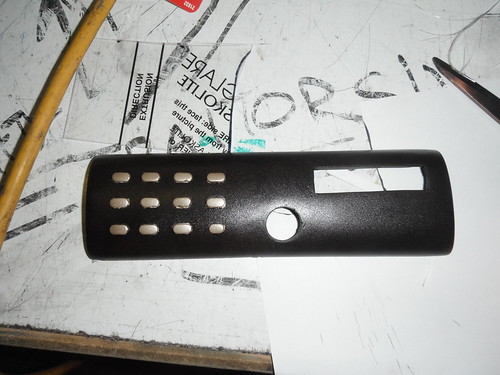
Painted Panel
The display window was created by printing a sound wave pattern onto transparent decal sheet and applying it to a piece of lexan. This was then hot glued to the back of the panel with hot glue. The display is illuminated by two LEDs powered by a single disk battery. Unfortunately I did not get pictures of the electronics as I was in a rush to deliver the piece.
Here are the glamour shots of the final product:
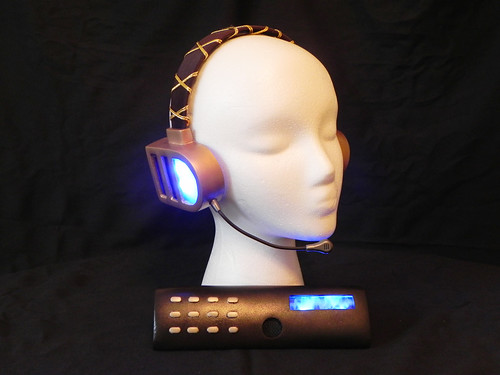
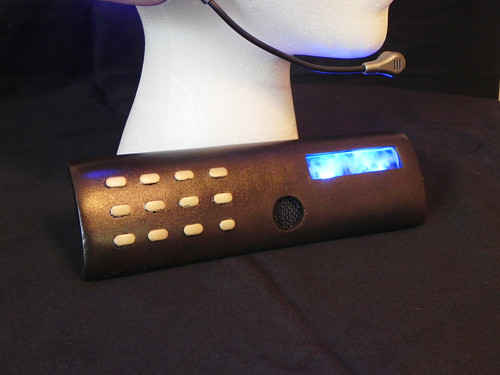
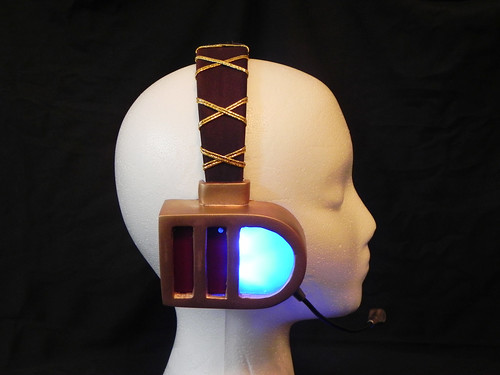
We will try to post some pictures of the full costume when the dress is finished. David is in the process of finishing up our fifth and final project for this year’s Dragon*Con, and then we’ll be making our final preparations to travel down to Atlanta. We hope you all have enjoyed seeing us make cool stuff this year and hope to see a lot of you in person at D*Con! We will update our facebook page as much as possible to keep you updated on when the various projects are wandering around the convention.
See more pictures on our flickr page.

Elgato Wave Mic Arm in UAE, Wave Mic Arm in UAE
ReplyDeletehttps://gccgamers.com//elgato-mic.html
Elgato Wave Mic Arm in UAE, Safe Shopping Multiple Payment Options Express Delivery GCC Gamers Moneyback Guarantee.
1635141164391-9