
Besides completing our 2SP masked musician collection, one of the aspects I like about the helmet is that it is worn very casually. Most of our other projects require a specific ensemble and require a second person to get them on. Even Daft Punk with the tuxes requires a second person to button and unbutton the sleeves. Deadmau5, on the other hand, can be worn with a tee shirt and taking the head off isn’t out of character. In other words, it is an impressive costume to have when you want to turn heads without being too elaborate.
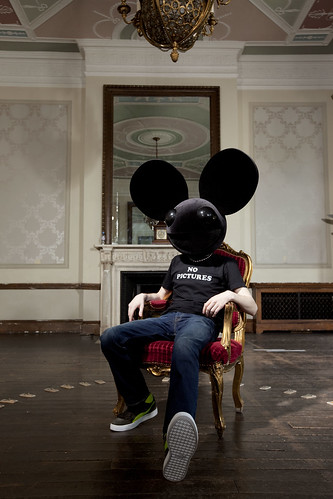
The project started off with research. A lot of people have attempted to make mau5 heads with various levels of success. One of the interesting things about the head is that there are pictures online showing how the original was made, and deadmau5 himself even put out some basic dimensions. I’ll warn you right now that some of the dimensions are not correct and I will point them out through the post. As of this post I have built 2 heads, a black one and a red one. The construction is almost identical so I will be going back and forth with construction pictures as needed.
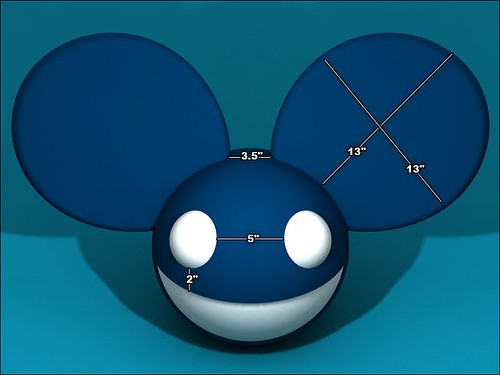
One of the three dimensional drawings by deadmau5
Our build started by creating a cardboard template for the ears. Based on the dimensions I decided to make the ears a 13” x14” oval. Using the tread and pin method the oval was inscribed on the cardboard and cut out. A 14” circle, the outer diameter of the head, was cut out and used as a guide for the curve on the bottom of the ear template. Note that the center of the ear’s base to the ear tip is 13” as stated in the dimensions.
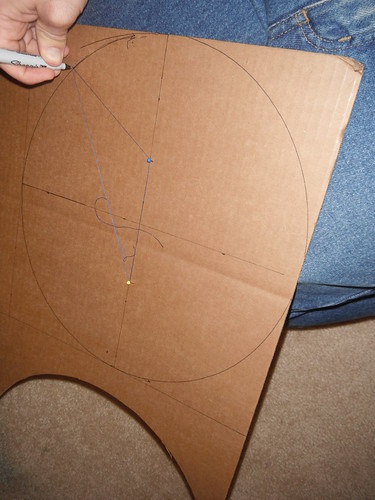
Drawing the oval for the ear
The ears were made using ½” thick pink insulation foam. This stuff is really light and does not leave particles like floral foam. Using the template, 4 pieces were cut out and grooves put on the inside for two ¼-20 threaded rods. Epoxy was laid in the grooves and then each half of ear was joined with spray adhesive. When the glue dried the outer edge was shaped with a rough sanding sponge.
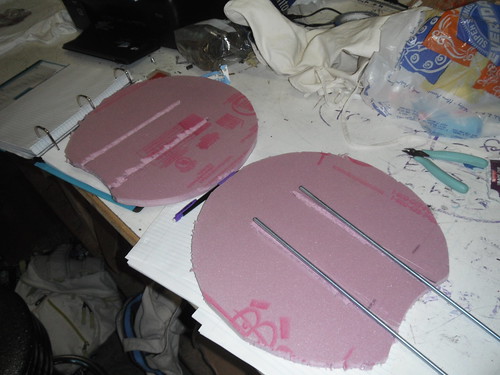
Ear Halves and inner rods
The head is made from a 14” acrylic globe. Using string, measuring tape, and masking tape, the lines for the mouth, eyes, and ears were drawn onto the globe. While the dimensions say the ears are 15 degrees back from the top lip, most heads have them at 90, which is what I did with mine. The neck hole is recommended to be 8” x 7”, but I had to make mine 9” x 8” in order to get my head in and out of the globe. With everything marked the globe was trimmed with a dremmel to the correct shape. Reinforcement was added to the corners of the mouth to prevent cracking at the newly created stress point. I strongly recommend using the excess acrylic cut from the neck hole for reinforcement as this is the thickest part of the globe.
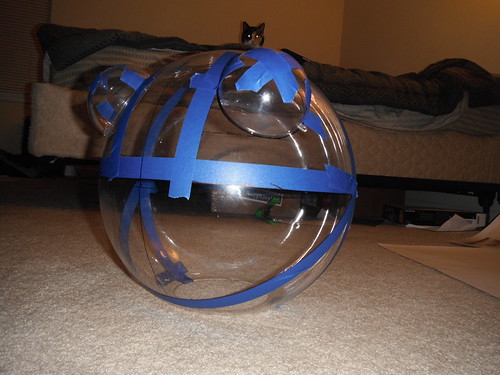
Drawing the cut pattern on the head
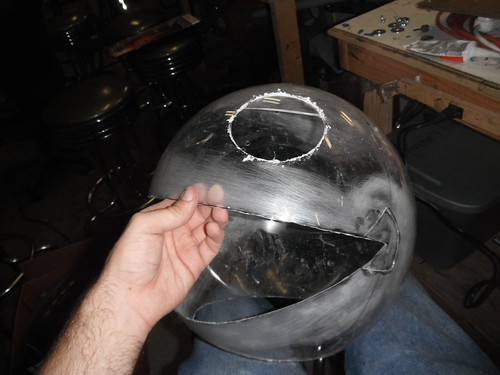
Trimmed Globe
To allow the globe to sit on my head (and other people as well) I installed a hardhat inside. The sides are cut to allow access to the wing nuts on the ears so they can be taken on and off. The hard hat is attached to the globe using two #8 bolts going through the top of the globe and threading into the hard hat.
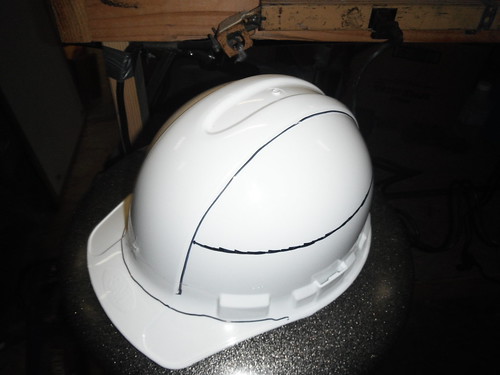
Original Hardhat
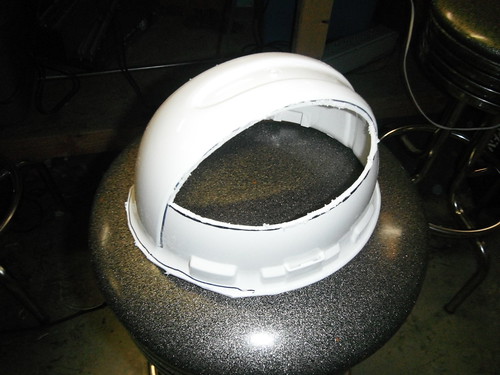
Trimmed Hardhat
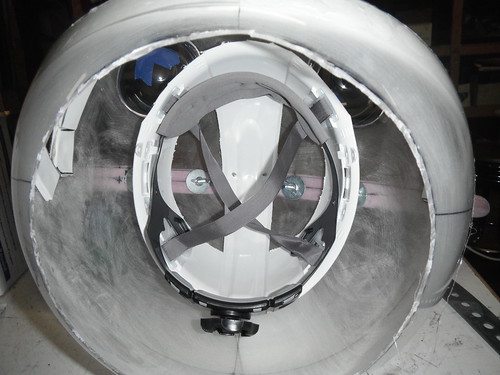
Hardhat installed. Notice the wing nuts for the ears.
The lip was created using 2 layers of 3mm foam about a 1” wide and attached with hot glue.
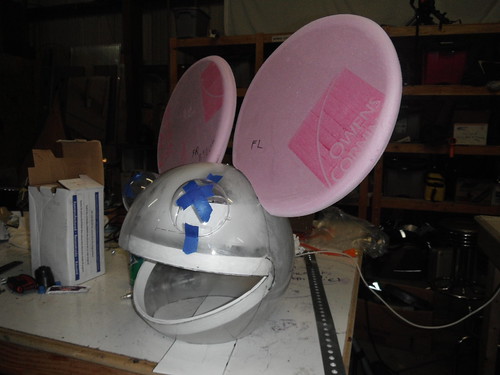
Covering the head is a bit tricky. The fabric used is called 4-way stretch velvet and you can find it (in limited colors at most fabric stores. For what it is worth, Hancock here in Huntsville had the best selection compared to the other local fabric stores. Even through the fabric stretches well, it is still a pain to work with to cover the head with the fewest seams and wrinkles. For the black head I sewed two 22” circles together halfway and stretched it over the head, cutting and stuffing fabric into the mouth until the cloth was smooth. Eventually I had to cut the fabric around the bottom jaw and add two seams. On the red one, with the help of a friend who knows how to sew, we used a 17” x 20” ellipse which wasted less fabric and gave better results, but still needed two seams. To hold the fabric in place I used a bunch of tiny clamps that you can pick up at home depot for a few cents apiece. The real mau5 head has only one seem, so I would recommend finding someone good with fabric to help you if you need total accuracy. The ears were covered by making “pillow cases” and slipping it over the foam.
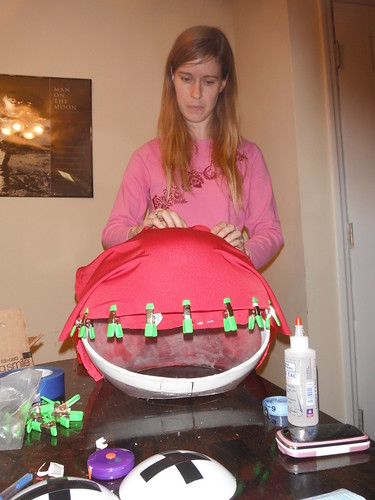
Crystal putting skin on the red head
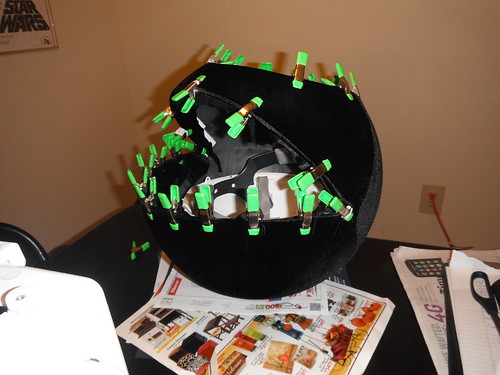
Black head with fabric clamped in place.
The visor is made with chicken wire from home depot. Basically, you cut an ellipse large enough to cover the foam lips and bend it to a spherical shape. The fabric for the visor is then glued to the wire and the whole assembly glued into the head. All adhesive on this project is hot glue.
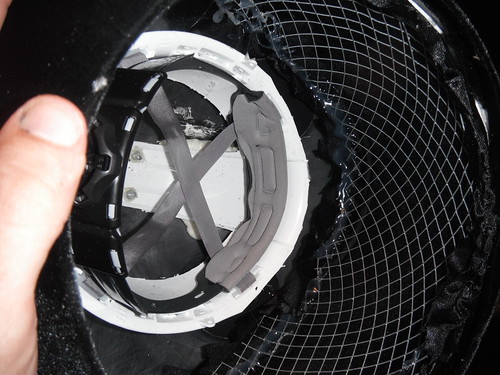
Installation of the visor in the black head.
The eyes were made using 6” plastic globes and cutting a 4.5” circle from them. (Each globe will give you two eyes). For the black head, I used a clear globe and coated the back with VH nightshade. For the red head I used a white globe and then added the “X”s with electrical tape. The eyes were then hot glued to the head.
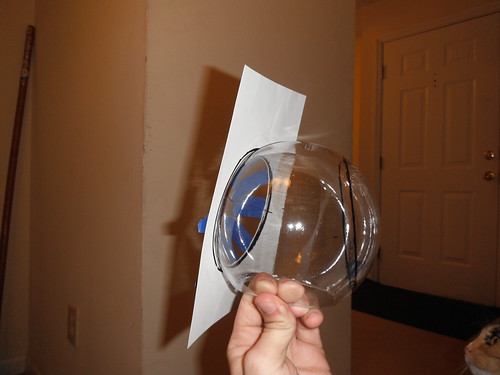
Cutting circles from the globe.
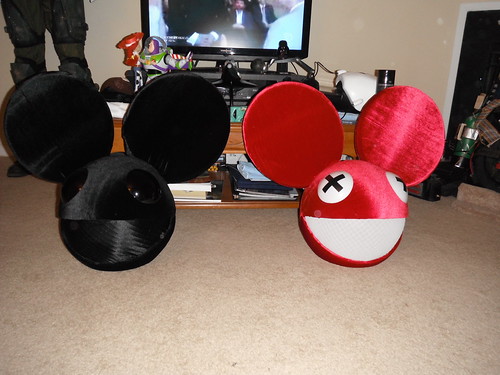
Final mau5 heads
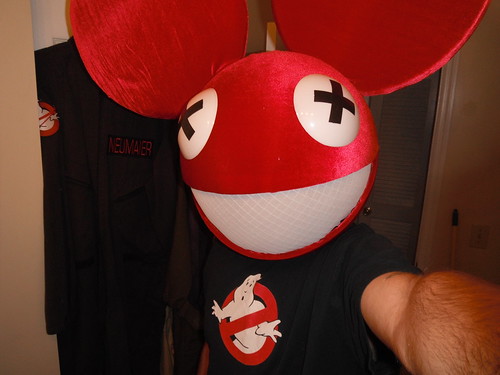
Red
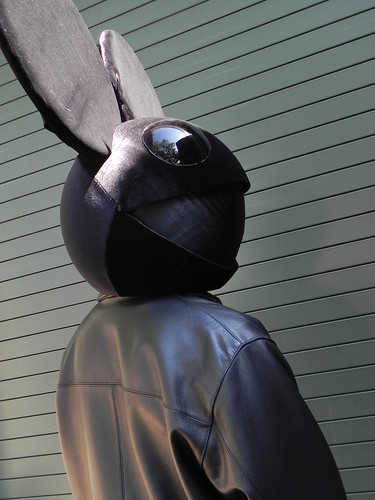
And Black
To complete the “Costume” I added temporary tattoos, a shirt with iron on letters, a ball chain necklace, and a Hurley cap when the head was off. Deadmau5 is also a huge Zelda fan, and we happened to have a master sword on hand for a few glamor shots with the black head. We will update when we have pictures from our Daft Punk/ Deadmau5 shoot using the red head.
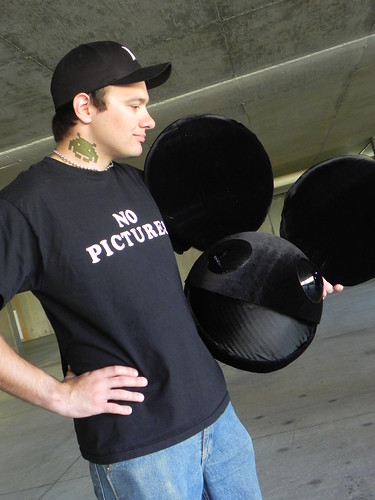
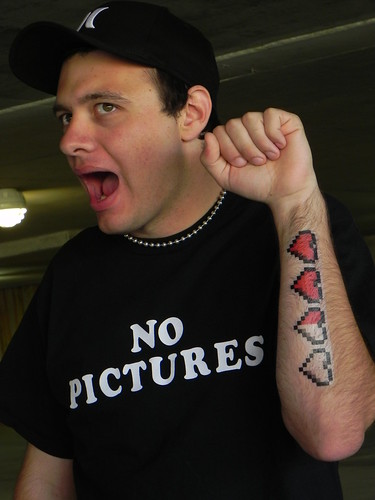
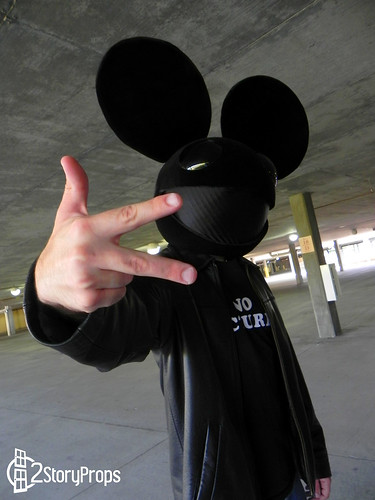
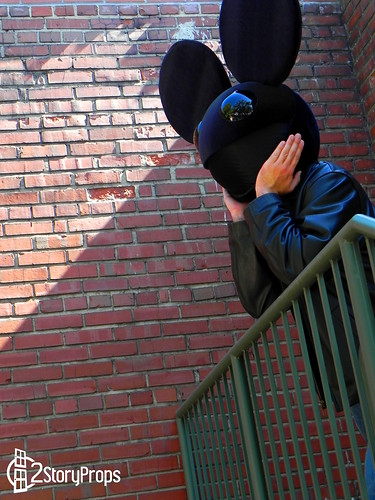
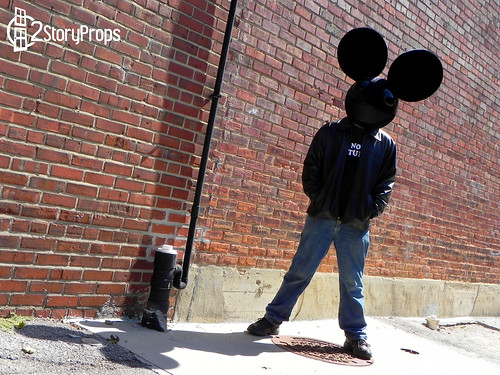
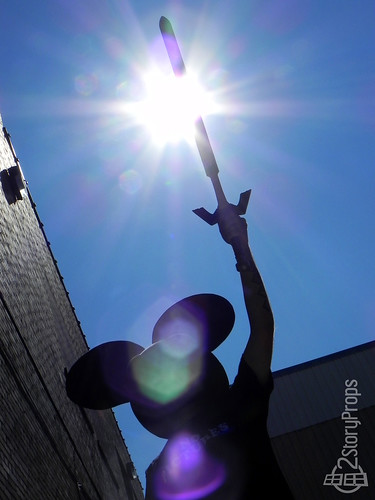

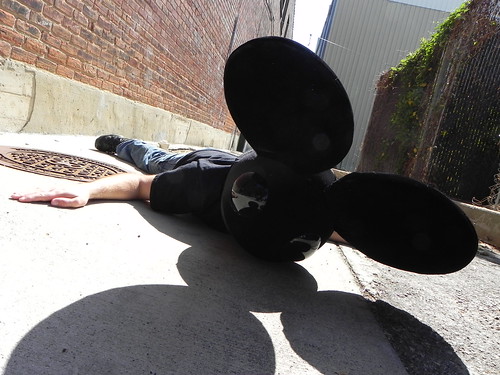
This project is a really fun build and I am actually planning to make a few more of these. If you are trying to make your own I hope you found this thread somewhat helpful.
And no, I have no plans to make this version any time soon:
Black Head Flickr: CLick Here!
Red Head Flickr: CLick Here!

hey man are you from huntsville al?? i was wondering bcuz i am also gonna begin building a mau5 head and maybe i could shoot u an email once in a while to get help or ur opinion.and i am also in huntsville at the moment im at UAH.
ReplyDeleteCan you share a little more detail on how to do the thread and pin oval. How do you know where to place the pins and how long does the string need to be?
ReplyDelete