
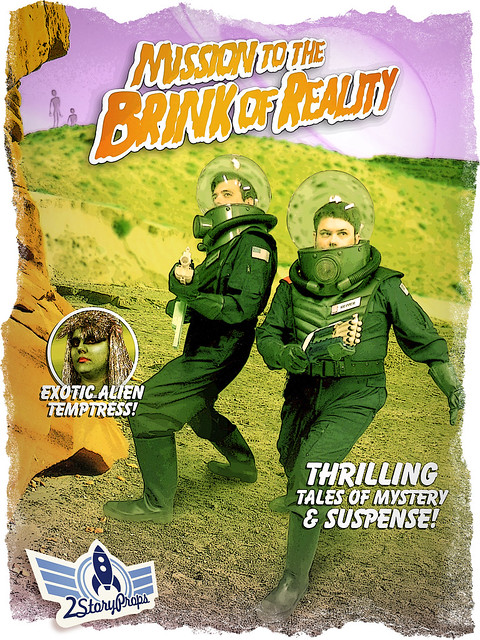
While Wayne and I regularly converse on our upcoming builds, it’s always exciting when two people arrive on a single idea totally separate from one another. Unbeknownst to either of us, we had each had a secret desire to build some kind of generic, campy, intentionally crappy retro sci-fi “spaceman” costume, as if it were something stolen from the set of some forgotten sci-fi B-movie serial. In September of 2013, I had just moved into my new house and began setting up my shop. In order to break in the space, we decided to build the retro spacemen.
Like most of our builds, we set a few main goals. Typically our builds are all about using some new, fancy material, or learning some method needed to produce a certain part. With this build, however, we wanted to build the two suits for as little money as possible, and in as little time as possible. We figured it’d be a good Halloween build, and we had a tutorial in mind for it the entire time. So here is your 2014 Halloween costume, 2StoryProps fans! (If you make one based on this tutorial, we’d seriously love for you to send us a photo!)
Right off the bat, here’s a price list. This is unusual for us (well, for me at least) as we typically operate with the understanding that this is an expensive hobby to participate in, so we generally don't tally up receipts to determine the penny-by-penny exact costs of our builds. But again, we wanted to really focus on how cheaply we could build these costumes. This list may not exactly be entirely comprehensive, as there may be a bit or bobble missing, but the bulk of what you need to build a Retro Sci-Fi helmet is there (unfortunately, we do not have the receipts for the custom fabric components available at this time). With a few tools of your own and the items on this list, you can build your own Retro Spaceman! Your local pricing and availability may vary.
PRICE LIST (online items reflect cost with shipping)
$33.26 - 14 in. Clear Acrylic Globe, 5.25 in. Neckless Opening from 1000bulbs.com
$45.00 - Navy Blue Flightsuit from Mashern.com
$1.81 - .75" x 60" PVC Pipe from Lowes
$1.08 - .75" PVC Coupling x4 from Lowes
$3.12 - 1.5" x 24" PVC Pipe from Lowes
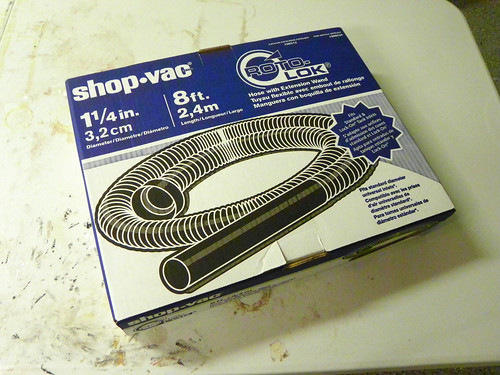
$19.98 - 1.25" x 8' Vacuum Hose from Lowes
$1.20 - .75" Lagbolt x10 from Lowes
$1.32 - 1" x .5" PVC Elbow x2 from Lowes
$0.92 - .75" PVC Cap x2 from Home Depot
$10.76 - 12" x 48" Diameter Cardboard Concrete Form from Home Depot
$3.97 - Black Nitrile Chemical Gloves from Home Depot
$5.98 - Cashews (Canned Nuts) from Wal-Mart
$4.97 - Sink Strainer from Wal-Mart
$20.00 - Waterproof Knee Boots from Wal-Mart
~ $10.00 - Black Nylon Pistol Belt (we already had ours)
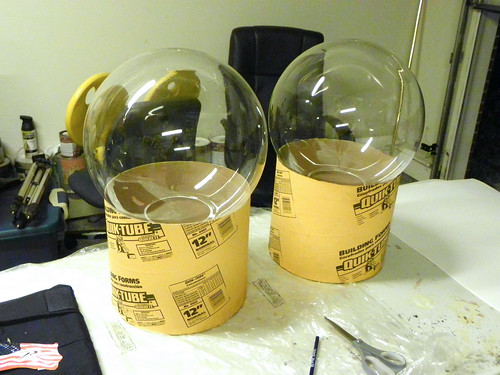
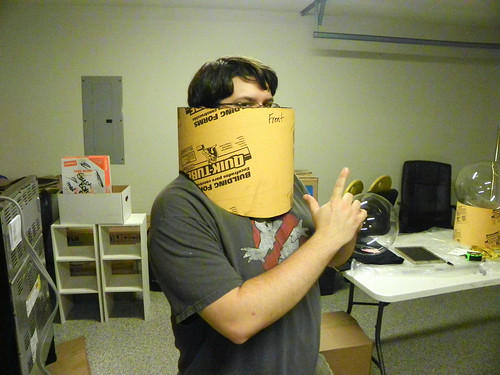
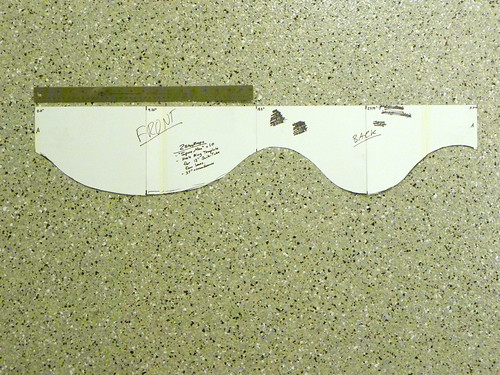
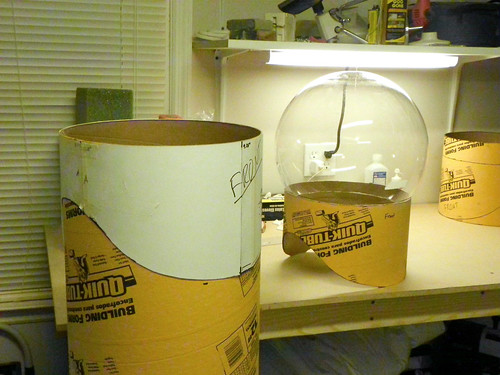
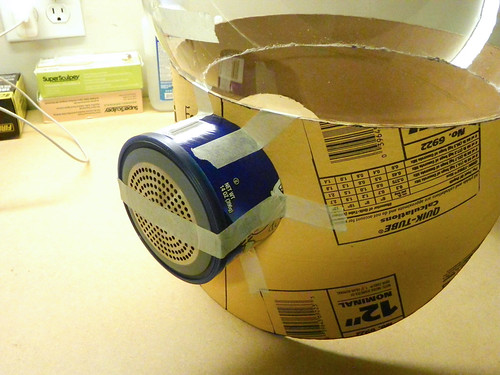
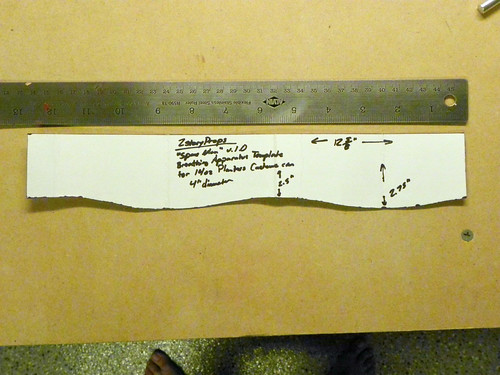
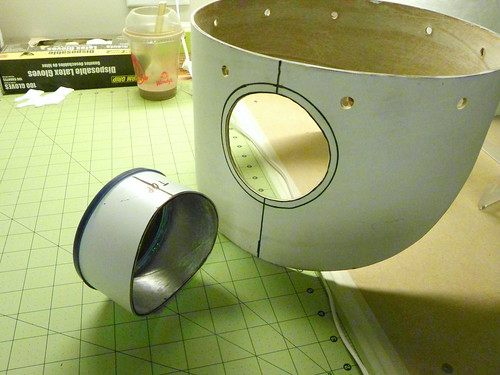
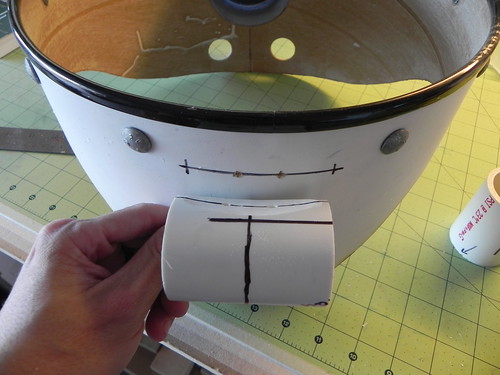
This tutorial will mostly follow the construction of the helmet, which is actually based on a similar design by a member of the Replica Prop Forum. That thread can be found here. We began with a couple of 14” acrylic globes, which we commonly use for Deadmau5 heads, and some giant cardboard tubes from Home Depot. The tubes are normally used for concrete forms and have a waxy coating on the interior. Using some poster board, we developed a template for each of us that would provide the right curve to follow each of our necklines. I have a bigger, drum-like chest while Wayne has a slimmer frame, so the necks of our helmets had to be different. Making adjustments along the way to bring everything to a comfortable height, we were off to a good start rather quickly.
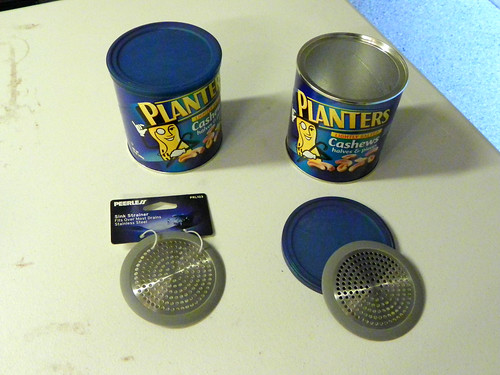
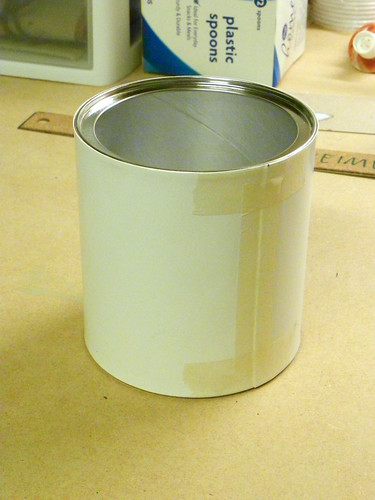
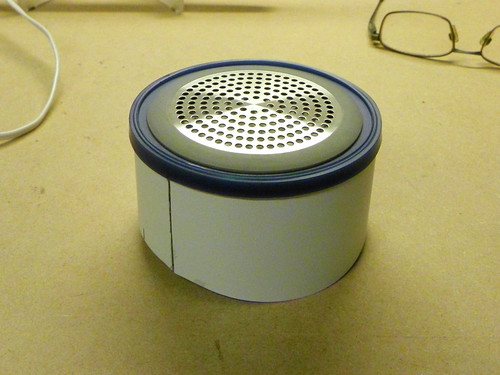
Next, really focusing on the “cheap” aspect of the build, we used some peanut cans and drain covers for the little “com box” on the front. Whatever it is. The cans were sheathed in some scrap For Sale sign styrene, but that’s certainly not necessary. Using the lid, the drain cover was glued into place and the com box was basically done.
Now there are a few things that happened in quick succession without any real necessary order. Most of these things can be done out of the order presented here, and believe me, writing this a year after they were built, I’m sure I’m telling you something in an incorrect order. The first thing was coating the cardboard neck ring in resin. This isn’t necessary, but as a stickler for sturdiness, I was wary of the cardboard’s sturdiness over the long term, so I felt it needed something extra to strengthen it. I brushed on several layers of Smooth Cast 300 and sanded it smooth to give the cardboard a nice, rigid shell. Again, not necessary for the cheap factor, but it was something I personally wanted to do. Unfortunately, I don’t have any photos of that process, so we’ll jump right into the next bit.
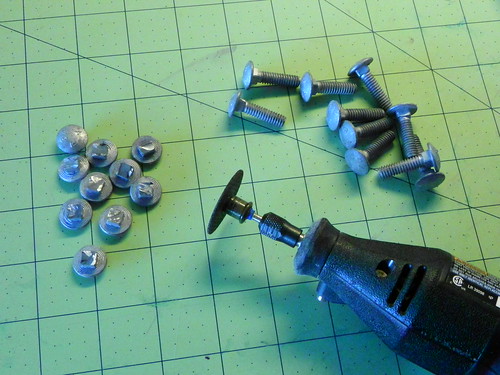
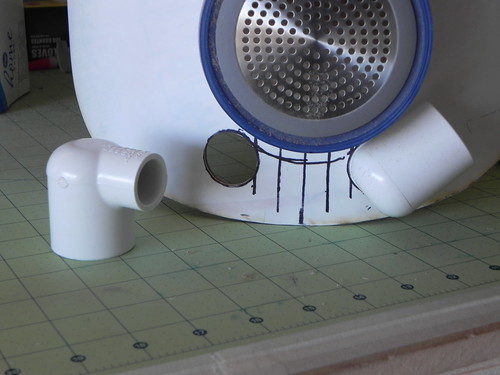
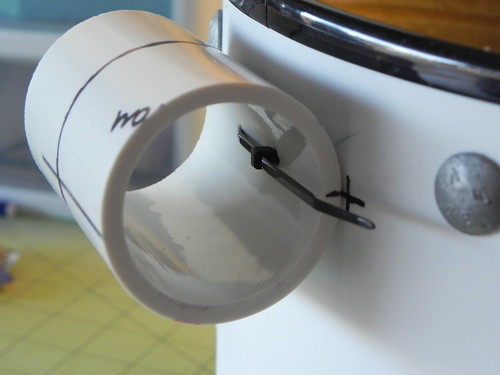
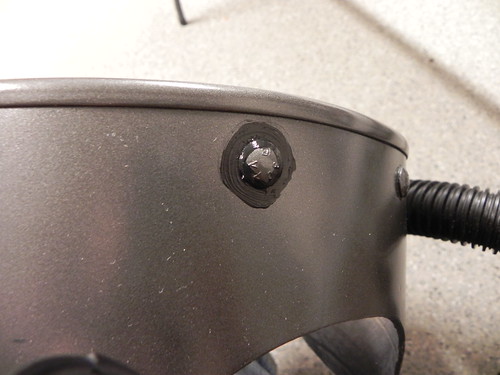
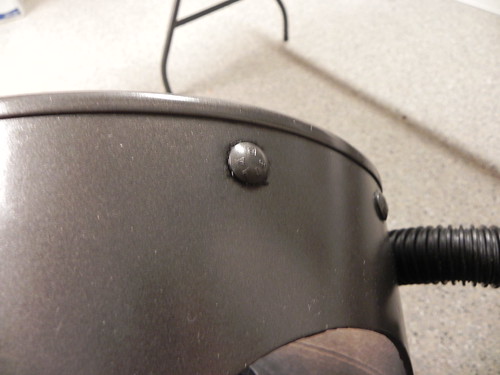
The next thing was to place some fake bolts around the top of the neck ring. These are wholly cosmetic and don’t provide any real function, but I figured it would be best to get them at least placed early on in the build. The bolts were some cheap lag bolts from Lowes that were cut off at the head and glued into place with some hot glue. At the same time, I also mounted the com box in place and used a bead of hot glue around it on the outside to make for some nice fake welding detail. I also popped on some car door edging around the top rim of the neck assembly for a little bit of detailing and to clean up that edge for when the globe would be mounted later on.
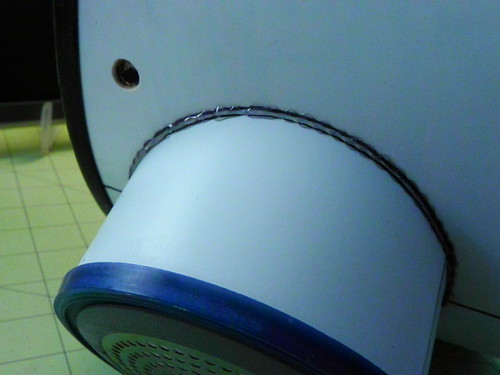
To finish off the primary construction of the neck assembly, we needed hoses. Utilizing some PVC connectors and short lengths of corresponding pipe, we added some vacuum hose. So far, nothing in this build has been terribly difficult to accomplish, and this was no different. It really was just some drill work, some zip-ties, and some hot glue (both for adhesion and for fake welding details).
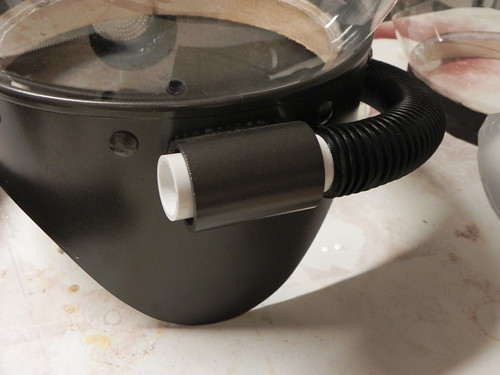
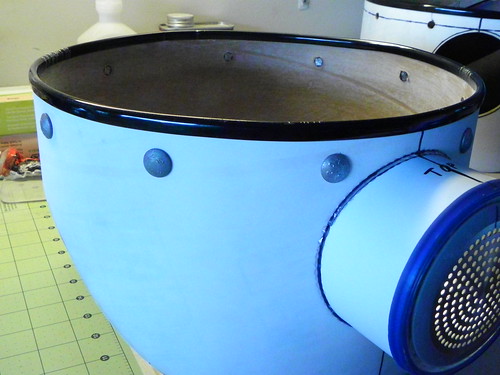
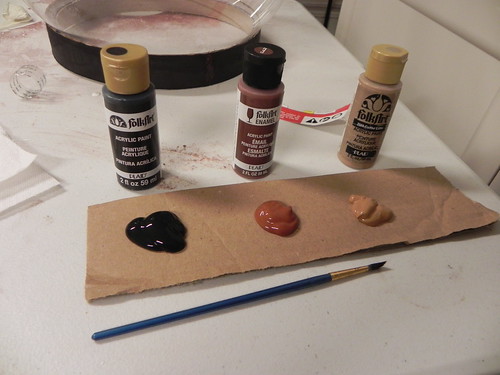
The neck assembly is basically done at this point and ready for a little paint. In keeping with the low-budget B-movie theme, we kept it all super simple. Some metallic gunmetal spray paint and some craft paint was all it needed.
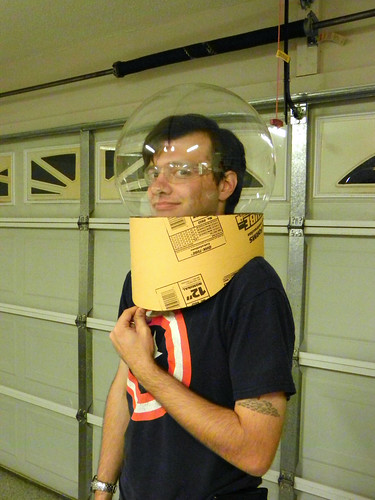
Of course, how would we ever survive in the total vacuum of a dank, poorly-lit sound stage without our bubble helmets? We discussed the merits of mounting the globes permanently in place as well as making the globes removable, and we decided to go with the removable option. That way we can walk around with the neck assemblies in place and not have to worry about carrying a huge, unwieldy contraption. Plus, we have plans for upgrades that would include mounting tanks to the neck assemblies, so making the neck assemblies more of a part of the costume as opposed to part of the helmet was key.
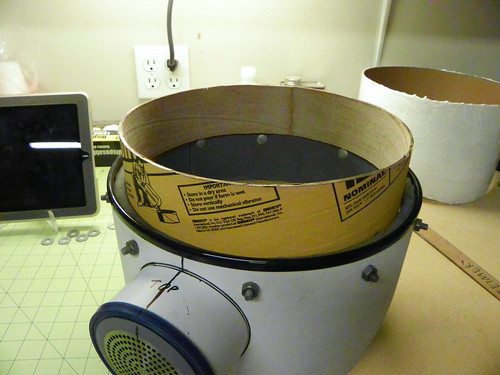
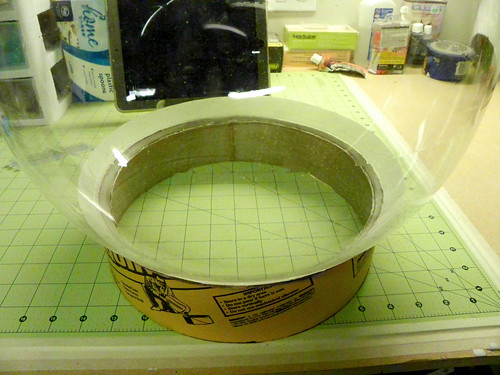
In order to make the bubble helmet removable, we lined the neck ring with some EVA foam from a floor mat, held in place with hot glue. This not only helped provide some strength to the neck ring, but it made for a soft lining that would provide “just enough” tension on the globe to keep in in place. Then, using more of the cardboard from our concrete form, we made an inner neck ring that would fit snugly within the foam lining. That ring was glued closed and then transferred to the globe, where we cut an opening just smaller than the neck ring. This smaller opening allowed for some overlap between the ring and the globe, making it easy to hot glue together. (Please note: in the photo below, the bolts you see around the neck assembly were temporarily installed in this manner for neck ring fitting purposes. They were later cut short and glued in correctly.)
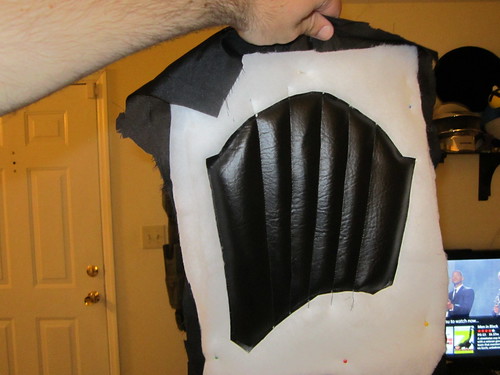
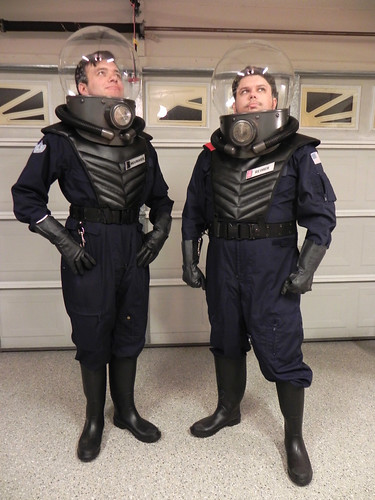
And with that, the helmets are basically done. The design is so perfectly simple that you can really run wild with it. But we needed to take it further – we needed matching costumes to go with them. We started with our standard pick of Rothco flightsuits and decided to build from there. Wayne and I collaborated on a design for a padded vest that is not terribly unlike the motocross armor used for the various Stormtrooper accessories in Star Wars, and once we agreed on the final design, Wayne took to crafting the vests.
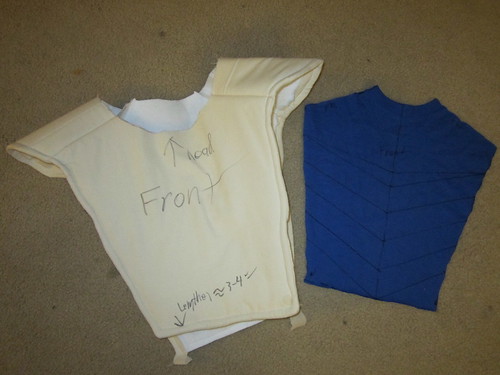
Wayne started off by drawing the shape we wanted onto a cheap t-shirt so he could create a pattern without the need of a duct tape mannequin. The pattern was transferred to poster board, and then cut from upholstery pleather. We decided to incorporate the same color-coding we used on our ODST armor, thus I have a red shoulder while Wayne’s vest has a black one. The vests were made quilted by sewing a layer of batting between the vinyl and a polyester backing, and the edges were finished with bias tape. If you attempt this, we recommend using a thinner vinyl/pleather as it was very difficult to get through our aging $80 Brother sewing machines. Each vest closes at the bottom by connecting to a military gun belt (the same belts we use for our Ghostbuster costumes) via elastic straps and snaps.
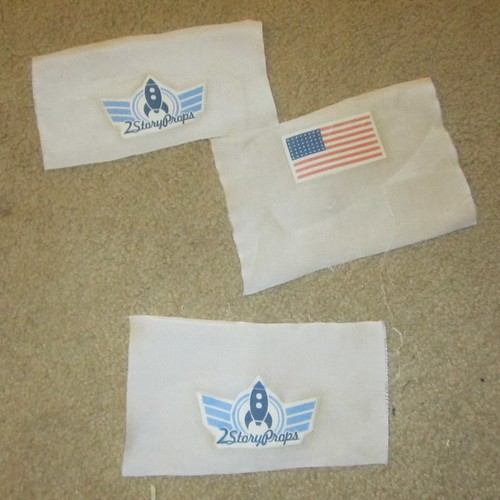
The patches were made in the same manner as the ones on our Apollo space suit, by using printable silk which you can find at Jo-Ann’s. Since we were aiming for “1950s sci fi” I made a flag image with 48 stars and created a retro version of our logo. Wayne printed the patches out on the printable silk, then reinforced them with interfacing, and finally sewed them to the flight suits.
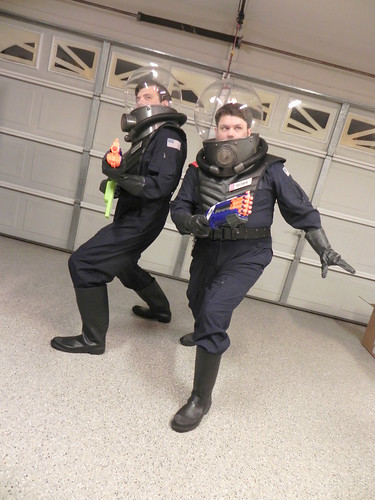
The suits were finished off with black rubber gloves from Home Depot and rubber work boots from Wal-Mart. While we have plans to make 1950’s ray guns at some point, for Halloween we decided to use this as an excuse to add more Nerf guns to our already massive collection.

For the rest of the photos, view our Flickr set here.
This comment has been removed by the author.
ReplyDeleteHi there! Thanks so much for the awesome tutorial. You guys look great. Question, how did you cut the globe so that you could fit your heads in? Thanks in advance!
ReplyDeleteI Was looking for this information too.
Deletesame
DeleteThanks so much for the tutorial! I used it as the basis for my own build. You can check it out at https://instagram.com/p/BMO-jopgcn1/
ReplyDeleteWhat glue did you use when securing the tube directly to the acrylic globe?
ReplyDeleteOMG thank you so much for this tutorial and where to get the materials. i've spent hours looking where to find a globe like that because i didn't know what they where called. Great costume btw :)
ReplyDelete