
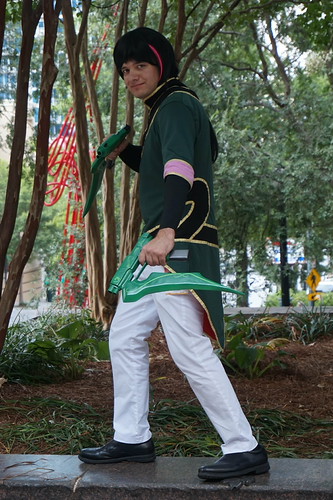
For part two of our JNPR build write ups, we’ll go over the weapons I made for the character I portrayed in our group; Ren Lie’s pistols.
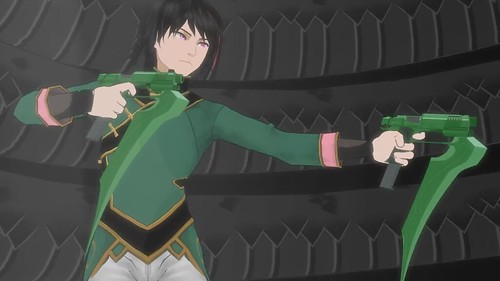
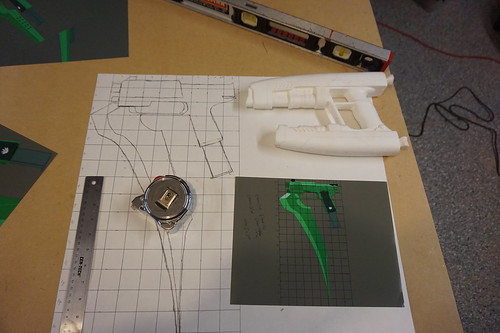
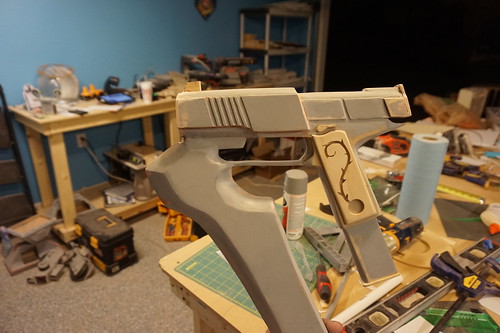
As with the Magnhild build, the project started off gathering references from Monty’s Facebook page, which had a straight-on 90 degree shot of the gun! I used a grid technique I learned in grade school to scale the gun up based on my Star Lord blasters and created a template on poster board. The shape was then cut from several layers of MDF stacked together to form the proper thickness of the pistol. Bevels were filled with apoxie sculpt and the shape refined with my dremmel and palm sander.
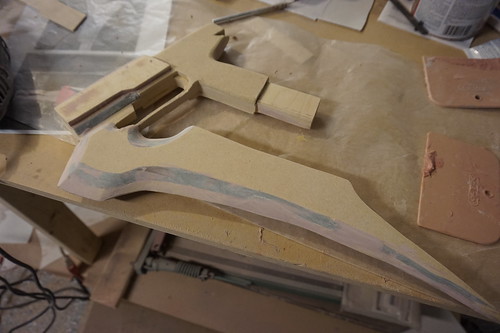
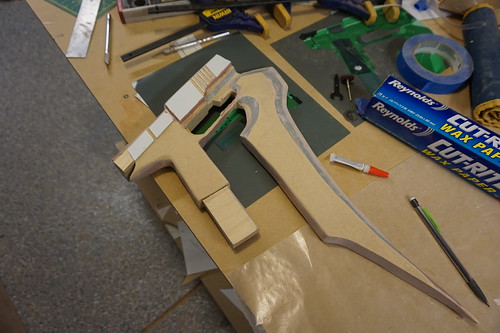
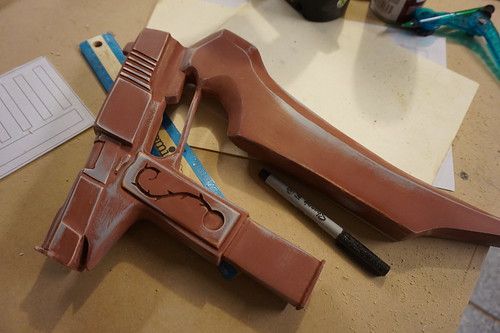
Additional details, like the heat sink on the barrel, were added with layers of styrene and 1/8” birch plywood. After about 1 week of putty and primer I had the positive for the guns. I typically don’t like to talk about cost, but one funny note I’d like to share is up to this point the gun was completely made of scrap material from other projects, particularly my R2-D2. Thus if I only needed one the entire build would only have required the cost of paint and vinyl. Of course, Ren Lie carries two of them so it was time to order some materials from Smooth-On, which is not cheap.
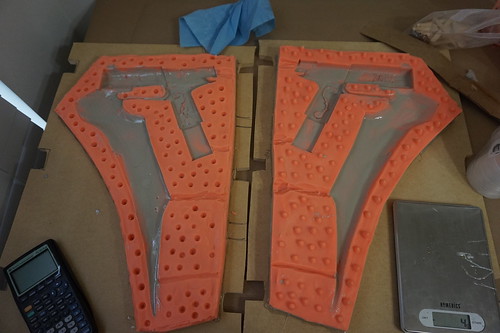
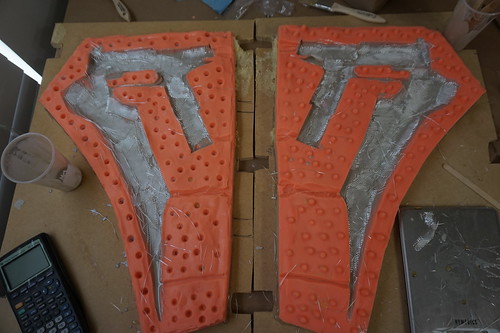
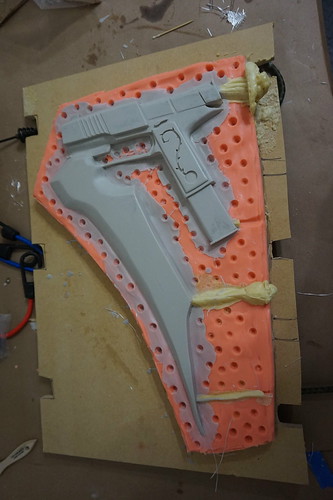
There isn’t anything ground breaking about the mold process; it is a two part Rebound mold like we typically use with swords. The new technique in this case was casting. On my first set, which is what I took to Momocon, I brushed the inside of each half with a layer of Shell Shock Slow, then a second layer with Shell Shock and glass cloth, and then put the mold together to cure. About half way through cure, when the resin was no-longer tacky, I filled the casting with Foam-It 3 while still in the mold. After an evening of curing the mold was opened and I had a light weight casting. Unfortunately, I believe the tooth pick I put in the tips to keep them from snapping caused an inhibiting issue and the paint never dried fully. Eventually I fixed this problem using threaded rod and switched from Shell Shock to EpoxAcast, which has a much slower and more workable cure time.
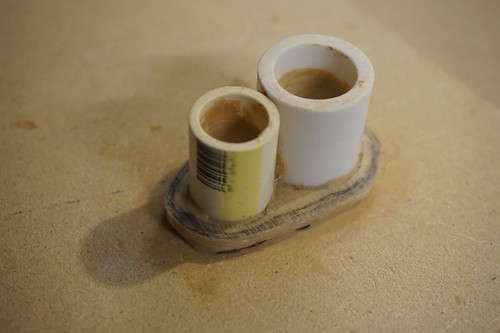
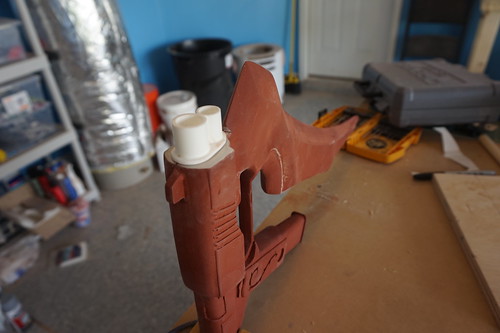
The business end of the gun was made using two pieces of PVC, making a mold, and casting copied with smoothcast. They were sanded and epoxied to the front of each gun
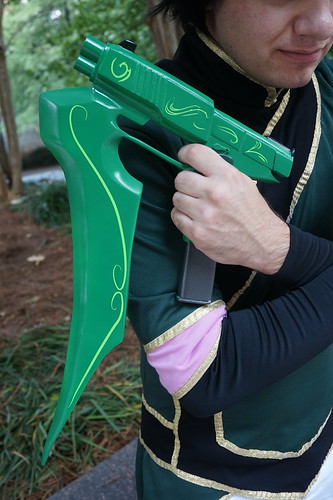
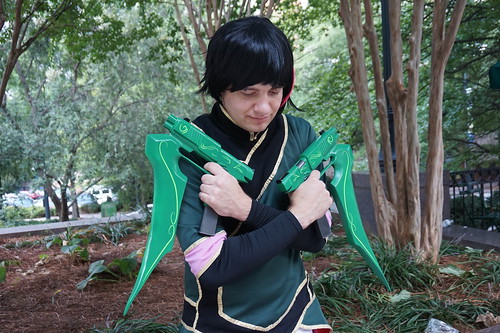
After some bondo work the guns were primed and painted using Krylon paints. For the vinyl on my current set, my friend Barbra made vinyl decals at the Maker’s Local shop and applied them to the guns. They were then sealed with Rustoleum Crystal Clear.
Stay tuned for Jaune and Phyrra’s write ups coming soon!
To stay up to date with our other projects, click here to follow us on Facebook.
For more build pictures, visit the flickr album click here.
Click here for Nora Valkyrie’s Magnhild!
Click here for Pyrrha Nikos' Milo and Akouo!
Click here for Jaune Arc's Crocea Mors!
-Wayne, 2StoryProps
No comments:
Post a Comment