
Most of the costumes I have built typically consist of a few notable pieces that could fit anybody. For example, a proton pack is effectively one size fits all, and a mau5 head is nominally 14” wide. The torso presented a very unique challenge because it had to fit me just right, and the only way I could do that was it would physically need to be designed and built around me.
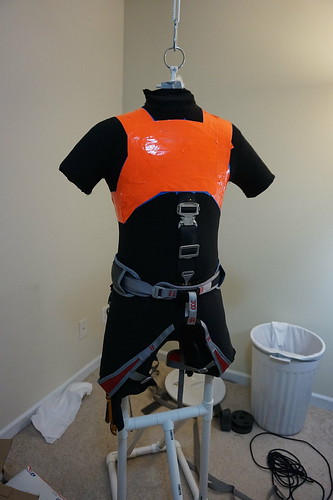
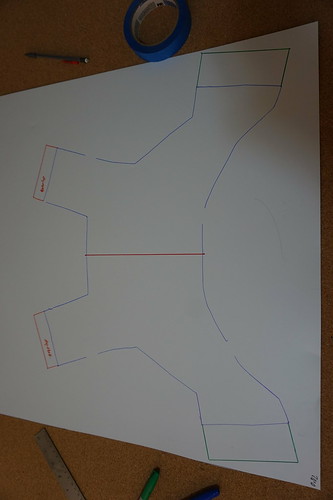
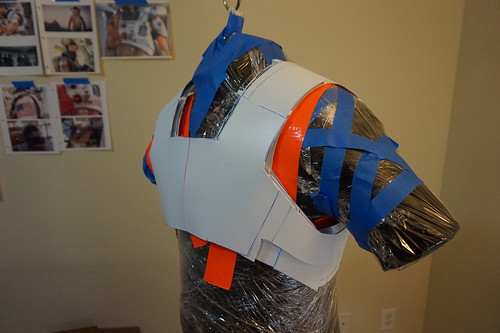
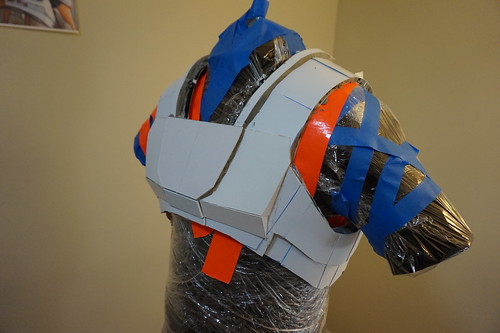
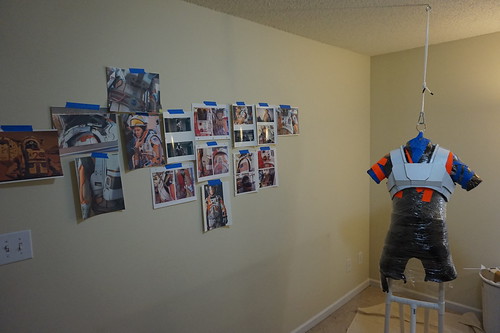
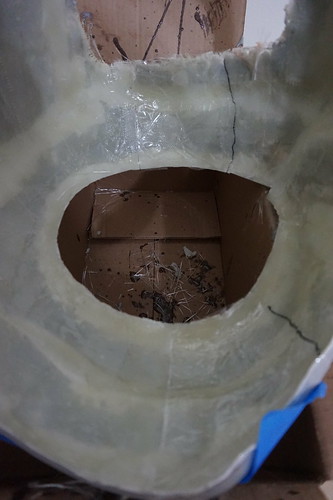
Since I can’t wear a prop and work on it at the same time, I finally had an excuse to use the duct tape mannequin David and I made back in 2014. Using duct tape, I created a general outline of where the armor would cover my chest, then transferred the pattern to poster board so I could make it symmetrical and try a test fit. Once satisfied with the poster board mock up, the pattern was transferred to styrene and glued around the mannequin. Note that the mannequin has been covered with plastic wrap to prevent damage to the fabric.
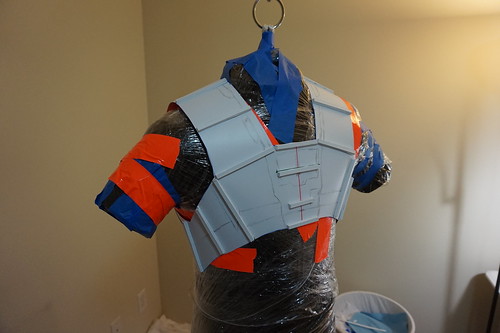
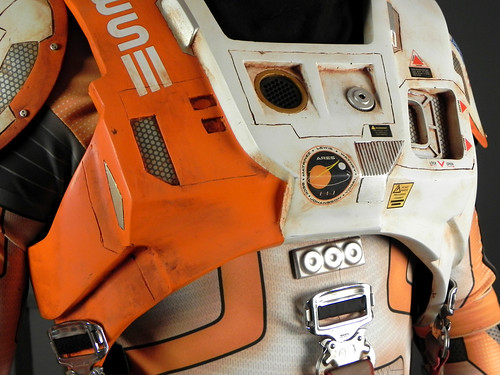
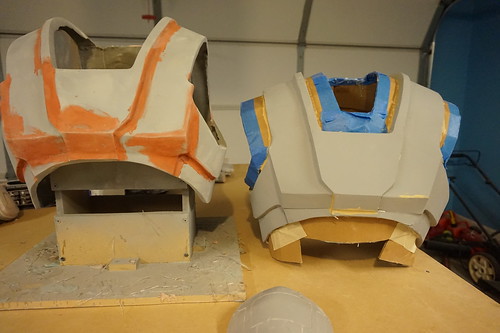
The next part was very tedious, and while I’m sure someone has a better way to do this it got the job done and I am very happy with the result. Using various thicknesses of styrene left over from my R2-D2 build, I started building up layers of plastic on the torso to replicate the shape of the screen used one based on images I taped to my wall. Each layer was given thickness by gluing strips of thicker plastic as supports and then covering it with thinner plastic. Panels were cut based on how the plastic needed to bend. Additional shape and rigidity were added by filling the edges with ApoxieSculpt
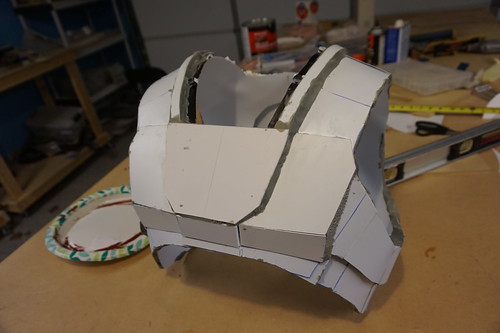
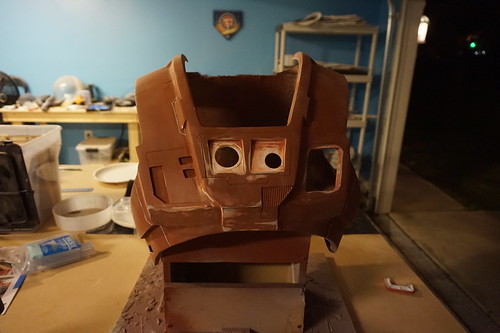
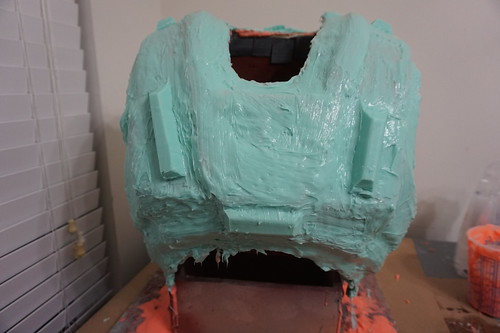
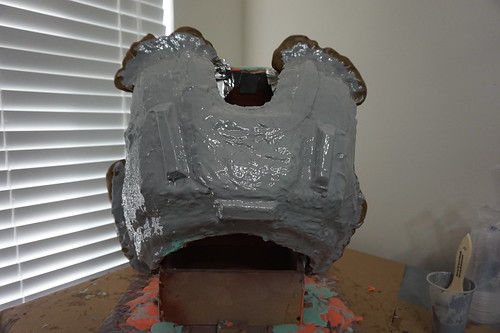
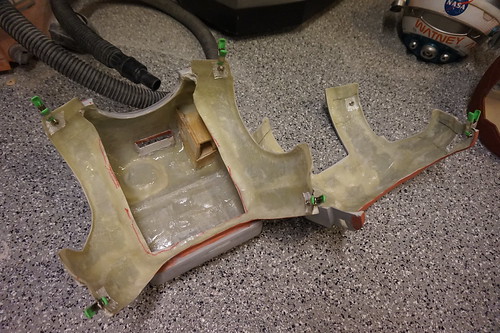
At this stage I couldn’t do any more sculpting on this form as the plastic was too thin to be carved and I needed to access the inside. After carefully removing the structure from the mannequin, and molded the whole thing in Rebound 40. The mold is actually 1 piece with a seam in the back, which minimizes clean up, plus I could mold the whole thing at once. With the mold done I made two castings. One was used for fit check (it fit!) and the other was refined into the final sculpt. The placement of the back pack mount was fixed, recessed areas created, and the panel lines were carved in using wood carving tools. There entire torso was then molded with a Rebound 25 base coat to allow stretch in the recessed areas, then a Rebound 40 over coat to help hold the shape.
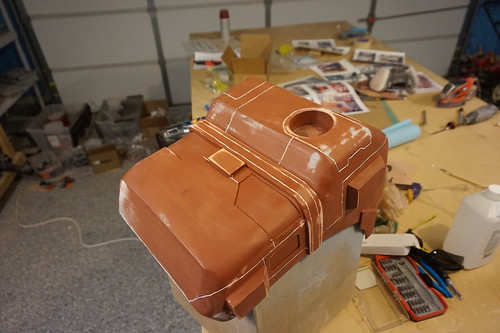
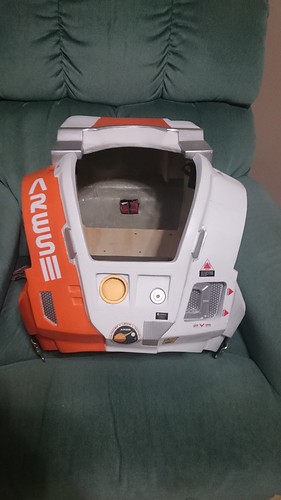
The torso is cast like the helmet from EpoxACoat, Freeform Air, and EpoxAMite with glass cloth. In order for the front and back halves to line up, I need to add alignment tabs. When the casting was pulled from the mold, I cut the front/back seams on the right side only. I then covered the front half of the seam with clear tape, and added several layers of resin and cloth over the whole area. Because the resin won’t adhere to the tape, when I cut the left side to two halves easily separated. The two halves were re-clamped using the right side and the same process was used to make the left side tabs. The two halves are held together via snaps and elastic bands.
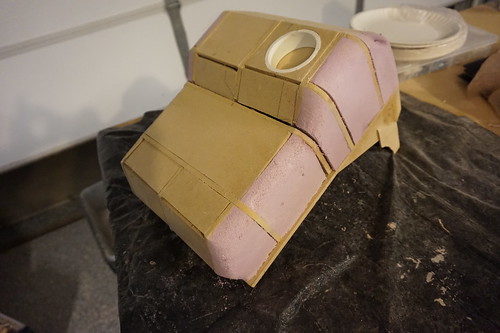
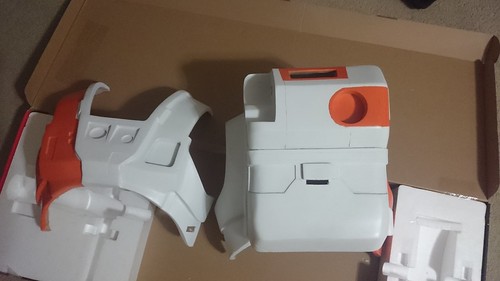
The back pack sculpt was considerably more traditional. I made a positive using foam and MDF, then a one part Rebound 25 mold. Note that you can see the seam line for the camera arm. Because the width of the dremmel cut off wheel is larger than the seam, I had to cast the full pack, then cast just the arm so I cut on the correct side of the line and end up with both pieces. The back of the torso was trimmed out, and the back pack was permanently joined to the torso using several layers of fiberglass and bondo to blend to the two together. The interior of the camera arm was built up using plywood and styrene.

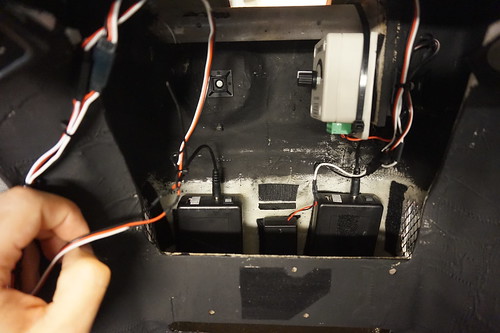
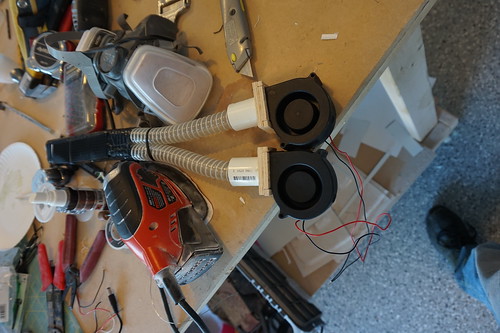
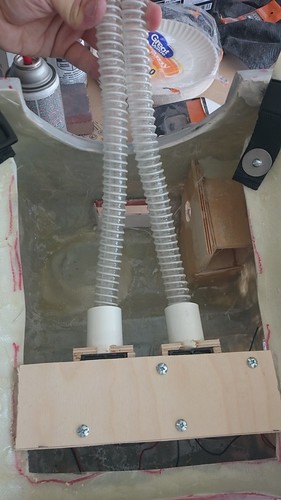
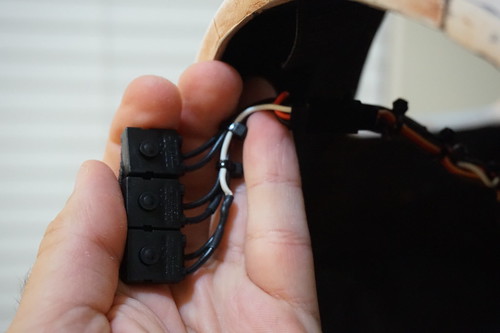
On the film costume, there is a duct system behind Matt Damon’s head that pumps air into the helmet. On my suit, this was accomplished with two squirrel fans, each of which is connected to a ¾” air hose. This set up works really well and actually makes the suit colder with the helmet on that with the helmet off! In addition to the squirrel fans, the pack houses two 12V li-ion batteries and the dimmer for the helmet. All the lights and the fans are controlled via three button switches that Velcro to the front of the suit. I can easily access them with my gloved left hand.
As for greeblies, David laser cut the connector on the chest and I sculpted the lever from wood and plastic, then cast in resin. The two knobs are actually parts from the wand on a proton pack! The buckels were attached with Velcro and will be discussed in detail in part 4.
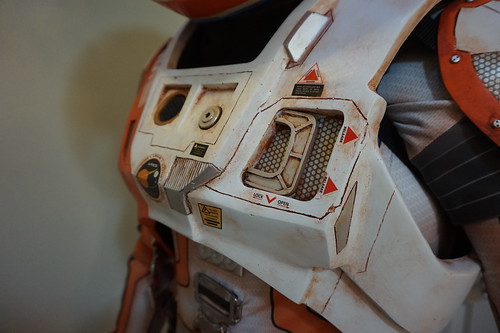
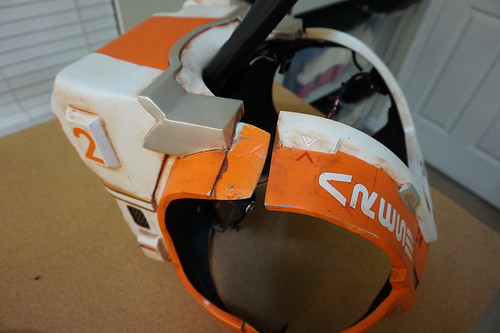
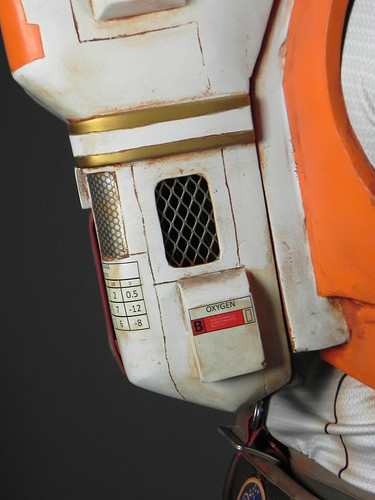
With all the electronics figured out it was time to paint. All the paint on the torso is Krylon paint. For graphics, I decided to make them myself using power point. Yes, you read that right, power point. All the labels you see on the torso were drawn up using power point then printed on Testor’s clear water slide decal paper, then applied to the torso. I also put my name in one of the labels because why not? The “ARES III” and the “2”s were cut from vinyl at Maker’s Local 256. The entire thing was clear coated and weathered with acrylic like the helmet.
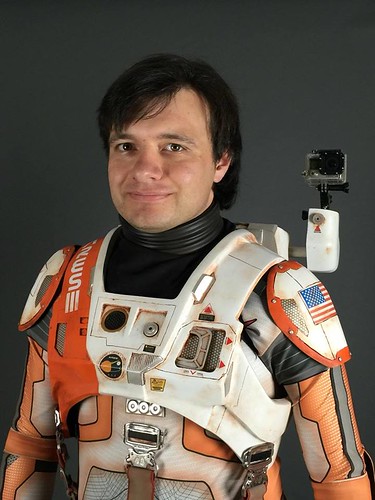


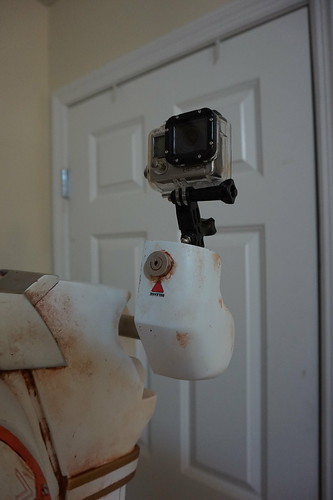
Typically, if the costume has gloves I don’t get to take pictures at conventions while I am in them because I physically cannot operate a camera. Watney has an interesting solution to this as the costume is designed with a GoPro on the costume. I went with accuracy and purchased the same model of camera and case used in the film. I am still playing with settings (straight recording vs time lapse) but one notable gain was the ability to record the masquerade skit from my perspective.
Next week I’ll cover the remaining armor pieces, and then we will follow that up with the soft goods. Stay tuned!
To stay up to date with our other projects, be sure to like out collaborative page 2StoryProps and my personal page A7L Props on Facebook!
For more build pictures, visit the flickr album here.
Thanks for reading!
-Wayne
Amazing work! I'm making 2 Apollo suits right now for Halloween and your blog has been a great resource! Perhaps one year we will meet at Dragon Con! *still totally geeking out over your Mark Watney costume*
ReplyDelete